

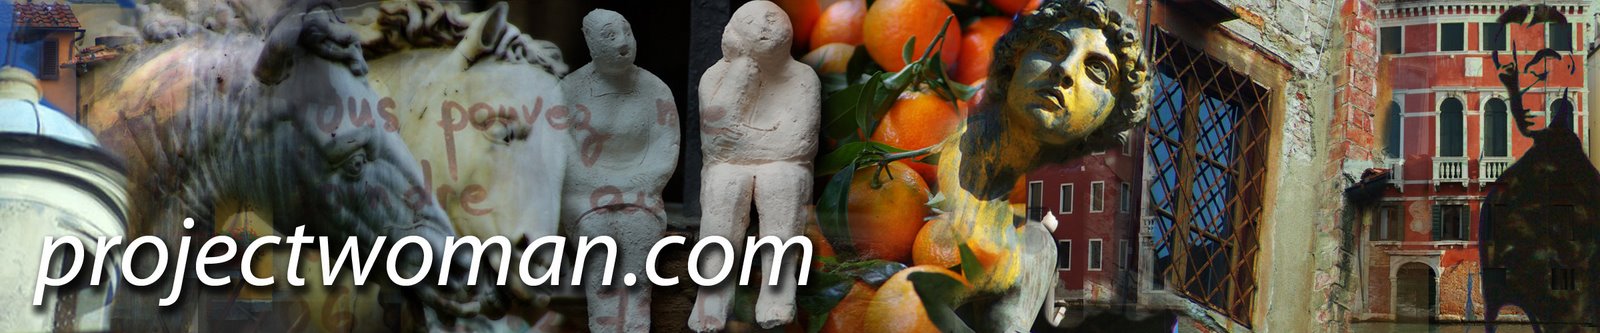
When you’re creating a photo blog or website a photo banner lets you showcase a range of your work. You can create a collage of photos for a banner in Photoshop or Photoshop Elements very easily. Here’s how
Step 1
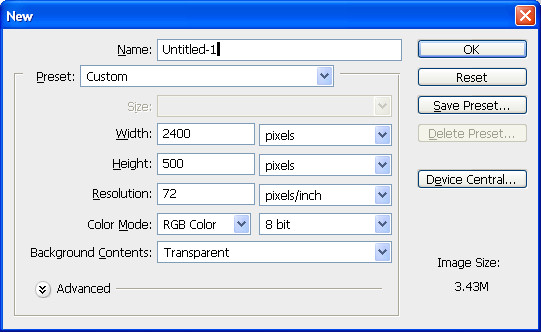
Start with a new image the size of your banner or a multiple of it. So, for example, if your banner is going to be 1200 pixels wide by 250 pixels you can start with this size image or double it so you have a bigger space to work and size it down as the last step.
Here I’ve created a document 2400 x 500 at a Resolution of 72 pixels/inch, RGB Color and with a Transparent background..
Step 2
Open the photos to work with. These should be fixed and color corrected but they don’t need to be sized. I like to open more images than I will use so I have lots to choose from. A combination of close-ups and distance shots gives your banner a lot of variety. Flatten all the images to a single layer.
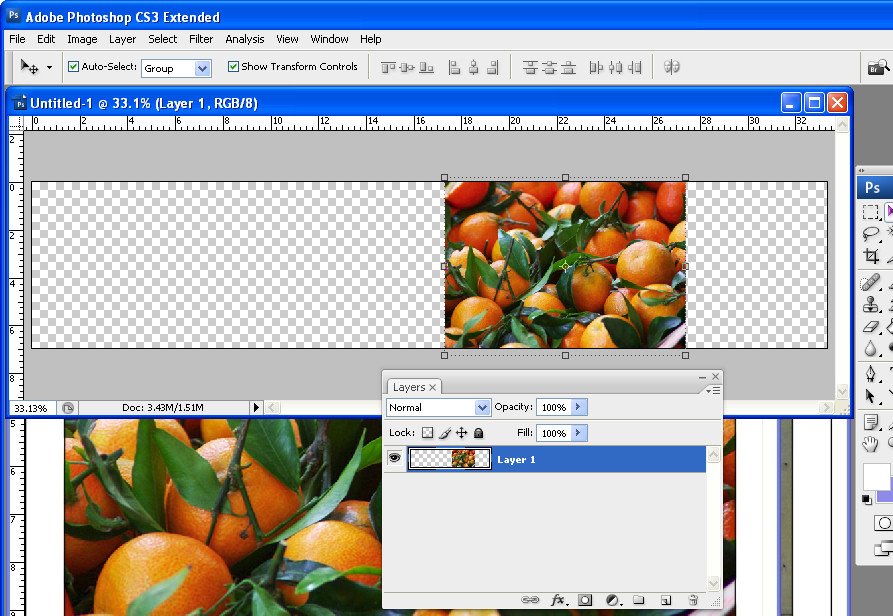
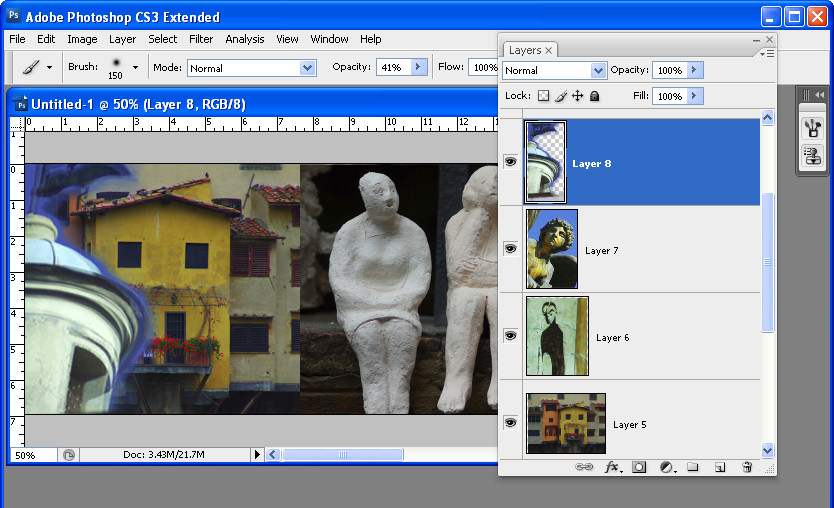
Select the Rectangular Marquee tool and drag over an area to use from the first photo. Select a generous portion of the image allowing plenty of room to the left and right of the main portion of the image that you are interested in as you will use this area to blend the layers. Chose Edit > Copy and then switch to the banner image and choose Edit > Paste. Close the original image.
Press Ctrl + T and then Ctrl + 0 and size the image to fit your banner. Use the Move tool to position it in place.
Step 3
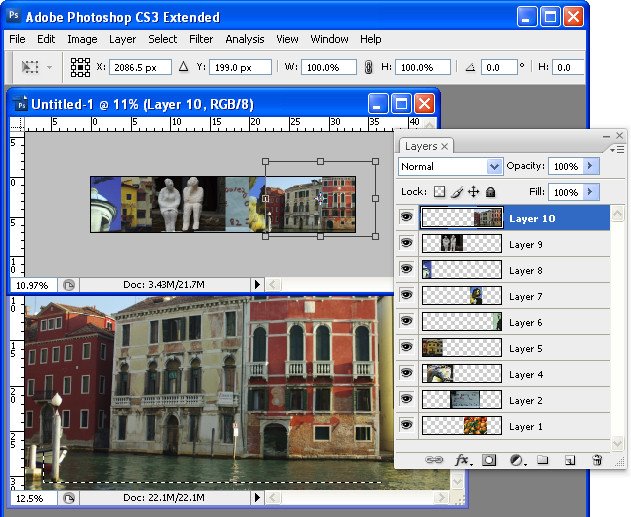
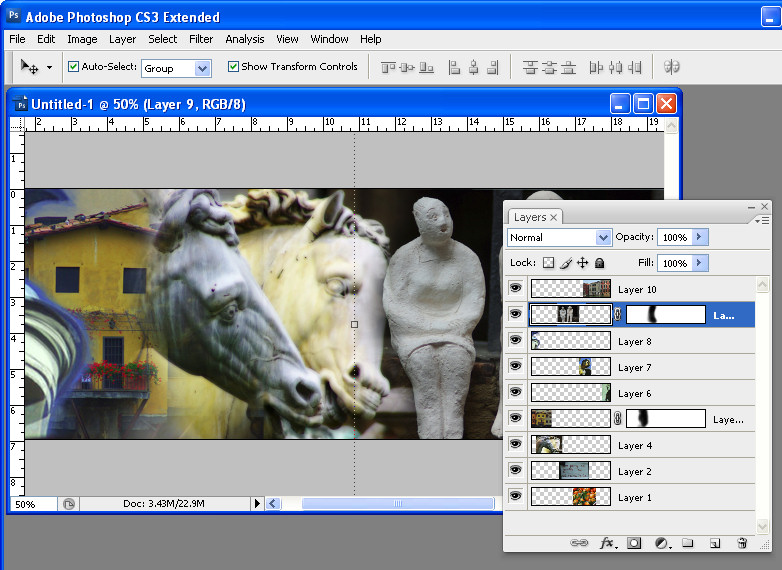
Select the next photo to use. Copy a piece from it and paste it into your banner image. Size it and move it into position. Continue to do this until your banner is full. The images should each appear on a separate layer and they should all overlap by significant amounts.
If desired, drag the layers into a different order to position the images where they should appear in the collage.
Step 4
Starting on one side of the image, select the Eraser and select a soft brush or a textured one such as the Chalk 44 pixels brush. Adjust the brush size so that it’s big enough to work with, reduce its Opacity to around 50 percent and click on the layer in the layer palette that contains the image to blend.
Erase over the edge of the image to reveal the layers below. As you work, give some consideration to how you want the images to blend together. In some instances, simply softening the hard edge of the image will be sufficient. However, if there are significantly different colors on each layer you may want to be more creative about how you blend the layers together.
Step 5
If you’re familiar with using masks you’ll find that you’ll get better results with a mask than you do with the eraser as the blending can be easily undone.
To use a mask, add a mask to the layer that you’re working on and then paint over the mask in black to remove the image from this layer. If you make a mistake, paint in white. To add a layer mask, click the Add a Layer Mask icon at the foot of the Layer palette.
Work across the image softening the edges where the images overlap. It’s at this point that you will see the benefits of having plenty of overlap between the images as this will give you plenty of room to blend the images together.
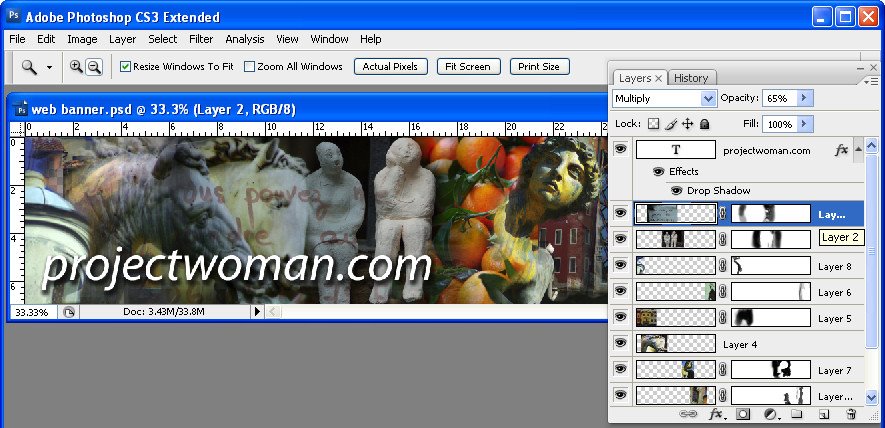
Some layers may lend themselves to being used as overlays rather than a part of the image. For example, a photograph of text can be placed over another image with its Blend Mode set to Multiply and its Opacity lowered so you get a layering of photos.
Step 6
Finish your banner by adding some text. Click the Text tool and click on the banner and type your text. Use a Drop Shadow layer style to make the text rise above the background so it will be more easily read.
Ready to learn more? Here are some more creative Photoshop tutorials from my blog:
Photoshop: Fold a photo
wow…
nice post…
thank you for sharing…
keep on posting 🙂
I realy liked how you collaged everything together, very creative banner making, also very nice and attractive adversment.
Thanks for sharing, we want more he-he
Randy