Download: Photogene for the iPad $2.99
I have had Photogene now for a while but just cranked it up today to see just how it performs. I have to say it has some cool features – sort of an all-round app that could be all things to some people but which hasn’t a huge amount of depth.
It doesn’t have layers but it does have a mask you can paint on to paint on features such as the dodge and burn fixes. I got a bit confused with the presets – they are great for applying effects but they seem to have been added on rather than integrated with the program itself. It’s a minor complaint but you feel like filters and frames appear in two different places – as regular tools and as presets. Problem is that if you use the presets you get access to some frames that you can’t get to elsewhere – which is a little frustrating if you are a DIY person and like to have better control over your images.
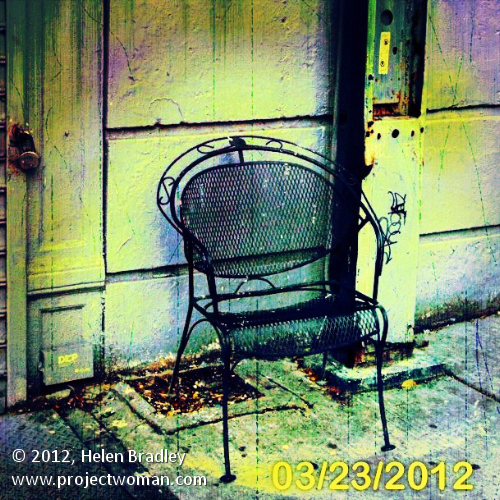
This image was shot in NY and I shot it specially to use for iPad editing. Here I gave it the treatment in Photogene. The image wasn’t perfectly straight so I started with the rotate tool and straightened it.
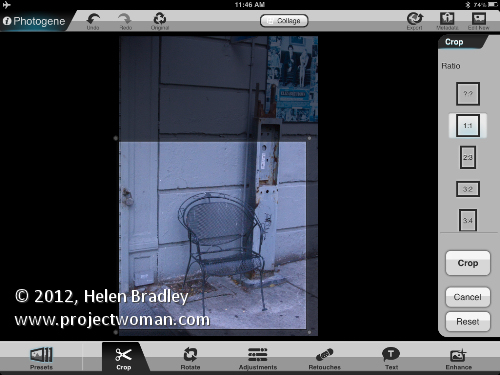
I cropped it using a 1:1 crop with the Crop tool.
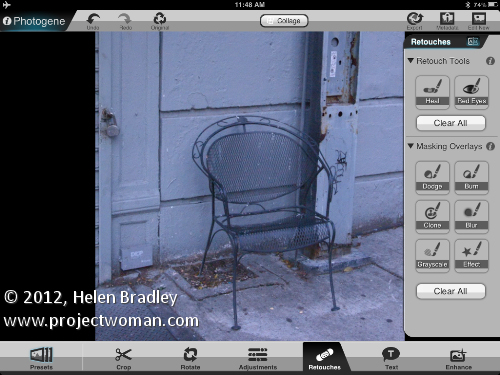
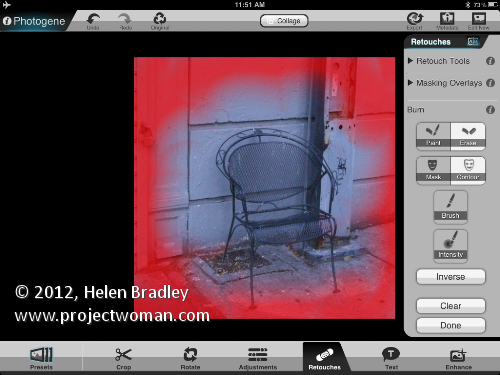
Then I added a vignette using the Burn brush which is a Retouching tool. The built in vignettes didn’t give me the control I wanted and being able to paint the vignette on is great.
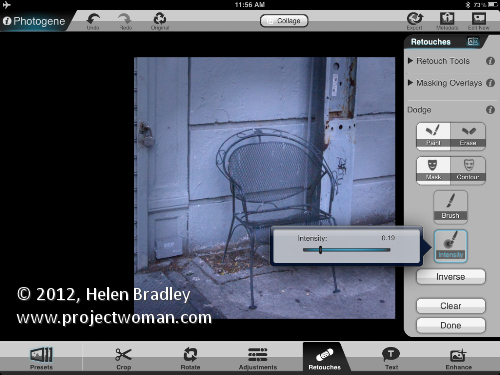
When you are dodging and burning you can change from paint to erase by tapping twice on the screen and there is an Intensity slider you can use to dial down the effect.
You can also choose to see the mask overlay which helps you when you’re trying to work out where you painted.
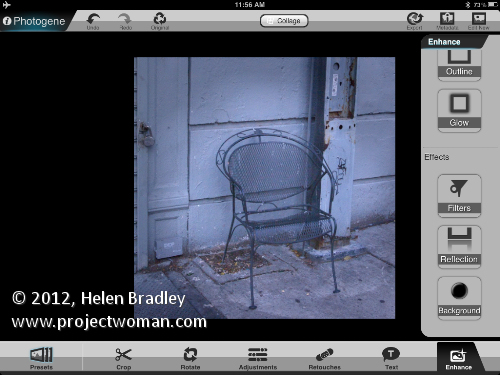
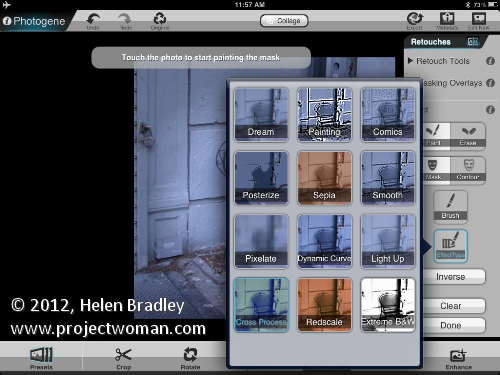
I used the Dodge brush retouching tool in the middle to lighten the image and then applied an effect from the effects collection.
Then I applied a cross process effect. You can do this to the entire image or it can be painted on using the retouch tools.
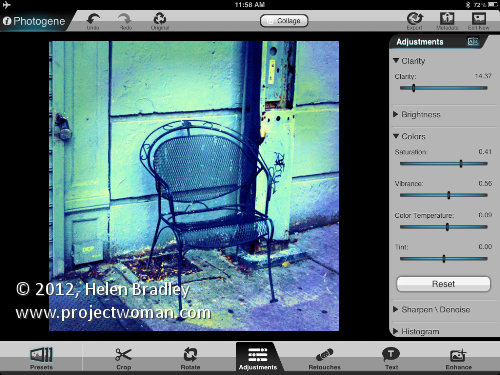
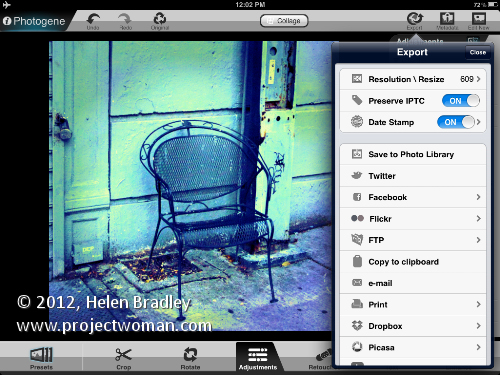
To finish some adjustments were made to the image saturation, vibrance and clarity.
This was the end of the process in Photogene but I felt the image needed a little something extra. I saved it out of Photogene to the Photo Library.
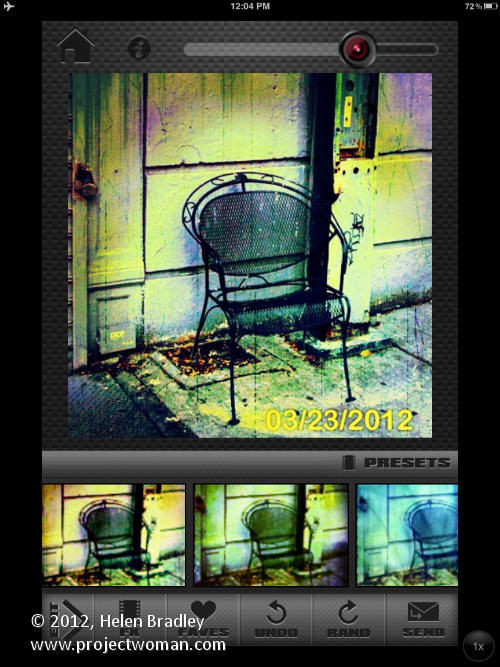
Then took it to Scratch Camera to add the final touches you see here.


