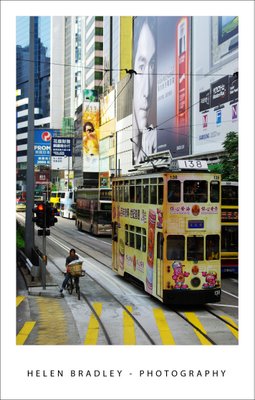
Hong Kong Trams

One of the most wonderful things about Hong Kong is its cultural and social diversity. Along side this tram is a person on a push bike - with a basket full of things they are pedalling around town. It's a sight you see a lot, high rise buildings, wealthy people contrasted with push bikes and mountains of laundry hanging off the sides of buildings. Gotta love this place, I certainly did.
This image needed more contrast and a bit of tweaking on the colour side to highlight its delicious pastels. My contrast fix of choice is now, officially Curves in Photoshop. But these aren't your dad's curves or your mums! They are curves on steroids - select the channels R,G and B and adjust each of them to get the best contrast in the image, just don't look at colour - look at contrast. Then, when you're done, you did apply your fix on an Adjustment layer didn't you? Set the Adjustment Layer blend mode to Luminosity. Notice how the wonky colours disappear and your image's contrast is adjusted perfectly? Luminosity blend mode applies the change to the image's luminosity (lights and darks on a grey scale) and keeps it away from messing with colour - Like I said, not your mum and dad's curves.. these are for real Photoshoppers!
Labels: blend modes, Hong Kong, luminosity., Photoshop, push bikes
