Tuesday, June 12th, 2012

Photographing in Black and White Part 1


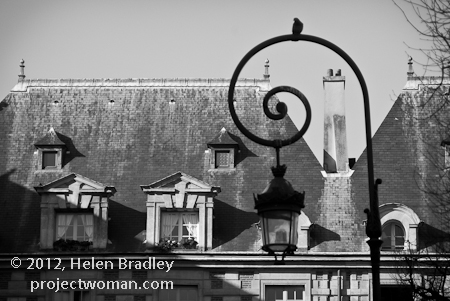
Artistically black and white photos take a lot of beating. There is something about a good black and white image that invokes a level of appreciation that many colour images can never achieve.

In days of film, shooting in black and white meant that you had to commit to an entire roll of film for your black and white photos. Today you have a lot more choices and black and white is only a setting away in your camera.

However, shooting in black and white is a little different to shooting in colour so here is what you need to know:

Camera settings for black and white shooting

The first thing to do is to work out how your digital camera captures in black and white.

Most cameras have a setting that allows you to switch to monochrome or black and white capture.

You’ll need to be familiar with how to switch the camera into this mode, how to identify from its display that you are in this mode and how to return to full colour mode when you’re done.

When you capture in JPEG using a point and shoot camera or a digital SLR, your camera will discard all the colour information before saving the image. You can’t go from monochrome to colour later on.

However, if you shoot with a digital SLR and capture the image using Camera RAW you can generally configure your camera to capture monochrome images but, behind the scenes, the camera will still capture all the RAW data it would capture if you were shooting in colour and this will be available later when you process the RAW image.

Helen Bradley

Friday, April 27th, 2012

Edit images on the iPad with PhotoPower

Download: PhotoPower on the iPad – 2.99

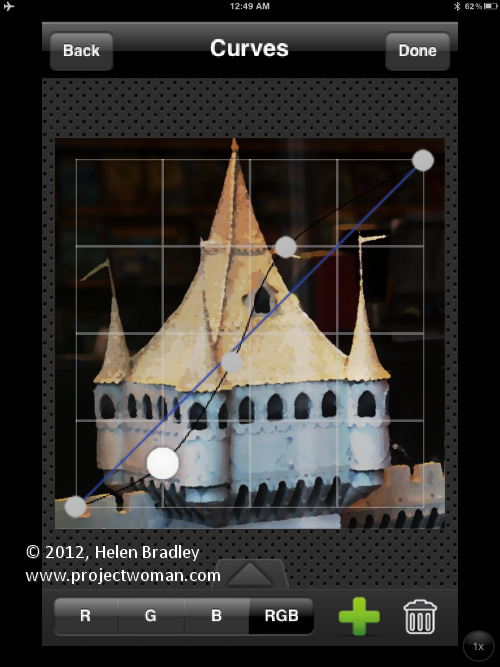
This is an iPhone app that runs on the iPad. It totally rocks and it’s an example of what a photo fixing app should do. It is simple to use but extraordinarily powerful it even includes a curves tool!

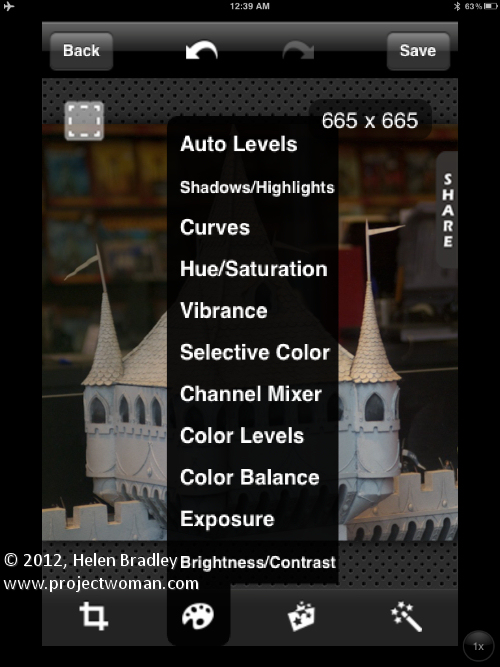
Open an image, crop  it and then adjust it. There are tools from Exposure to Vibrance and in many tools you can adjust the separate color channels or the composite channel.

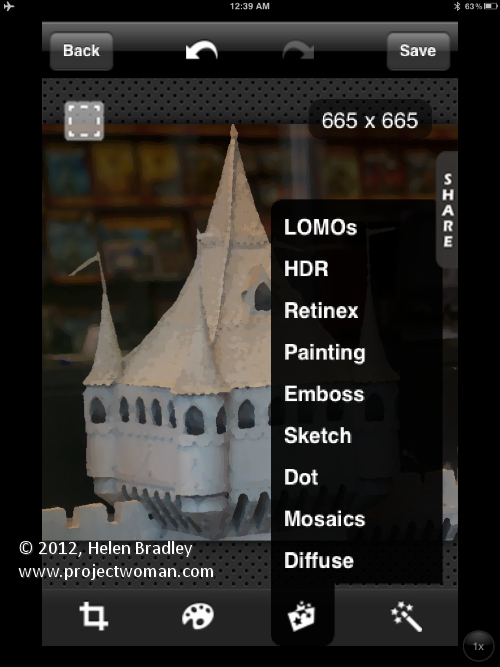
Tap any of the Adjustments, Effects or Filters and you’ll see a long list of options to choose from. This is a seriously awesome program with heaps of cool features. It’s a pity it isn’t available for the iPad at full screen size but that gripe aside it is well worth looking at as a tool for adjusting your images.

Helen Bradley

Saturday, January 7th, 2012

Winter photography Tip #2 – Grab the Color

Any splash of colour in a winter scene will show up beautifully and can be the makings of an attractive image.

Look out for things as simple as a blue sky over a snow covered mountain or a skier’s jacket.

The colour will be the first thing that the viewer’s eye will go to in the photograph so make sure to place it in an appropriate position in the shot. Draw an imaginary tic-tack-toe board across your view finder and position the colorful item where two lines intersect to get a more vibrant photograph.

Helen Bradley

Thursday, January 21st, 2010

Word 2007: Drawing in documents

One technique that has changed with Word 2007 is drawing in documents.

Instead of having a Drawing toolbar you now select shapes from the Shapes dropdown list on the Insert tab.

From this list you can select shapes such as lines and all the AutoShapes that you are used to using in earlier versions.

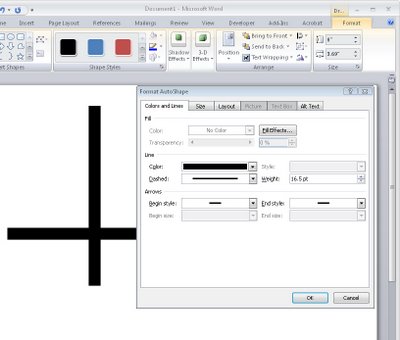
To create a drawing, for example, you can select and insert the shapes that make up the drawing and then format them using the Drawing Tools > Format options on the Ribbon.

Many of the color options that are available are connected to the theme colors so, provided you use a theme color in your drawn shapes, the colors will change automatically later if a different theme is applied to the document so the drawing stays consistent with the remainder of the document.

Find the shape formatting tools on the Drawing Tools > Format tab on the Ribbon.

What is missing in Word 2007 is the ability to right click a shape and have the format AutoShape dialog appear as it does in Excel and PowerPoint.

The Format tab and the Format Object dialog in Word offer less features than are available in the new graphics engine in the other applications.

Helen Bradley

Tuesday, October 28th, 2008

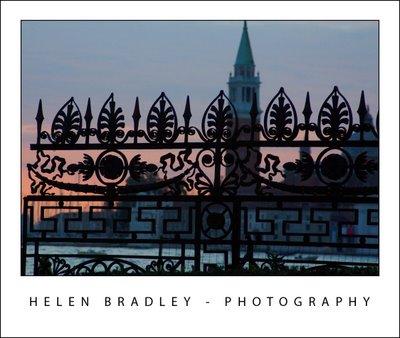
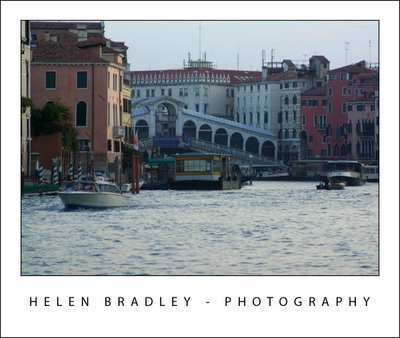
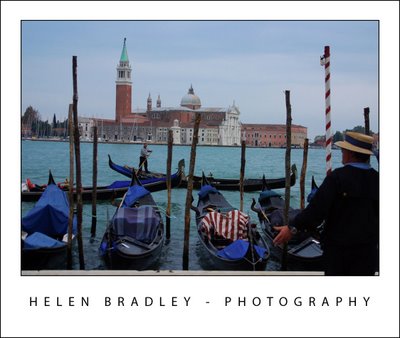
Venice in Pictures

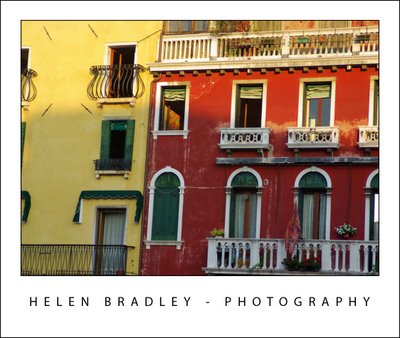
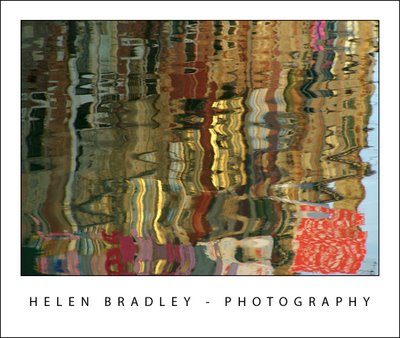
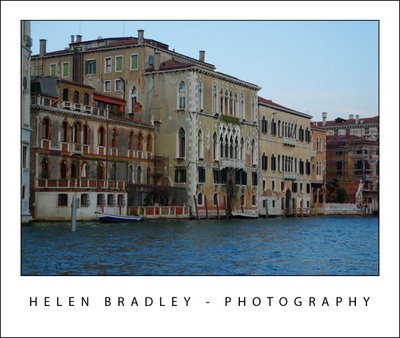
Venice is the most wonderful place and I took an awful lot of photos. The above is detail from the houses along the Grand Canal.

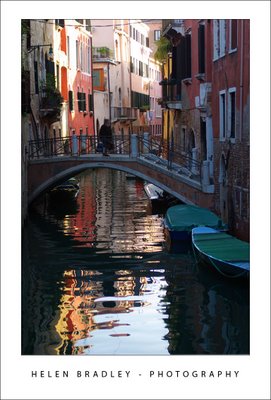
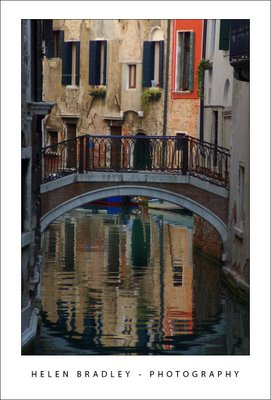
I loved capturing reflections and these are some of those I lucked upon – you have to catch the canals without traffic and that’s not easy in a city that has no cars so everyone walks or boats:

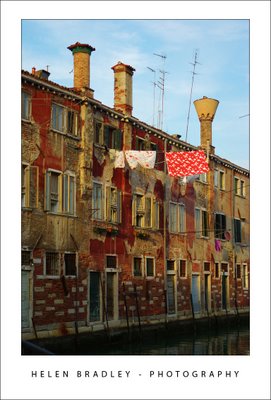
These next photos are the same place – one is a what is above the water and the other the reflection. I just love laundry hanging out to dry and Italy is laundry heaven!

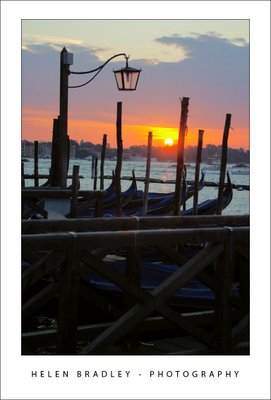
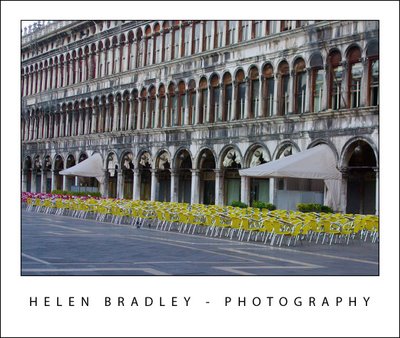
Just to prove I can get up early. These photos are from a walk along the Grand Canal at dawn just as the sun came up. You won’t catch St Marks’s square empty like this at any other time of the day:

Gondolas are one method of transport in Venice but not the only one. Vaporetti are public ferries and they go up and down the Grand Canal and around the lagoon. The Vaporetto stops are floating barges with yellow strips so they’re easy to see. Some stops have barges for each direction, some stops the same barge works for both:

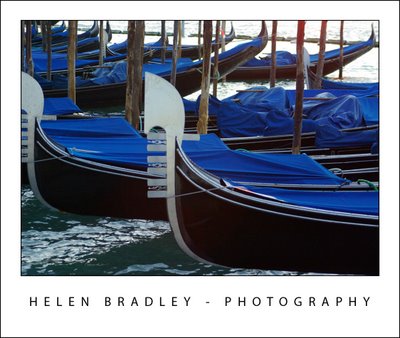
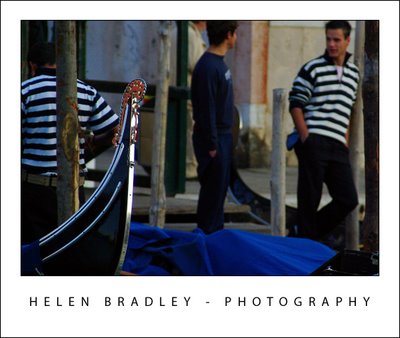
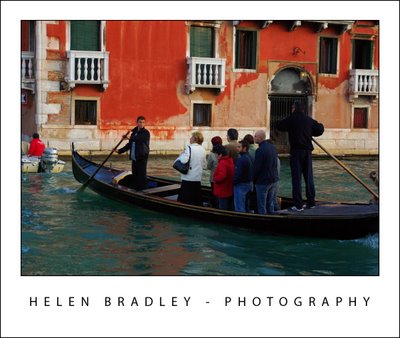
Gondolas go where you want them to go – they’re expensive and only 2 of the 6 seats are actually side by side and sitting back, the rest are upright and look pretty damn uncomfortable if you ask me.

Traghetti go across the Grand Canal. Because there are are only 3 bridges in around 2miles of Grand Canal sometimes you have to get across it where there isn’t a bridge. A traghetto is the answer – it is cheap to ride – the catch is that you stand up – not for the faint of heart. There are traghetto stations at intervals along the canal.

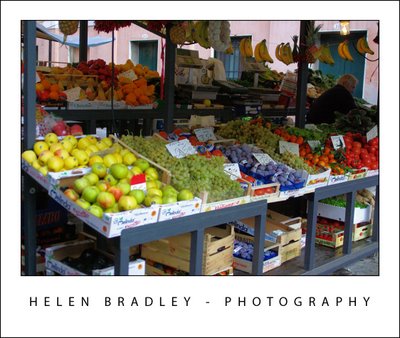
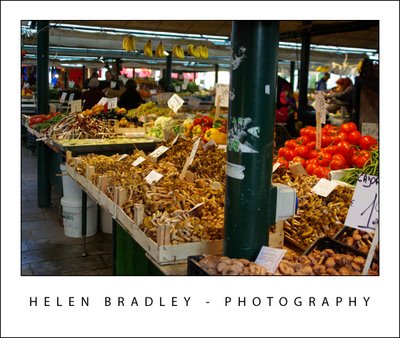
At one side of the Rialto Bridge there is a huge market each morning where people go to buy food for the day. Here are some images from early morning at the Rialto markets.

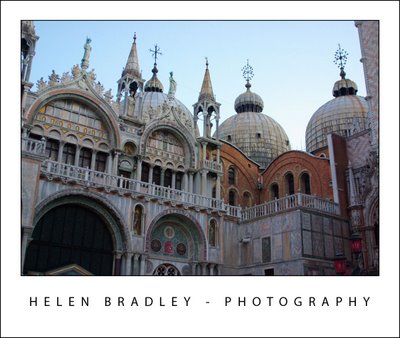
This is detail from St Mark’s Basilica:

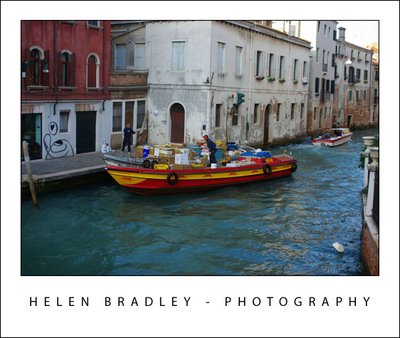
Ever wondered how UPS, FedEx and DHL deliver in a city with no cars – check this out – DHL boat delivery service:

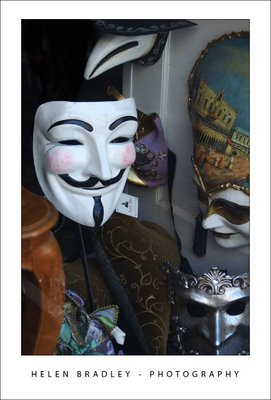
V for Venice or V for Vendetta – you choose:

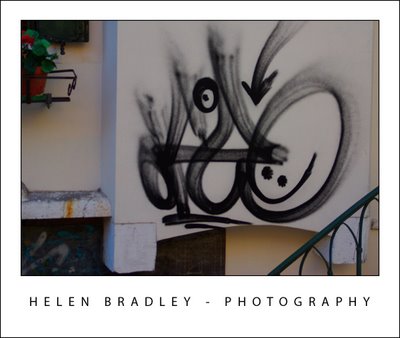
Graffiti Venice style:

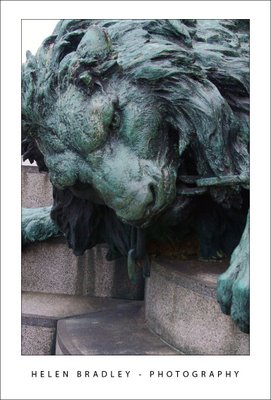
Lion detail from Victor Emmanuel equestrian statue – Grand Canal:

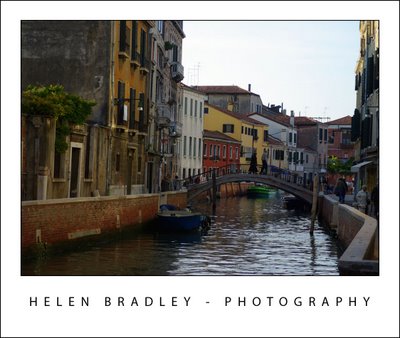
Grand Canal and minor canal photos:

That’s it for today.

Helen Bradley

Wednesday, December 12th, 2007

Color gone wild

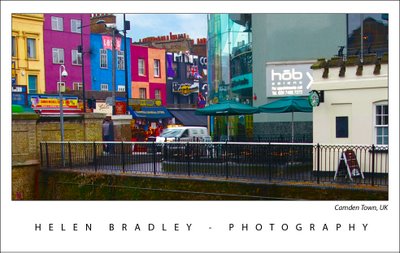
This is one of my UK images – it is of the lock area at Camden Town. Right in the middle of London there are waterways and locks, this is one of them. I took a trip in a long boat from here up the waterways and it was just wonderful. This photo, however is taken before the boat trip and it was just after a rain shower.

Often rainy days don’t look great for photography but they can rock like this photo shows. The fact that everything is wet helps boost the color and, with a flash of blue sky behind the buildings, it makes for a great shot of color.

Camden markets are a great place to visit, lots of cute shops selling lots of wonderful stuff. Worth putting on your “must visit” list – but while you’re there, don’t forget to add a trip on Jason’s long boats to the list. Those folk run even at off times of the year, the boats are old and cool and the trip, well, has to be experienced to be believed.

Helen Bradley

Friday, February 16th, 2007

Shameless Self Promotion

Ok, so it’s not exactly a tip of the day, but I already did today’s so I feel it’s justified.

I have lots of cool Photoshop tutorials around my site, check these out:

Photoshop Brushes tutorial
Learn how to create your own Photoshop Brushes

How to use Adjustment Layers
Make photoediting a simple and undoable process using Adjustment layers

Photoshop Gradients
Fix images and create colorful effects using Photoshop Gradients

Straighten an image in Photoshop, Elements and Paintshop Pro
Straighten your images with this simple to follow tutorial that covers the popular photoediting programs

Photoshop Shapes -New!
Helen Bradley explains how to use Photoshop Shapes to edit your photos and create fun shape overlays.

Create and use Photoshop Masks
Masks aren’t as hard as you think they are and this tutorial makes them simple to use.

Create seamless patterns in Photoshop
Whether you need them for the web or for a background for an Excel worksheet, here’s how to create great seamless patterns and we’ve included a mini tutorial on TV scan lines.

Color match photos in Photoshop
Even if your photos were taken in totally different lighting

Color Swatches in Photoshop
Create your own custom color swatches and use them in your photo editing work.

Ok, so that’s done, now back to the tips..

Helen Bradley

Thursday, February 8th, 2007

Excel 2007 goes total color!

It’s always been confusing to me and my readers why you have an unlimited number of colors to choose from in Word but only a handful of really ugly colors to use in Excel. It doesn’t make sense – do Word users have better design skills than Excel uses – do they think that those of us who create worksheets somehow won’t be blindsided by how ugly the color combinations we’re being served up are?

Well, if you’ve been hankering after a rich color palette for your worksheets, you need do so no more. Excel 2007 gives you access to a full range of 16 million colors from the colors dialog so that you can use these colors, for example, for formatting text, charts or drawn objects. You can also select a Theme which gives you instant access to colors that are selected from the same monochromatic group and guaranteed to look great together. The new and very colorful options in Excel 2007 are guaranteed to wow you!

Helen Bradley

Tuesday, February 6th, 2007

More colours in Excel 2003 and earlier

I don’t know why, but there are heaps of colors available in Word for formatting text and lines but only a small subset of colors are available in Excel. Does Microsoft think we don’t like color in Excel?

Unfortunately we can’t specify additional colours for use in Excel workbooks either but we can change the colours that are displayed in the color palette to a mix of what we do like. So, if pink isn’t your thing, you can replace all the pinks with colors you do like and will use.

To do this, in Excel, choose Tools, Options, Color tab and select a color to change. Click Modify to choose a new color in its place. Repeat as desired.

Helen Bradley

Page 4 of 41234