Creating repeating patterns in Illustrator can be a time consuming process but, with MadPattern, it can be simplicity itself.
MadPattern is a series of templates you can use to quickly and easily create repeating patterns in Illustrator CS4 and CS5.
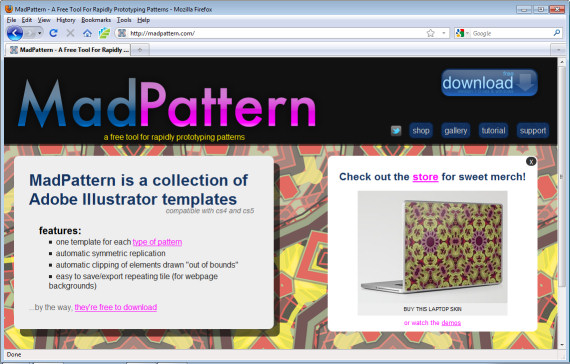
To get started, visit http://madpattern.com and click the download icon to download the zip file. Double click it and extract its contents.
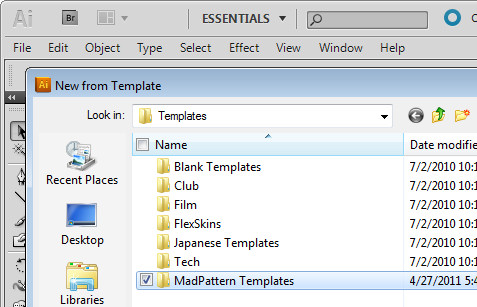
You’ll need to put these files in your Illustrator template folder. The easiest way to do this is to open Illustrator, choose File > New from Template to open the template folder. In Windows, right click and choose New > Folder and add a new folder for these templates. Drag and drop the templates that you just unzipped and extracted – they are all .ait files – into the template folder that you just created.
You can now select a template to get started with. I suggest you choose p3m1.ait at this point.
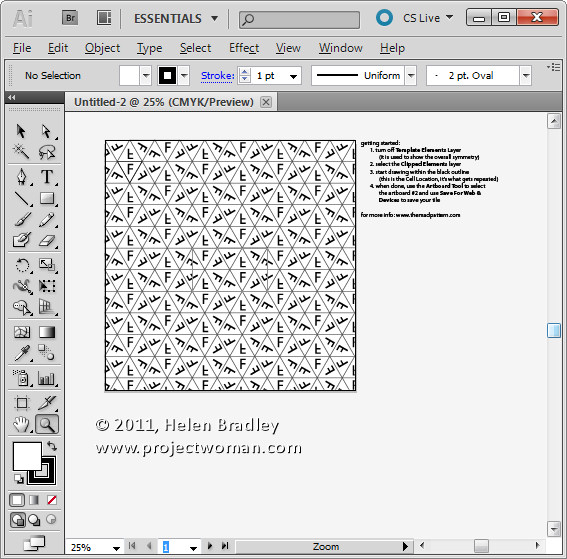
What you’ll see on the screen is a grid with characters and some instructions along the right of the screen.
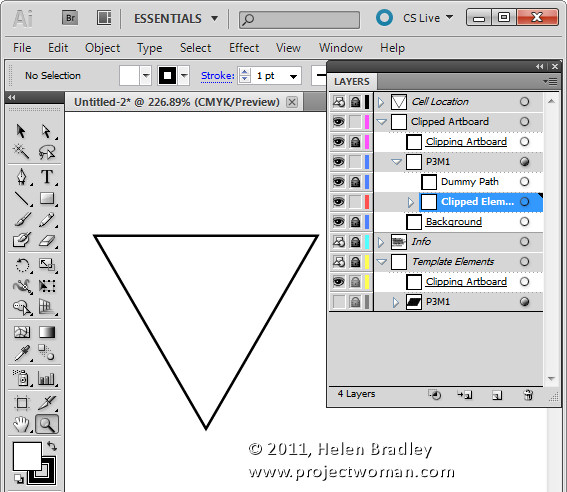
Open the layers palette (Window > Layers) and locate the bottommost layer which will be called p3m1 (the template’s name). Click its visibility icon to make it invisible.
You’ll now see clearly the triangle in the top left corner of the Artboard and a rectangle in the middle of it. Before you leave the layers palette, click the Clipped Elements layer to select it. This is the layer you will work on.
Use the Zoom tool to drag over the topmost triangle to make it larger – this is where you’ll create the image for your pattern.
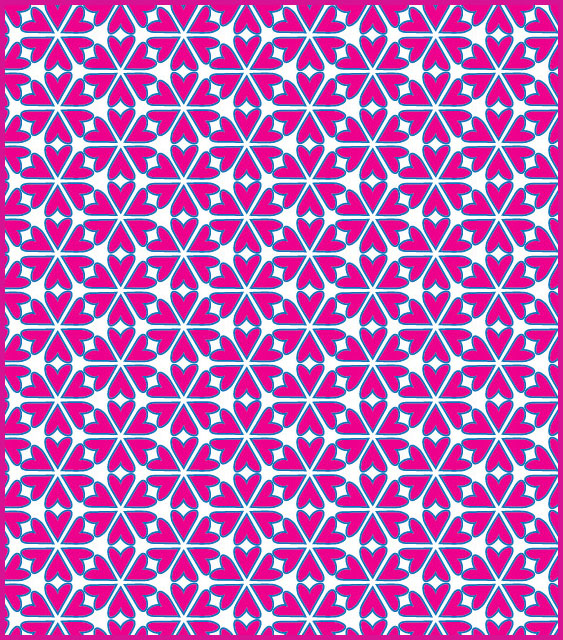
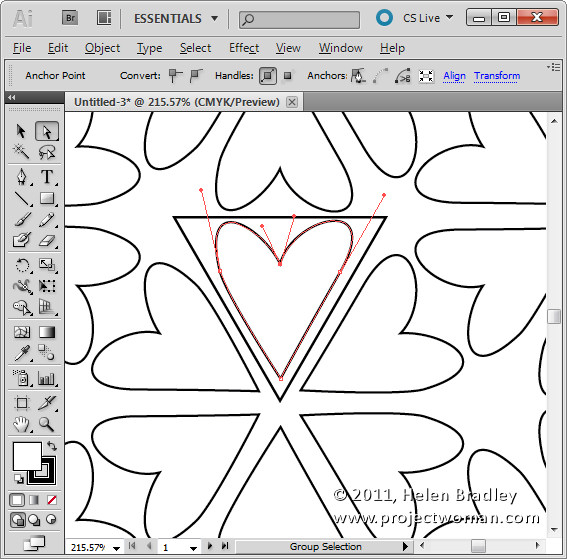
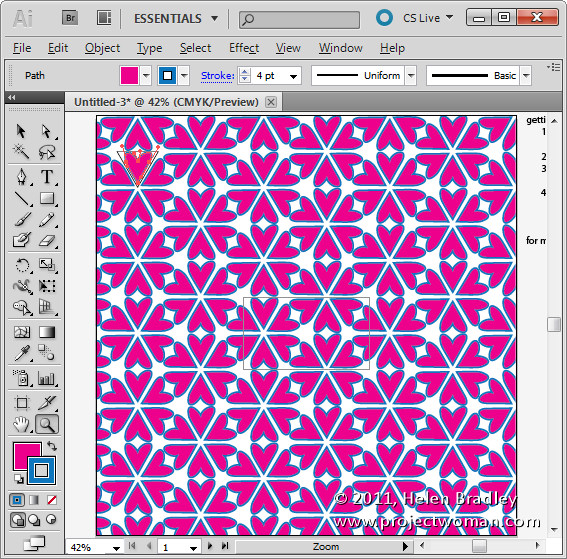
Create a shape within the triangle. For example, you can select the pencil tool and draw a wiggly line or use the pen tool. Here I’ve drawn a rough heart shape using the pen tool – as soon as the shape is created you will see it repeated across the Artboard.
You can now use the Direct Selection or any of your favorite tools in Illustrator to fine tune your shape – for now, keep the shape within the triangle.
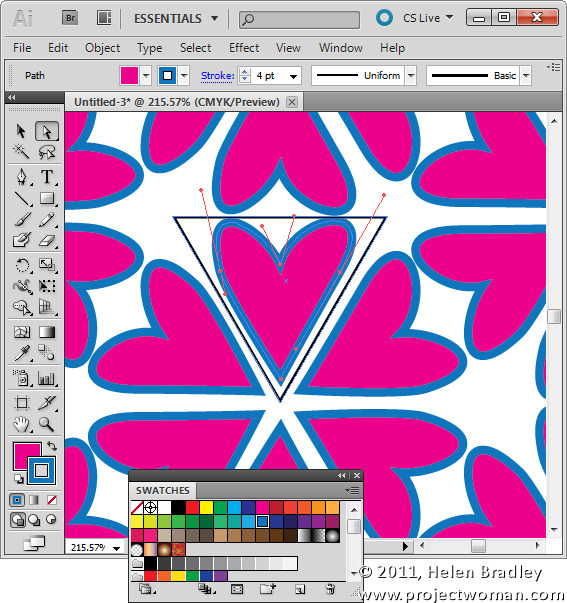
Choose a fill and stroke color for your shape.
Each of the templates in the MadPattern download contains the same basic elements and works in this same way. You will find a small triangle on the template in which you design your pattern and the remaining elements in the template take care of the rotation and duplication of the shape.
In this tutorial I’ve shown you how to design within the triangle shape but this is only the tip of the iceberg of what you can do – the edges in most templates can be used to create mirror shapes as I’ll show you in a future post.
In the meantime you can learn more about the math behind repeating patterns by visiting http://en.wikipedia.org/wiki/Wallpaper_group. This Wikipedia article includes reference to a 17 groups – click on any of them to learn more about the pattern. You can work backwards from this article by finding a pattern that has the elements that you want to use rotated as you want to see them and then identify which of the MadPattern templates you’ll need to use to create it.
I have also created a page showing thumbnails of all the MadPattern patterns so you can quickly preview them to see which ones you want to use.
In future blog posts I’ll show you how to change the background color, how to save and reuse your patterns and how to create way more complex patterns with ease.


