Tuesday, September 17th, 2013

Uninstall All Windows 8 Start menu Apps

If you’ve upgraded to Windows 8 you may have found that you have no use for Window’s new tiled Start menu apps. You might, like we have, found yourself frustrated when files automatically open in these apps instead of the programs you’ve been using for years. Well fear no more! You can uninstall apps permanently with just a few easy steps.

First, search for Windows PowerShell using Windows 8’s program search.

Right click it and, from the options that appear choose Run as an administrator.

With PowerShell open, type the following command and press Enter to delete all apps from all accounts on your computer:

Get-AppxPackage -AllUsers | Remove-AppxPackage
 
If you wish to remove the apps from your user account only then remove “-AllUsers” from the statement above.
Windows 8 will also automatically install the apps on any new user accounts you create in the future. To prevent this, type this command:

Get-AppxProvisionedPackage -online | Remove-AppxProvisionedPackage -online
 
You will now find that only programs that you have actually installed will appear in the Start menu tiles.

Helen Bradley

Friday, March 8th, 2013

Word 2013 Disable the Start Screen

Learn how to remove the Start Screen in Word 2013

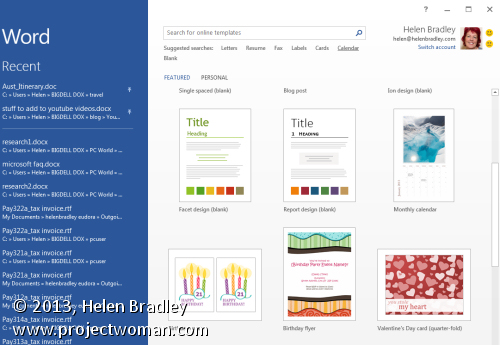
Do you hate the Start Screen in Word 2013? Many users find it cumbersome because it forces you to make a choice before continuing that many of us don’t want to have to make. Luckily it is easy to get rid of it.

If you just want to by pass it once, press Esc or Enter to open a new blank document.

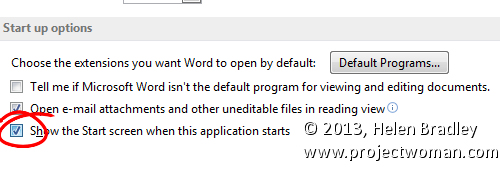
However you might want to go further and axe it permanently. To do this, launch Word and choose File > Options. In the screen there, the last option is to Show the start screen – disable the checkbox and click Ok. The start screen will be gone and, if you miss it, you can always reinstate it!

Helen Bradley

Monday, April 16th, 2012

Making Groups in Windows 8

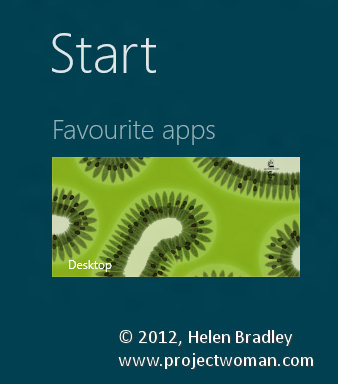
In Windows 8 Metro you can name groups of tiles so they have headings on the Start screen and you can drag groups around. Pity that nothing on the screen makes it clear that this is something you can do.

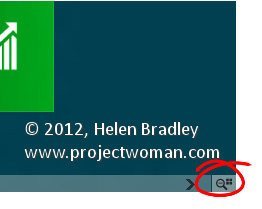
To do this, first use the semantic zoom to shrink the start menu tiles so they are very small.

step 1

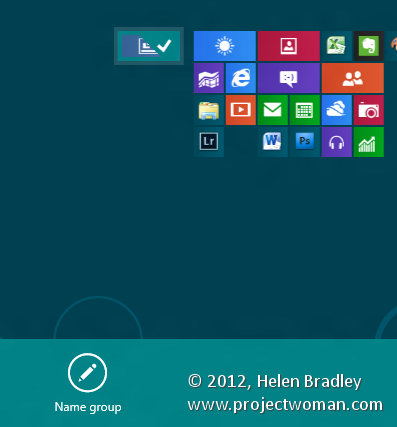
Then right click a tile in the group of tiles you want to name.

step 2

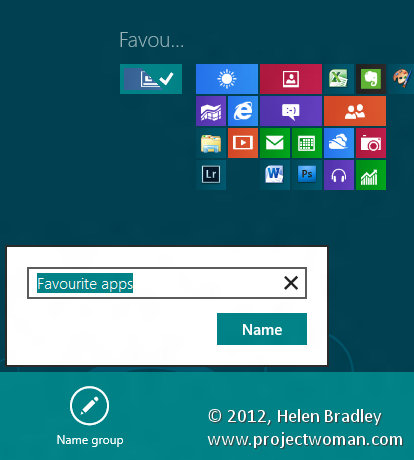
A dialog pops up where you can type the group name. This only appears when you are zoomed out making it hard to find.

step 3

When you’re done, zoom out and you’ll see the group named. You can now drag and drop tiles into the group to help keep things nicely organized on the Windows 8 Metro Start screen.


Helen Bradley