


Photoshop has a great tool for creating patterns which – on the face of it – is of little use to the average photographer. That is, until you begin to explore its creative possibilities and one of these is creating an overlay of lines on your image, much as you might see on a photo captured from a TV.
I’ll show you how to create a line pattern, how to apply it as an overlay on the image and then how to blend it into your photo for a creative effect.
Step 1
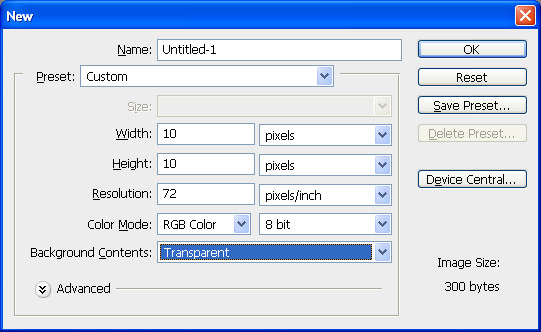
To create the pattern for the lines, start with a new Photoshop document that has a Transparent background and that is, say, 10 by 10 pixels in size.
Step 2
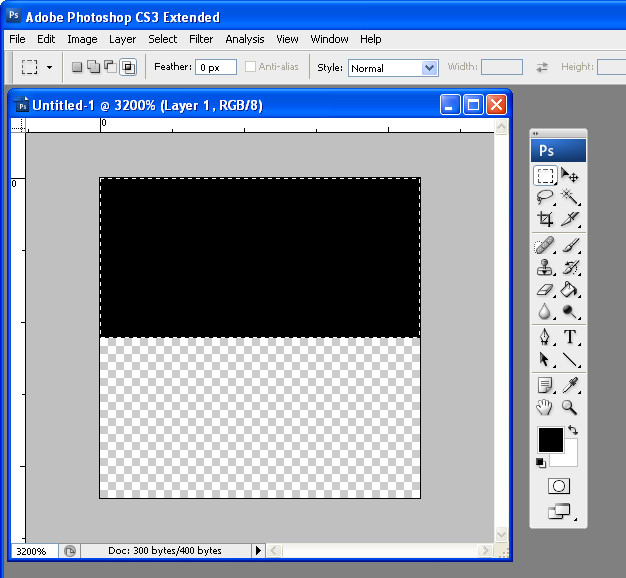
Set the foreground color to black. Zoom in to the image and select the top half of the square. Now press Alt + Backspace (Option + Backspace on the Mac) to fill the selection with the foreground color.
Step 3
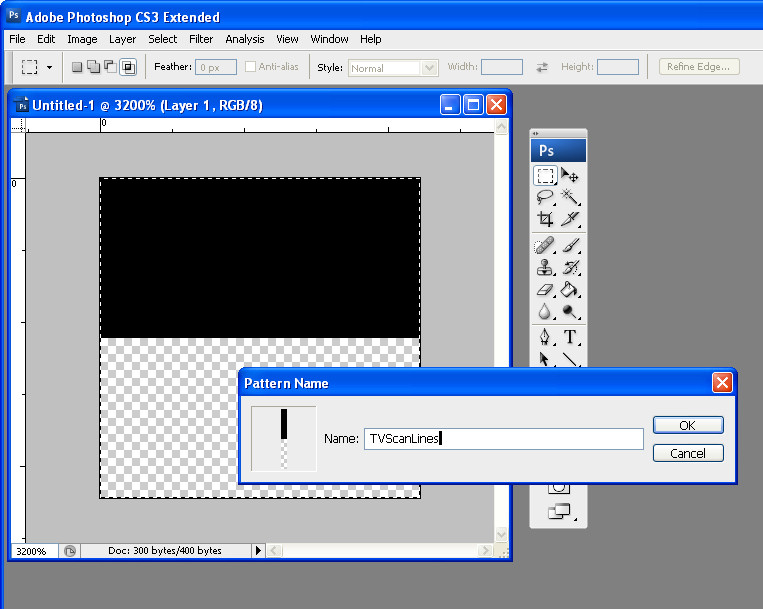
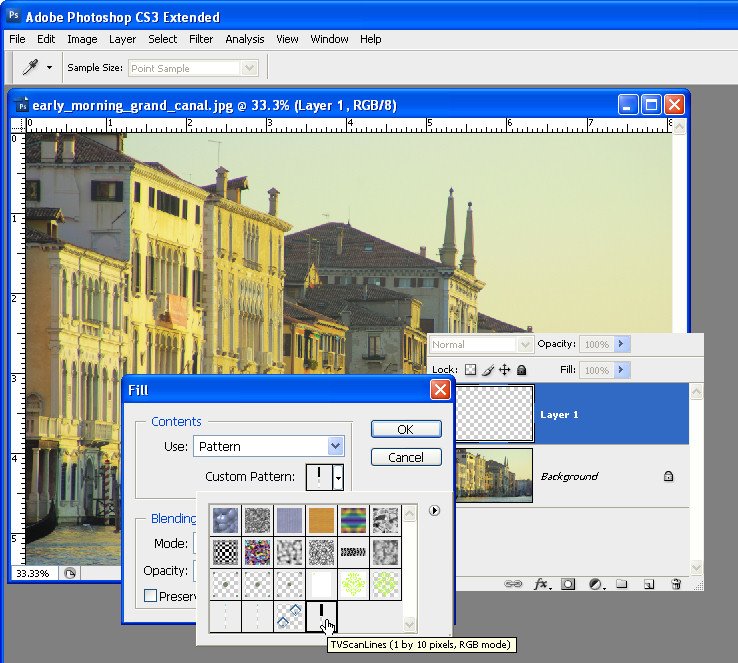
Select the image by choosing Select > All – you must select both the black and the transparent portions as together they are your pattern. Choose Edit > Define Pattern and type a name for your pattern – call it TVScanLines or something similar and click OK. Close the image.
Step 4
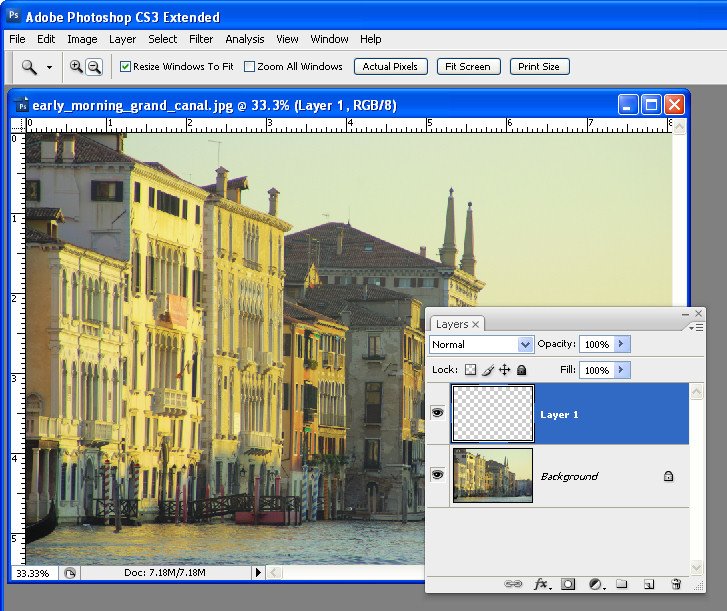
Open the image to add your scan lines to. Add a new layer for the lines by choosing Layer > New > Layer and click Ok.
Step 5
To fill the layer with the scan lines, choose Edit > Fill and, from the Use list, choose Pattern and open the Custom Pattern swatch. Your pattern will be the last in the list so click it and click Ok to fill the new layer with the pattern.
Step 6
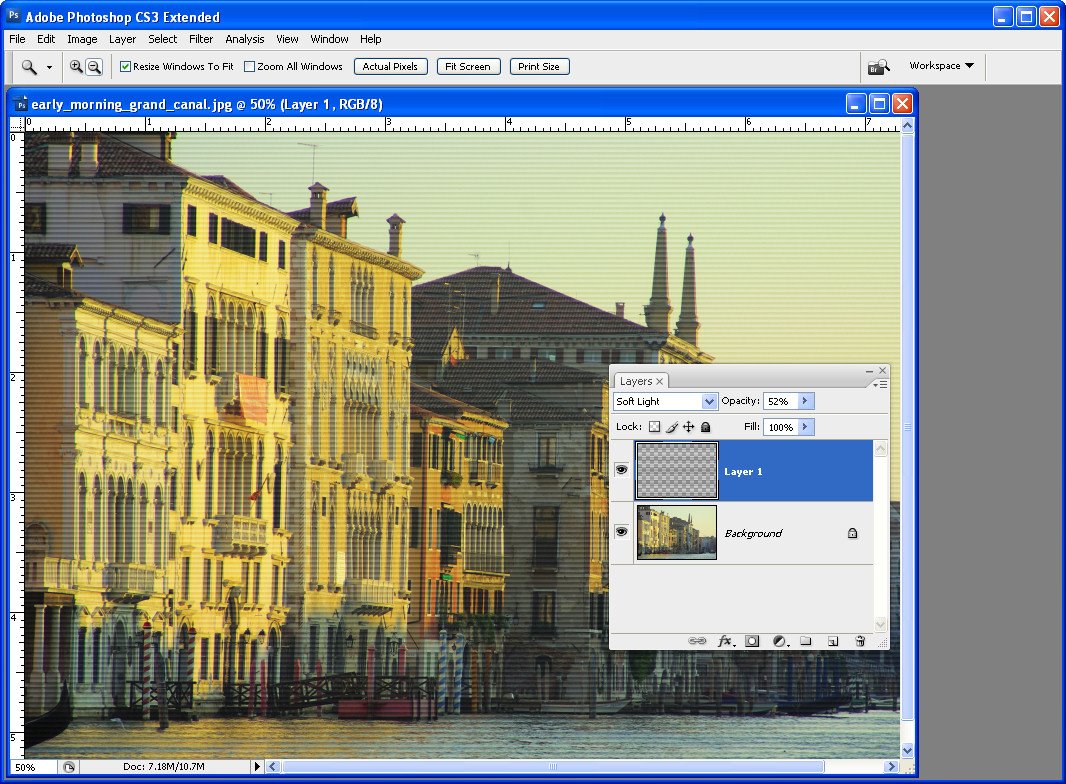
Select a Blend Mode from the Blend Mode dropdown list – something like Overlay or Soft Light generally works well. Reduce the Opacity until you get a result you like.
For this image I chose Soft Light blend mode and set the Opacity to 52%.
Tips
In step 4 you can select an area on the image and then apply the scan lines to only a portion of the image.
While this pattern isn’t so complex that it would be a nuisance to have to recreate it, many of your patterns may be more complex. To save a pattern choose Edit > Preset Manager and select the Patterns from the Preset Type dropdown list. Select the Patterns you have created and click Save Set to save them as a file on disk so you can load them again if you lose them.
Horizontal lines are not the only pattern you can use for this effect – try creating a pattern of diagonal or vertical lines or create a checkerboard one.
This process works exactly the same way in Photoshop Elements.
Ready to learn more? Here are links to two more fun and creative Photoshop tutorials:
Orton Effect in Photoshop