|
|
|
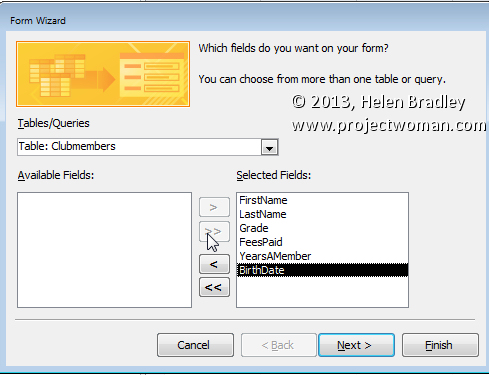
Create a Data Entry form for an Access databaseLearn to create a form to make entering data into your database easier While it is easy enough to enter data into a table using the table datasheet view in Access, it is more professional to use a custom form. Follow these steps to create a data entry form for the database we created in the First Steps with Access 2013 step by step tutorial: Start the Form Wizard From the Tables/Queries dropdown list choose Clubmembers and, as you'll be entering data for all the fields in the table click the double chevron (>>) to move all the fields to the window on the right. Click Next.
From the list of layout options choose Columnar and click Next. Name your form Club Members and select the Open the form to view or enter information option and click Finish. Use the new Form Use the navigation buttons at the foot of the screen (First Record, Next Record, Previous Record, Last Record) to move through the records in the table. You can also enter a new record by clicking the New (blank) record button. Do this and enter data for this player: Sam Cousens, Grade: B, Fees unpaid, a member for 2 years born on 3/7/1978. Edit the form and add an image To resize the image, right click the image and choose Properties and click the Format tab. Set the Size Mode to Zoom and the Picture Alignment to Top Left and then use the sizing handles to size the image.
You can also resize some of the form text boxes if they are overly large. When you are done, choose Home > View > Form View to return to using and viewing your form.
These posts take you to other Access database posts: Query your Access data - Learn how to write queries to find information in your Access data base Relational databases - Learn to create a relational database in Access
|
|
|
(c) 2019, Helen Bradley, All Rights Reserved. |


