If you have an iPad and if you have upgraded to the new iOS 5 then you can take advantage of the free iCloud and iWork tools for synching files and storing them in the Cloud. iCloud allows you to synch not only photos but also data such as files across your devices. So you can use this new technology to share Microsoft Office documents with Numbers, Keynote and Pages on your iPad. And you do this on your PC using a browser and by passing iTunes – something I for one am really glad about.
So, if you’re using a Windows PC, you can automatically access documents that have been sent from the iPad to the iCloud without needing to plug your iPad into your computer or use iTunes. It is a long over due technology and it provides a more professional approach to the task of file exchange – not to mention it will solve the problem that some users experience where their network administrators block iTunes.
Getting this all configured is simple but it is far from intuitive. Nowhere could I find step by step instructions so I had to piece this stuff together bit by bit. Hence this post – it will explain all you need to do. From start to finish, I’d allow about 1.5 hours – if you finish early that’s a bonus but none of this stuff is totally trivial so allow time to get it all done.
Start by updating iTunes to 10.5 on your PC. If you haven’t done this – you do this from inside iTunes. Then, connect your iPad to your PC and update the iPad to iOS 5 – this might take some time depending on how much data you have on your iPad as everything will be backed up – then reinstalled once the operating system is updated.
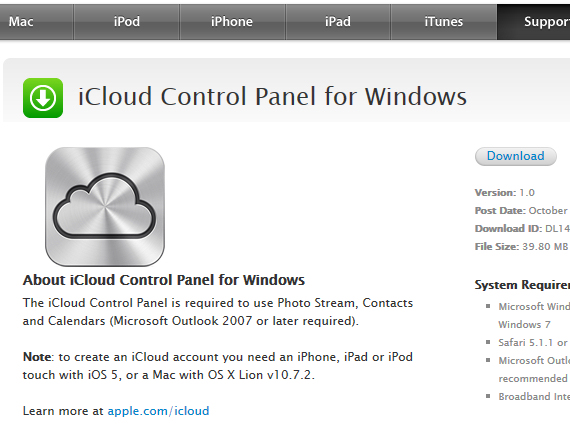
While iTunes is updating and iOS 5 is being configured, you can – on your PC – visit the Apple site at http://support.apple.com/kb/DL1455 and download and install the iCloud control panel for Windows.
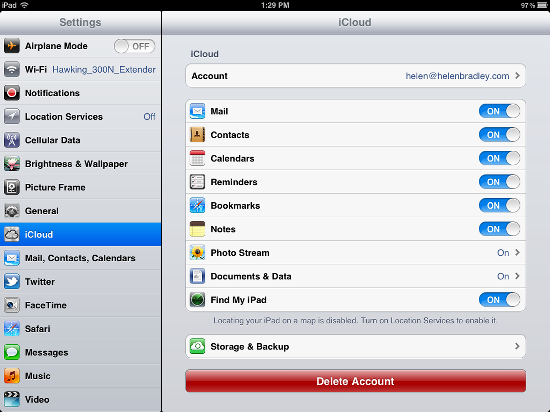
Back on your iPad when everything is running again, go into Settings and create your iCloud account.
On the iPad, in Settings > iCloud you can set up syncing for email and other items such as your Photo Stream and Documents & Data. For Documents & Data you have a choice of using your cellular data plan to upload or Wi-Fi only – for your Photo Stream you can only synch this using Wi-Fi.
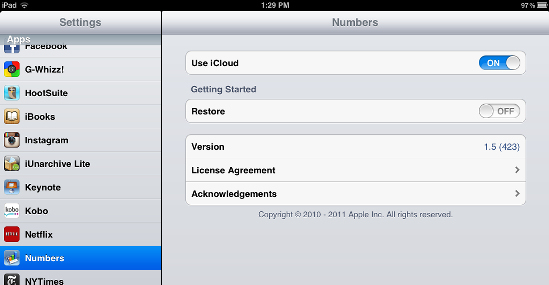
If you have Numbers, Pages and/or Keynote installed, in Settings select these each in turn and enable the Use iCloud option – you need to turn this On before any of these apps will access iCloud.
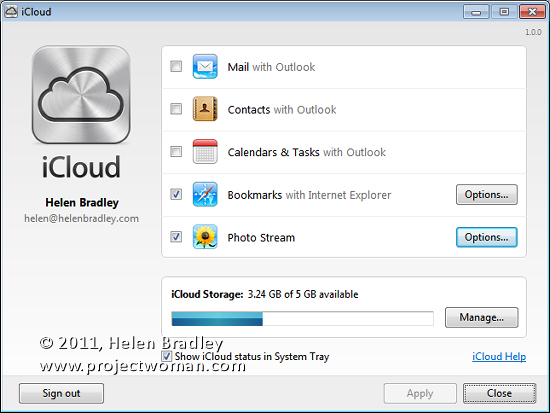
iCloud can be accessed on your PC by opening the system tray and clicking on its icon – if it isn’t there, choose the Start menu and type iCloud. Use the settings to configure how and what you want your iCloud and iPad to share. For example, click Photo Stream and configure a folder for images to upload to the iPad and one to use to download into. On the PC you can select whether email, contacts and Calendars & Tasks should be shared with Outlook. I suggest you backup your Outlook pst file before you even consider enabling this!
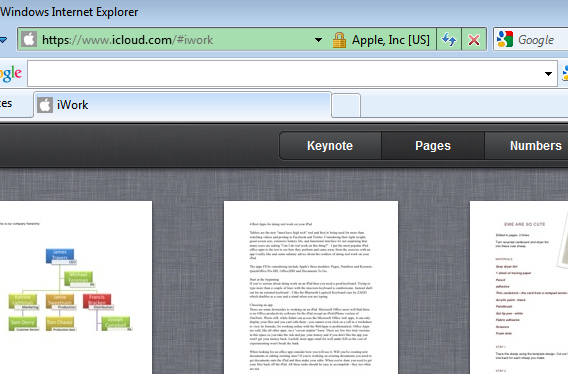
So far you have everything working except your documents. For this, confusingly enough, you head back to your PC and crank up your browser and visit www.icloud.com. Sign in using your Apple ID. If prompted you should download and install the browser plug-in.
Here you will find links for Keynote, Numbers and Pages. Click on one of them to view the documents synched from your iPad – first time you do this it might take a while as the synching takes place.
In future, every time you create a document on your iPad or edit one it will be synched automatically and will appear in this list.
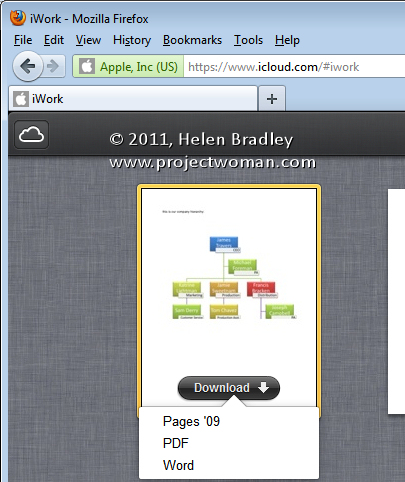
Although it is not obvious that you can do this, you can also drag and drop a document, spreadsheet or PowerPoint document into the appropriate panel and it will be synched with your iPad. You can double click a document in the list to download it to the appropriate application on your computer – here I’ve chosen a Pages document which will open in Word.
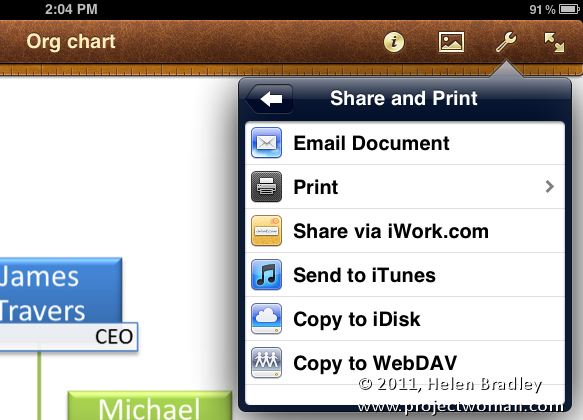
You can also now share documents with others who have Apple IDs using iWork. So, on your iPad, open a document, spreadsheet or presentation and click Share and Print (it looks like a spanner) and choose Share via iWork.com. Type the email address of the person you want to share it with and they will receive an invitation to view the shared document:



Hi, this is a great post! Thanks..
EasyCloud for OS X, their Utility app that allows Mac users to simply drag and drop data files into the EasyCloud Drop Window to have those files immediately available on all their Macs and iDevices. The app’s two functions, Drop and Mac to Mac, support the following file types via iCloud: .pages (iWork), .numbers (iWork), .keynote (iWork), .doc (Microsoft Word), .excel (Microsoft Excel), .ppt (Microsoft Power Point), .txt (TextEdit Application), etc. The Drop function sends files directly to all the user’s iDevices containing the matching app and via a common iCloud account. The Mac to Mac function enables both syncing and file sharing between Macs sharing the same iCloud account. A browser window displays all files available for sharing between Macs, files can be opened or deleted, and the list refreshed.
http://www.kandalu.net/products/easycloud
Very nice blog post. I definitely love this site. Thanks!
That is really attention-grabbing, You are a very professional blogger. I’ve joined your rss feed and stay up for in quest of more of your fantastic post. Also, I have shared your web site in my social networks
Thank you for sharing your info. I truly appreciate your efforts and I will be waiting for your further post thank you once again.
Good post. I learn something totally new and challenging on blogs I stumbleupon everyday. It’s always interesting to read through content from other authors and practice a little something from their sites.
Nowadays PC and iPad plays a very important role in our life. So does the iWork and iCloud, as iCloud is related to storing of backup of documents on the network. So it is very important to set up the PC and iPad properly to store the backup files correctly.