Monday, September 29th, 2014

Merging two layers into one in Photoshop

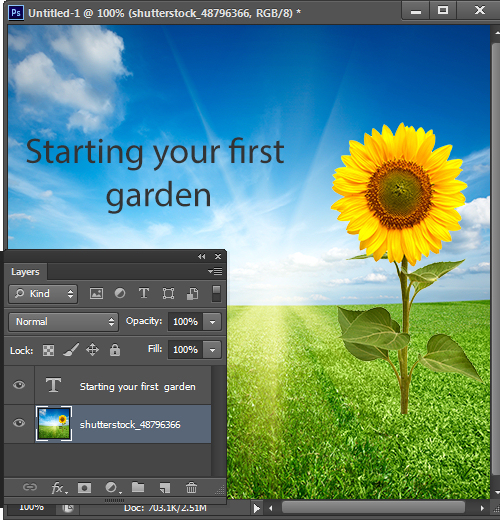
Learn a handy keyboard shortcut to merge two layers in Photoshop

One simple trick but one that comes in handy constantly for me is merging two layers into one in Photoshop. This trick can save your life with so many Photoshop projects that require two images to be merged to a single layer.

Make sure the layers you wish to merge are on top of each other in the Layers palette. Click on the thumbnail of the top most layer of the two you want to merge.

Press Control/Command + E.

Now your layers are merged.

Something to keep in mind is the new layer when it does merge will take the name of the layer on the top.


Friday, September 19th, 2014

How to center a layer in a Photoshop document


Image Credit: © 2014 freeimages.com, anitab0000

Help! How to center a layer’s contents in Photoshop

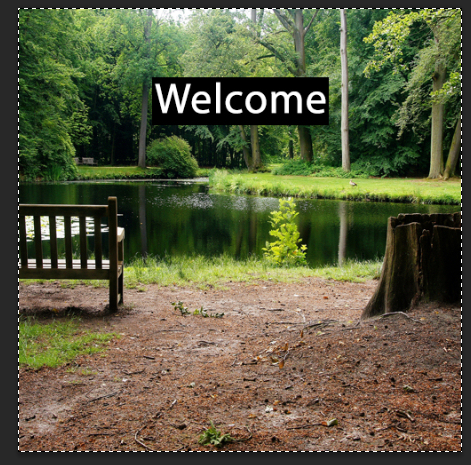
Whether you’re making a simple document, newsletter or editing a photo a necessity is being able to center your layers. This task took me by surprise as to how challenging it was but in a few steps it can easily be done.

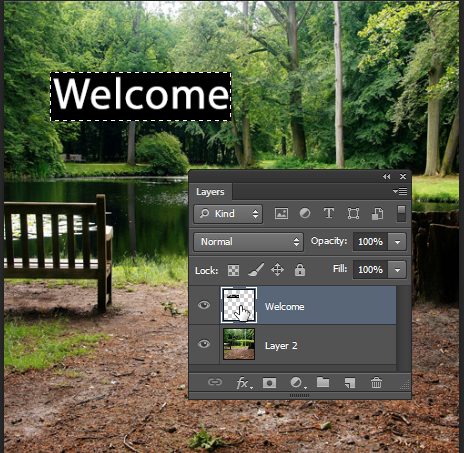
First press Control + click (Command + Click on the Mac) on the layer thumbnail for the layer you want to center in your Layers panel.

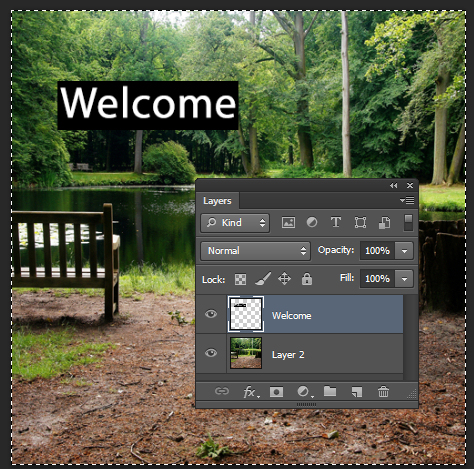
Click Select > All (Control/Command + A). This selects the entire image. You can tell this is done by the marching ants around your full image.

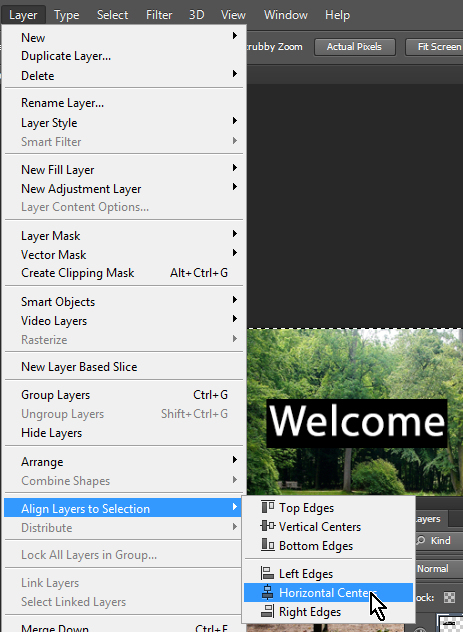
Click Layer >Align Layers to Selection > Horizontal Centers.

Notice that your layer is now centered horizontally. You can do the same vertically by choosing Layer >Align Layers to Selection > Vertical Centers.

Press Control/Command + D to deselect your layers.

Now your layer content is deselected and aligned horizontally (and/or vertically) and you’re free to continue editing.

Saturday, September 13th, 2014

Activate Photoshop’s Full List of Filters

Despite their existence in earlier versions of Photoshop some categories of filters are mysteriously missing from the menus in Photoshop CS6, Photoshop CC and Photoshop CC 2014. This is the default behavior so you won’t find the Artistic, Brush Strokes, Sketch, Stylize or Texture category of filters in the Filters menu. This is a problem if you use these filters so luckily you can bring the filters back when you know how.

It turns out that an option in the Preferences menu acts as gatekeeper for displaying the missing filter categories. To re-enable them, select Edit > Preferences > Plug-Ins…. Then check the box that reads Show all Filter Gallery groups and names. Click OK and restart Photoshop. This will put the filter categories back in the Filters menu.

Now you could have accessed the missing filters from the Filter Gallery but the way the filters are named in the Layers palette is different if you access them from the Filter Gallery rather than from the menu itself. So, if you use Convert for Smart Filters to create a smart object before applying the filters and if you start a filter from the menu then the filter name appears below the layer so you can tell the name of the filter you are applying. This image shows this situation:
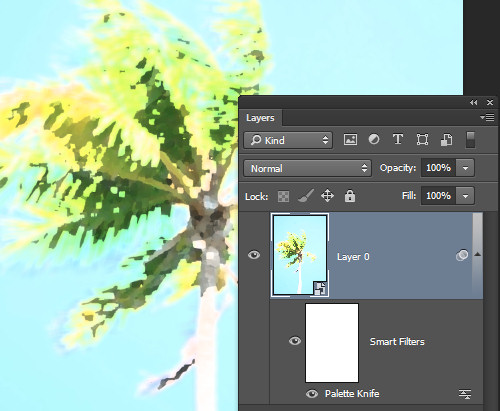
If, on the other hand, you start your filter from the Filter Gallery the Layers palette simply shows Filter Gallery – with no indication of which filter you applied. This is what the Layers palette looks like – not very helpful at all.
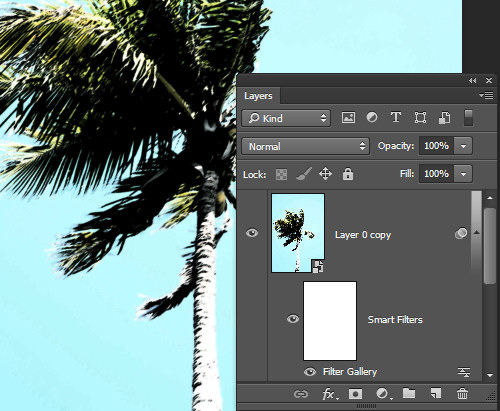
In short, having the filters back on the menu and selecting them from there is the better option.

Be aware too that the Oil Paint filter was removed from Photoshop CC 2014 so it is gone for good.
Wednesday, September 10th, 2014

Select Unflagged Photos in Lightroom

Need to check what you didn’t pick in Lightroom – here’s how!

My workflow for choosing the best of my photos in Lightroom is to go through the photos in a folder and either click the Pick flag, the Reject flag or simply move past the photo onto the next one. Now sometimes I’d like to review the photos that I  haven’t picked – they aren’t the best but they aren’t rejects. I will do this just in case there are some good images I have overlooked.

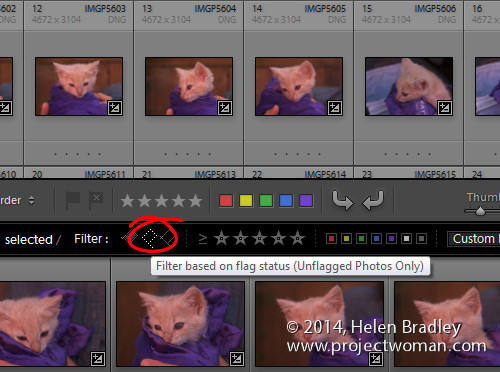
So, how do you display only the unflagged photos? Luckily it’s dead easy to do this.

These icons across the top of the filmstrip are, from right to left: Show Flagged Photos (ie Pick Flag is on), Show Unflagged photos (no flag present) and Show Rejected photos (Reject flag on).

So, click the middle flag to see only those photos that don’t have either the Pick or Reject flags enabled.

Now, if you add a Pick (or Reject) flag to one of the images it will immediately disappear from view – that’s because this filter is a live filter – it only shows the unflagged photos and as soon as a photo has a flag it no longer matches the filter so it is removed from view.

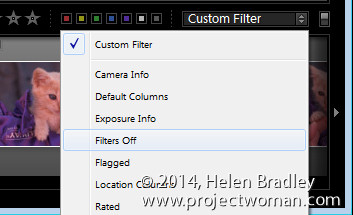
Of course, when you are done, make sure to select Filters Off from the Filters: list (or click the same flag a second time) to return to viewing all your photos.


Tuesday, September 9th, 2014

Find Your templates in Microsoft Office – Mac

Need to manage your Microsoft Office templates but can’t find them?

It’s not easy to find the templates folder on your Mac. You might know it is My Templates but a typical search in Finder won’t turn it up.

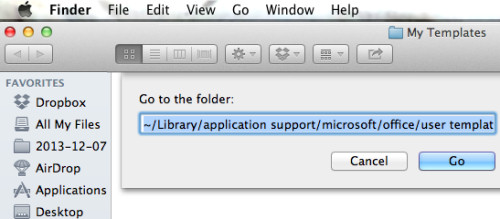
Luckily help is at hand. Launch Finder and choose Go > Go to Folder. Now paste this folder name into the search box to go to your My Templates folder where you can now see and manage your templates!

~/Library/Application Support/Microsoft/Office/User Templates/My Templates