Tuesday, December 5th, 2017
Quickly Launch Task Manager with one keyboard shortcut
I have been helping people fix computers that aren’t behaving and moving from an old computer to a new one. It seems like I am spending half my time launching the Task Manager to fix issues. Eventually it dawned on me that I can save myself a lot of messing around with pressing Control + Alt + Delete and selecting Start Task Manager by quickly going direct to the Task Manager. It’s simply a case of learning a new shortcut. Imagine that? One keystroke shortcut to get direct to the Task Manager.
So, here it is – remember and use it!

Simply press Control + Shift + Esc
Why not try it out now, practice it and you’ll seldom need to use Control + Alt + Delete ever again.
Labels: keyboard shortcut, start task manager, task manager, windows
Categories:General, Windows
posted by Helen Bradley @ 10:30 amNo Comments links to this post
Saturday, October 10th, 2015


When the Mac keyboard shortcut doesn’t work – here’s how to fix it!
In Word on the PC you can click in a paragraph or select a paragraph or two (or even a row in a table) and move it up and down the document using Shift + Alt + Up Arrow of Shift + Alt + Down Arrow.
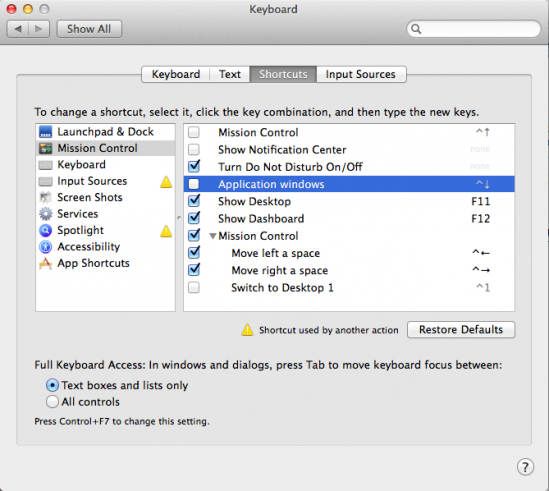
Sadly on the Mac this doesn’t work the same. The Mac keystroke is a little different – press Shift + Control + Up Arrow or Shift + Control + Down Arrow. So far so good – problem is that these are the exact same keystrokes that display Mission Control and Application Windows on the Mac so they don’t work. That is until you fix them to work.
Now I don’t use Mission Control at all so I have no need to go backwards and forwards between Mission Control and Application Windows and, worse still, I often hit those keys by mistake so I can easily live without this shortcut. Turns out, if you disable that Mac default shortcut then the Word one works.
To do this, launch System Preferences and select Keyboard > Shortcuts. You need to disable two options here – Mission Control and Application Windows so deselect the two checkboxes and close the window. That’s all there is to it. Now the keyboard shortcuts Shift + Control + Up Arrow and Shift + Control + Down Arrow work just fine in Word for the Mac.
It’s the small things that put the biggest smile on my face. This is a small change but I use it every day and I love it – hope it works for you too!
Labels: disable mission control, keyboard shortcut, mac keyboard shortcuts, Microsoft Word, move paragraph, preferences, shift control down arrow, shift control up arrow, shortcut, word mac
Categories:Mac, office
posted by Helen Bradley @ 8:56 am12 Comments links to this post
Friday, July 31st, 2015
Move to the top or bottom of a Word Document on a Mac
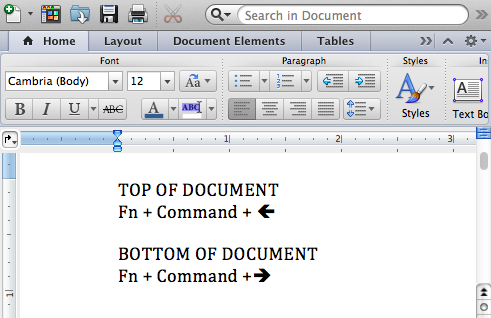
From a file labelled stupid commands comes this one for getting to the top or bottom of a Word document on the Mac. You see simple commands like Page Up and Page Down which work on a PC fail spectacularly on a Mac so most hapless users just use the arrow key (a lot) or scroll bars to get around a Word document.
Smart users know there is a key combination that will do it, but it uses the Left Arrow and Right Arrow keys – I kid you not! How stupid is that? However, since it is useful (albeit stupid), I’ll tell you how. To get to the top of the document use Fn + Command + Left Arrow and to get to the bottom of the document use Fn + Command + Right Arrow.
So, now you know and you can move faster around your documents. Just try explaining that key combination to a friend and hold your tongue as they look at you like you’re nuts.
Labels: end of document, keyboard shortcut, mac, shortcut key, top of document, Word
Categories:Mac, office
posted by Helen Bradley @ 8:32 amNo Comments links to this post
Wednesday, December 10th, 2014
Switch between the Dodge and Burn tools with one key press
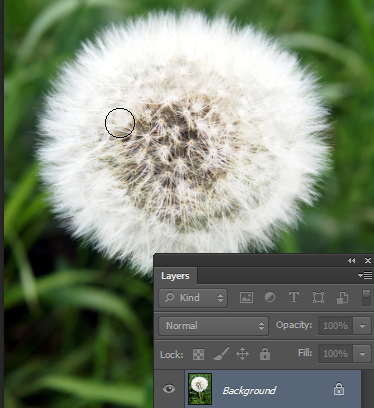
While you are making small photo edits one easy trick that could save you a lot of time is switching between pairs of editing tools like Dodge and Burn with one key press.
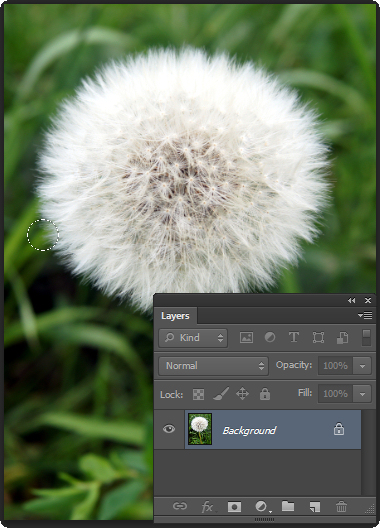
So to change from the Dodge to the Burn tool (or vice versa), hold down the Alt key (Option on the Mac).

While you have the Alt key (Option key) held you will be using the other tool. Let go the Alt (Option) key to return to the original tool you were using.

Now you can easily move back and forth between tools to speed up your edits.
Photo credit: © anitab0000 freeimages.com
Labels: Alt, burn, dodge, edit photos, editor, keyboard shortcut, option, Photography, photos, Photoshop, quick, quick tool, shortcut key, tools
Categories:Mackenzie Tip, photoshop
posted by mackenzieerb @ 6:00 amNo Comments links to this post
Friday, November 21st, 2014
Quickly change the brush size (without using the slider)
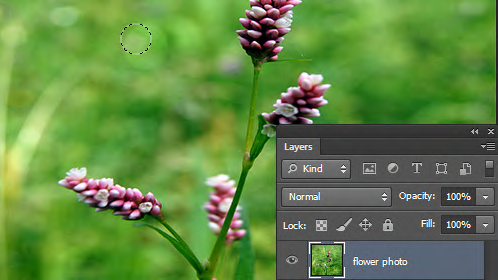
When you’re using any tool in Photoshop that uses a brush such as the Brush itself, Eraser, Dodge, Burn and many others, you can change the size of the brush using a keyboard shortcut rather than having to use the size slider. This fast and easy shortcut can save you a lot of messing around.
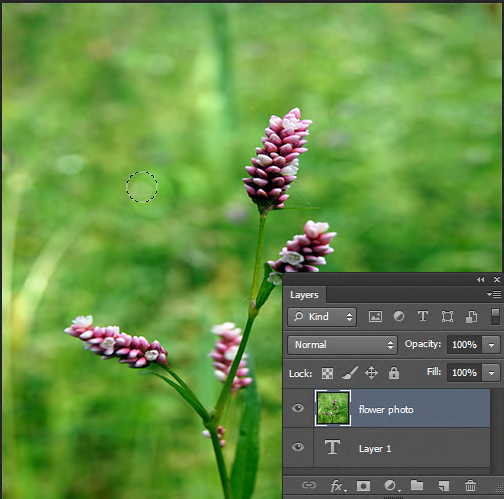
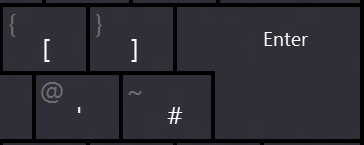
To change the size of the brush for any tool that uses it, press the opening square bracket key ([) to decrease the size of the brush and press the closing square bracket key (]) to increase the size of the brush.
Notice from the top image to this one the brush has increased in size (I pressed the keyboard shortcut ] to do this) and I can easily make my adjustments without having to mess around with the brush size slider.
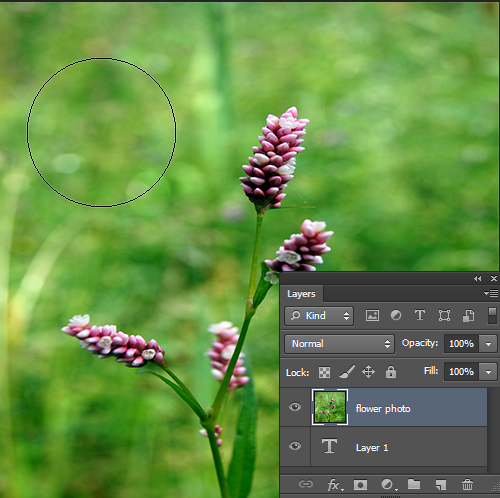
Photo credit: © anitab0000 freeimages.com
Labels: [ bracket, bracket key, brush size, burn, change brush size, dodge, edit photo, keyboard shortcut, Photography, Photoshop, quick tip, shortcut key, size slider, sponge tool
Categories:Mackenzie Tip, photography, photoshop
posted by mackenzieerb @ 6:00 amNo Comments links to this post
Monday, September 29th, 2014

Learn a handy keyboard shortcut to merge two layers in Photoshop
One simple trick but one that comes in handy constantly for me is merging two layers into one in Photoshop. This trick can save your life with so many Photoshop projects that require two images to be merged to a single layer.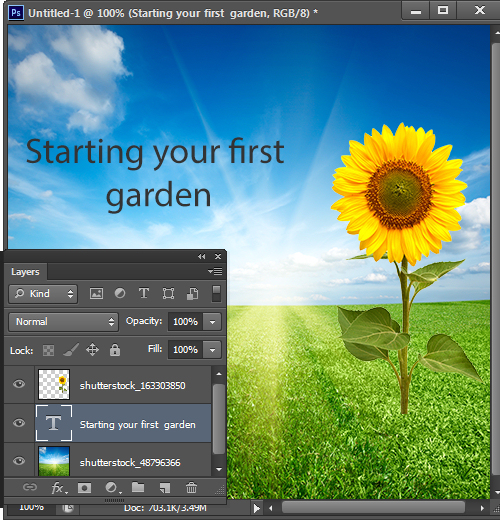
Make sure the layers you wish to merge are on top of each other in the Layers palette. Click on the thumbnail of the top most layer of the two you want to merge.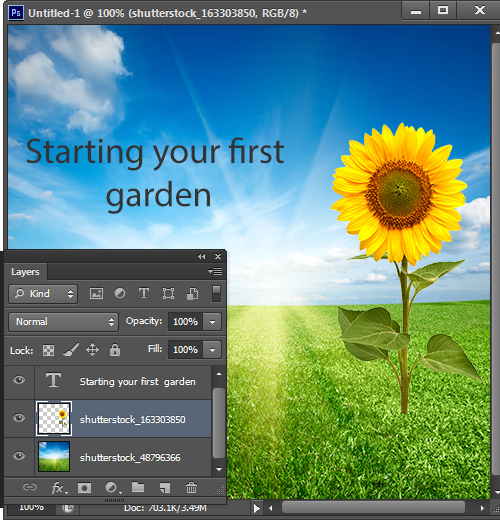
Press Control/Command + E.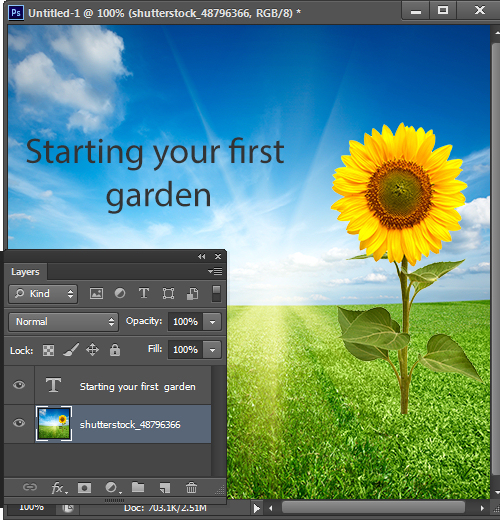
Now your layers are merged.
Something to keep in mind is the new layer when it does merge will take the name of the layer on the top.
Labels: images, keyboard shortcut, Layers, merge, merging layers, Photoshop, tips
Categories:Mackenzie Tip, photoshop
posted by mackenzieerb @ 2:44 pmNo Comments links to this post
Saturday, March 15th, 2014
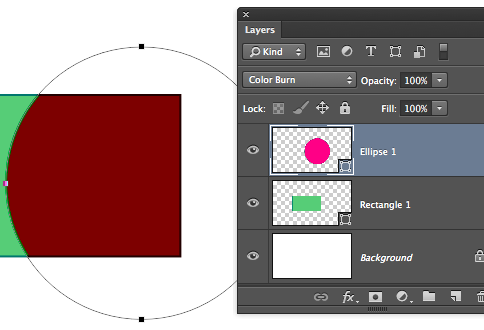
scroll through blend modes on the mac
by Helen Bradley
Learn the keystrokes that help you quickly scroll through blend modes in Photoshop on the PC and Mac
On the PC, being able to scroll through the blend modes in the Layers palette is a simple as selecting one blend mode in the list then use the Up Arrow and Down Arrow key to go from one to the next.
On the Mac, it isn’t as easy but it (thankfully), can be done.
On the Mac, click in the Blend Modes list and select a blend mode. Then use the Shift + + or Shift + – keys to scroll up and down the list. Unlike on the PC, the Mac keys roll you around the list so, when you reach the bottom and press Shift + + once more you go right back to the top. Neat huh?
Helen Bradley
Labels: blend modes, keyboard shortcut, layer palette, mac, pc, scroll, scroll blend modes
Categories:Mac, photography, Windows
posted by Helen Bradley @ 5:44 pmNo Comments links to this post
Monday, April 29th, 2013

Show/Hide Panels with the Function Keys
Use the function keys F5, F6, F7 and F8 to clean up your Lightroom screen.
F5 controls the visibility of the top panel, F6 controls the bottom (Filmstrip) panel, F7 controls the left panel, and F8 controls the right panel. Pressing any one of these keys will hide or display the appropriate panel.
To hide all the panels, press Shift + Tab. To bring them back again, press Shift + Tab again.
Helen Bradley
Labels: bottom panel, F5, F6, F7, F8, filmstrip, function, Function key, Hide, key shortcut, keyboard shortcut, left panel, Lightroom, panel, right panel, shift, Shift+Tab, shortcut, show, show/hide, Tab, top panel, visibility
Categories:Lightroom, photoshop
posted by Helen Bradley @ 7:38 amNo Comments links to this post


