Wednesday, December 10th, 2014

Switch between the Dodge and Burn tools with one key press
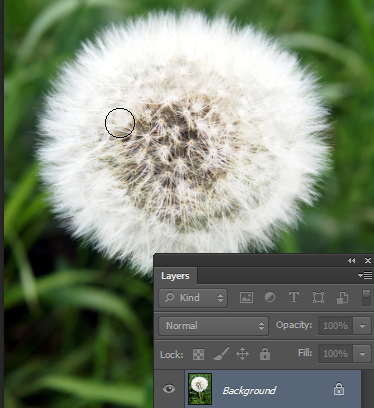
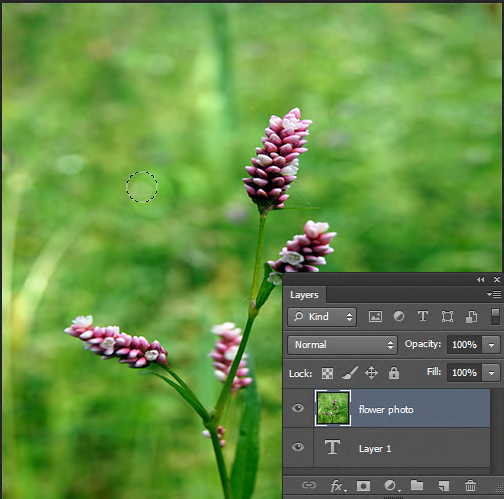
While you are making small photo edits one easy trick that could save you a lot of time is switching between pairs of editing tools like Dodge and Burn with one key press.

So to change from the Dodge to the Burn tool (or vice versa), hold down the Alt key (Option on the Mac).

While you have the Alt key (Option key) held you will be using the other tool. Let go the Alt (Option) key to return to the original tool you were using.

Now you can easily move back and forth between tools to speed up your edits.
Photo credit: © anitab0000 freeimages.com
Labels: Alt, burn, dodge, edit photos, editor, keyboard shortcut, option, Photography, photos, Photoshop, quick, quick tool, shortcut key, tools
Categories:Mackenzie Tip, photoshop
posted by mackenzieerb @ 6:00 amNo Comments links to this post
Friday, November 21st, 2014

Quickly change the brush size (without using the slider)
When you’re using any tool in Photoshop that uses a brush such as the Brush itself, Eraser, Dodge, Burn and many others, you can change the size of the brush using a keyboard shortcut rather than having to use the size slider. This fast and easy shortcut can save you a lot of messing around.

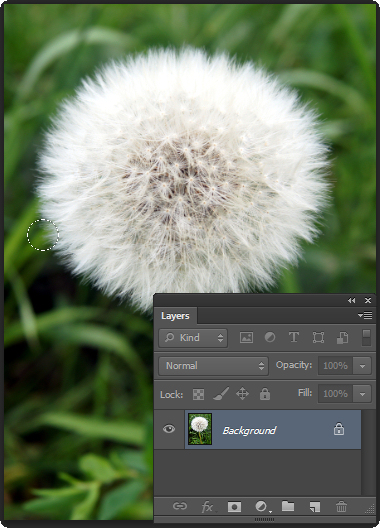
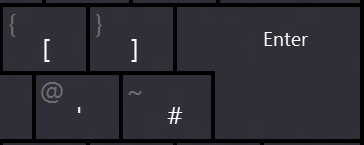
To change the size of the brush for any tool that uses it, press the opening square bracket key ([) to decrease the size of the brush and press the closing square bracket key (]) to increase the size of the brush.

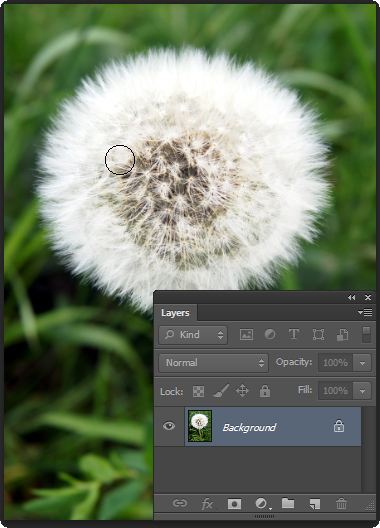
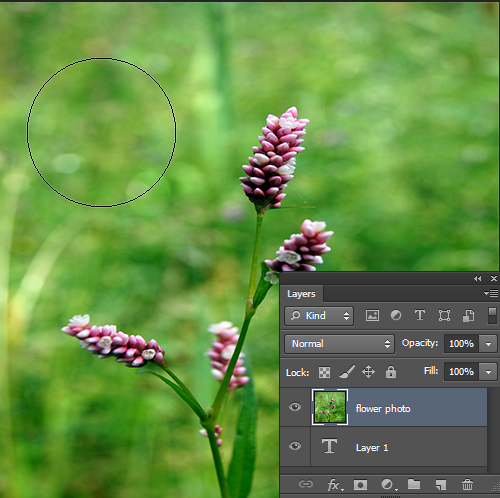
Notice from the top image to this one the brush has increased in size (I pressed the keyboard shortcut ] to do this) and I can easily make my adjustments without having to mess around with the brush size slider.

Photo credit: © anitab0000 freeimages.com
Labels: [ bracket, bracket key, brush size, burn, change brush size, dodge, edit photo, keyboard shortcut, Photography, Photoshop, quick tip, shortcut key, size slider, sponge tool
Categories:Mackenzie Tip, photography, photoshop
posted by mackenzieerb @ 6:00 amNo Comments links to this post
Tuesday, November 18th, 2014

Automatically put placeholder text in a newsletter mock up in Photoshop
If you are creating a mock up of a newsletter in Photoshop I suggest you use “Lorem Ipsum..” as your sample text instead of real text. One thing the human eye is always looking for is readable text, but when you use “Lorem Ipsum” because it makes no sense at all your reader’s eye will go to your design instead of tying to read the placeholder text.
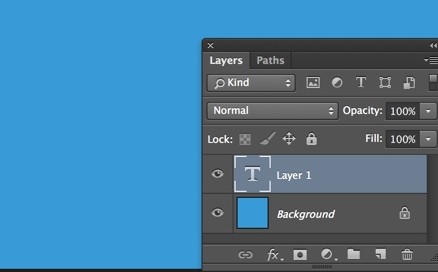
To create a text box and fill it automatically with “Lorem Ipsum”, select the Type tool on your tool bar and click and drag where you wish your text box to go.
Select the font face, font size, and font color on the tool options menu.

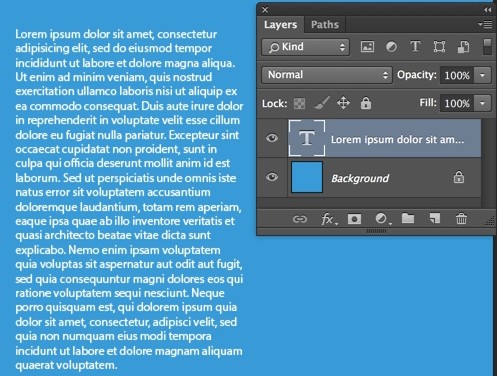
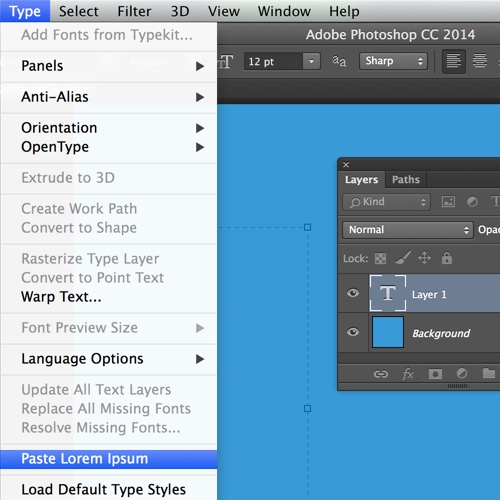
To fill the text box with your placeholder text, click Type on your main menu then click Paste Lorem Ipsum on the drop down menu.

This fills your text box with the placeholder type.
Only make and fill one text box at a time, if you need more text then click in the text box and reselect Type>Paste Lorem Ipsum to refill it.

Labels: dummy text, fill a text box, Latin text, Lorem Ipsum, lorum ipsum, mock up, mockup, newsletter, paragraph text, Photoshop, placeholder text, text, text tool
Categories:Mackenzie Tip, photoshop
posted by mackenzieerb @ 6:03 amNo Comments links to this post
Monday, September 29th, 2014

Learn a handy keyboard shortcut to merge two layers in Photoshop
One simple trick but one that comes in handy constantly for me is merging two layers into one in Photoshop. This trick can save your life with so many Photoshop projects that require two images to be merged to a single layer.
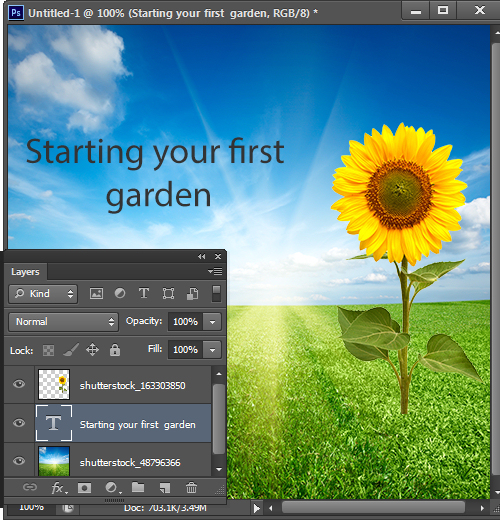
Make sure the layers you wish to merge are on top of each other in the Layers palette. Click on the thumbnail of the top most layer of the two you want to merge.
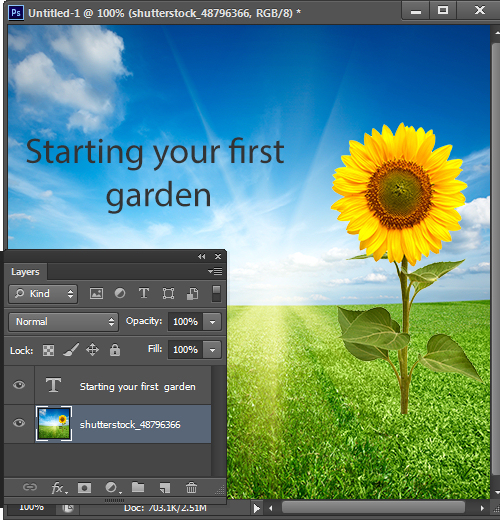
Press Control/Command + E.
Now your layers are merged.
Something to keep in mind is the new layer when it does merge will take the name of the layer on the top.
Labels: images, keyboard shortcut, Layers, merge, merging layers, Photoshop, tips
Categories:Mackenzie Tip, photoshop
posted by mackenzieerb @ 2:44 pmNo Comments links to this post
Friday, September 19th, 2014

Image Credit: © 2014 freeimages.com, anitab0000
Help! How to center a layer’s contents in Photoshop
Whether you’re making a simple document, newsletter or editing a photo a necessity is being able to center your layers. This task took me by surprise as to how challenging it was but in a few steps it can easily be done.
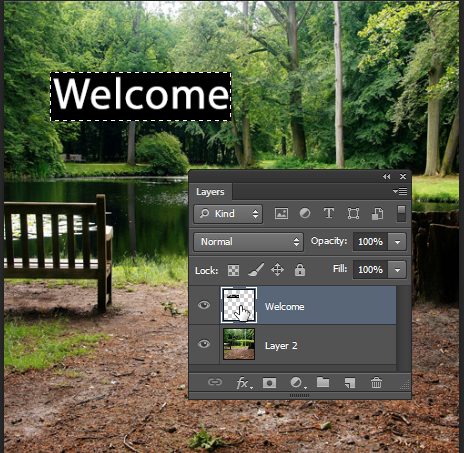
First press Control + click (Command + Click on the Mac) on the layer thumbnail for the layer you want to center in your Layers panel.

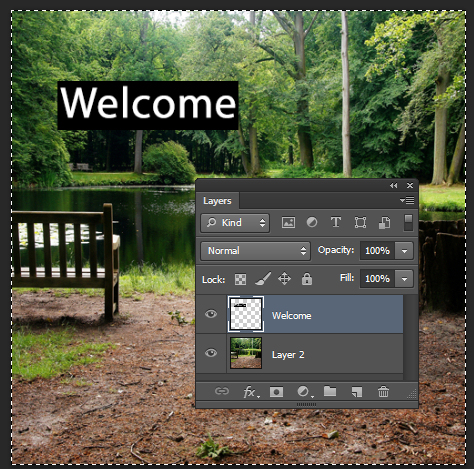
Click Select > All (Control/Command + A). This selects the entire image. You can tell this is done by the marching ants around your full image.

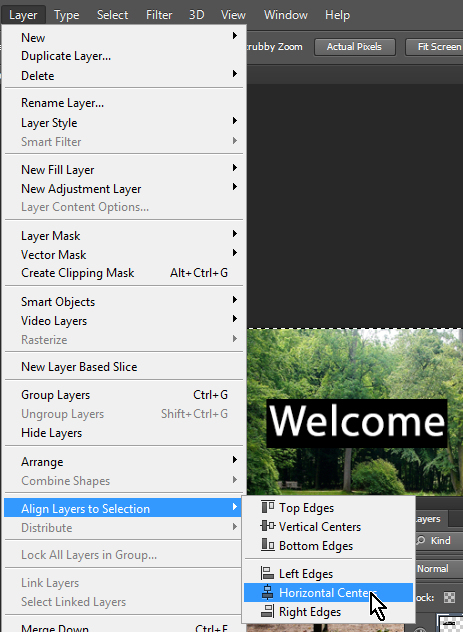
Click Layer >Align Layers to Selection > Horizontal Centers.

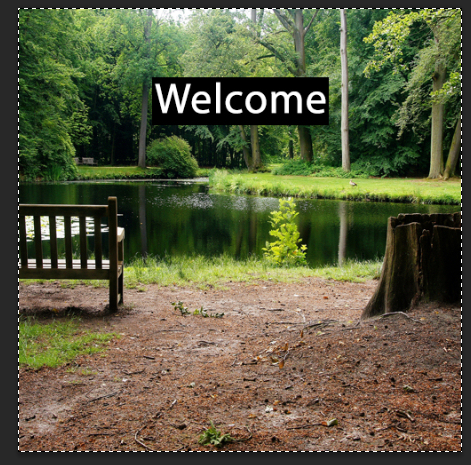
Notice that your layer is now centered horizontally. You can do the same vertically by choosing Layer >Align Layers to Selection > Vertical Centers.

Press Control/Command + D to deselect your layers.
Now your layer content is deselected and aligned horizontally (and/or vertically) and you’re free to continue editing.
Labels: alignment, center layer, Center text, Layers, Photoshop
Categories:Mackenzie Tip, photoshop
posted by mackenzieerb @ 1:22 pmNo Comments links to this post


