Learn how to change brush colors in Illustrator
Ouch! I’ve been plagued with this issue for a few hours today and when I finally solved it I wanted to thump myself on the head! It was a real duh! moment.
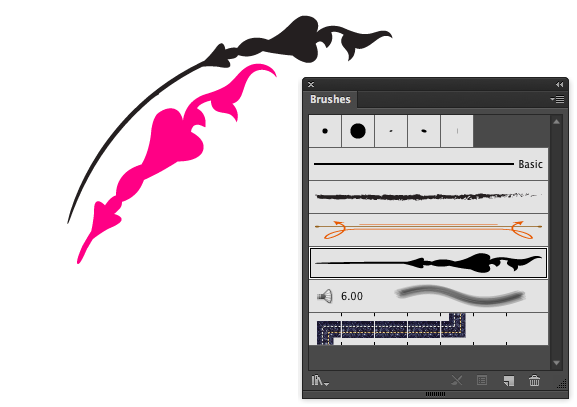
The problem was that I made a line and wrinkled it and then shrunk it down and turned it into a brush – this one was an Art Brush. When I came to use it, it wouldn’t change color. I tried, well I thought I did, but nada.
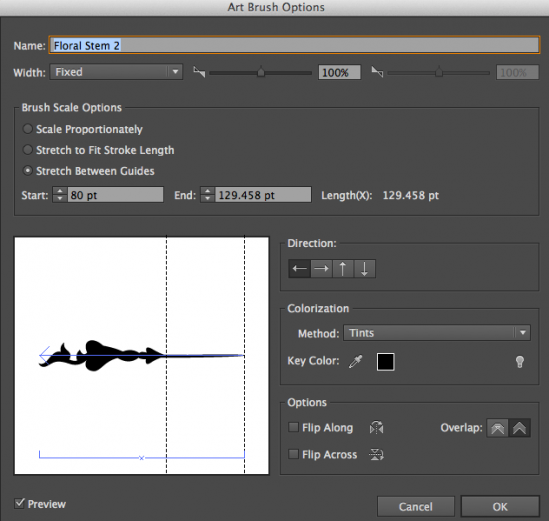
After musing on the problem, I came up with the solution and it involves the brush color setting. You see, I created my brush using black – real black black, and then I set its colorization method to Tints and Shades. Then when I changed color it didn’t change – well it actually did but I couldn’t see the difference as any color rendered as a shade of solid black is pretty much black!
Turns out the problem is in Tints and Shades as a setting and changing it to Tints lets the color be applied as you expect it to. I consider the problem to be, in a big part, the colorization settings info in the dialog. They make absolutely no sense to me and it’s always a bit of guesswork to choose the colorization method. Basically the choice you (and I) should make is to set it to Tints and then it will recolor as you expect it to.
If you’ve already made the brush you can change the setting by double clicking on it in the Brushes palette, change the colorization method option and click Ok. You can choose to update the strokes you’ve already made in the document or not.
To change just one instance of the brush, select the line then click the Options of Selected Object button at the foot of the Brushes palette – you can now change the brush behavior for just this stroke.


