Thursday, May 9th, 2013

Lightroom Tip – Set the size for your Standard previews

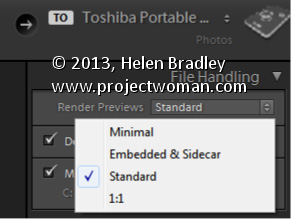
Set the size of your Standard previews to match your screen size.

When you choose to render Standard previews you can choose how large the previews will be. You should do this because setting the size to match your screen size maintains a good balance between disk space the previews take up, the time they take to render, and general usability.

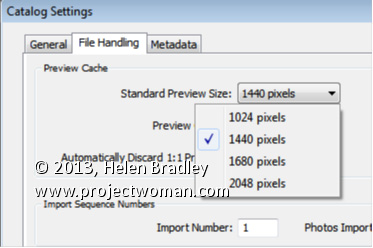
To configure the image preview size for Standard size previews, choose Edit > Catalog Settings (or Lightroom > Catalog Settings on the Mac) and select File Handling.

From the Standard Preview Size drop-down list, you can choose from one of four sizes; 1024, 1440, 1680 and 2048. Choose the size that matches the size of your monitor or which is a little smaller.

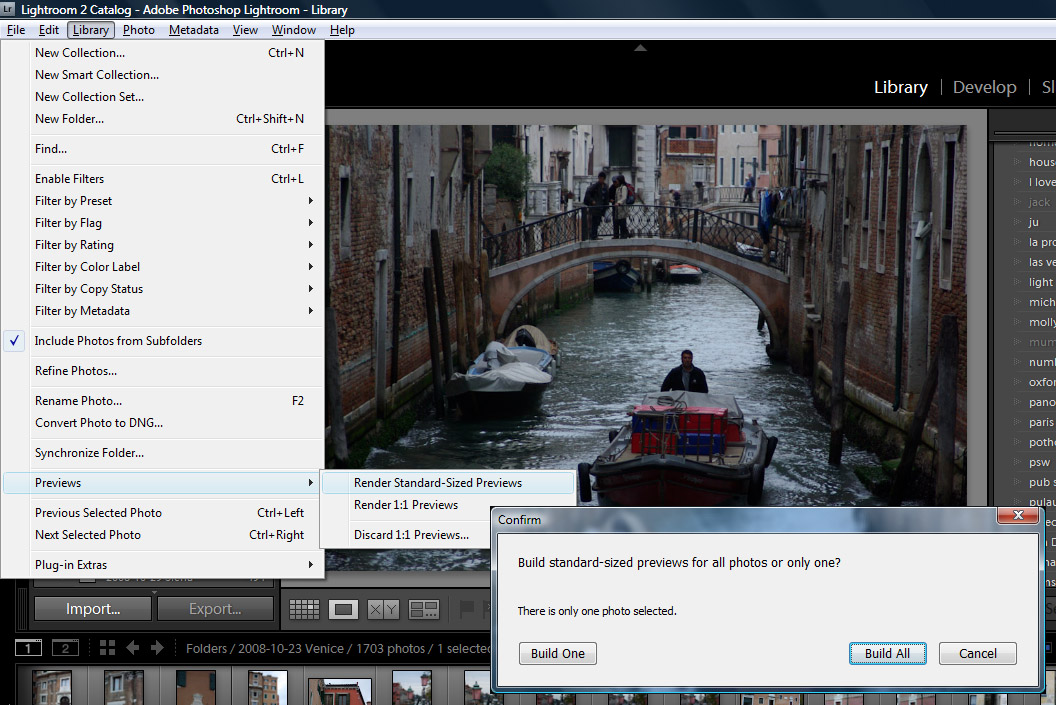
This setting will be applied to previews that you create on Import or which you create from inside the Library module itself.

Helen Bradley

Monday, May 6th, 2013

Lightroom Tip – Choose the best Preview option

How to choose the correct Preview option for your Lightroom images

In the Import dialog’s File Handling panel, you have options for rending previews for your images as you import them. These previews are used later on when you move to the Develop module to edit your images.

Minimal preview size makes for quick importing of your images but later on, when you’re actually working on your files you will have to wait as larger size previews are created. So the time you save on rendering previews on import has to be spent later on in rendering previews when you want to work on the images.

Selecting Standard previews is a good choice – these previews can be used when editing your images so they don’t have to be created later on – so you can get to editing the image more quickly although the import process will take a little longer.

1:1 preview size is typically not a good choice as the previews are unnecessarily large and it takes time to render them. It might sound like they are the best but it’s a poor trade off in time and size – if you have time to spare when importing, then Standard previews are an ideal choice.

Helen Bradley

Sunday, April 12th, 2009

Update Lightroom Previews


I travel with a laptop and I take most of my photos when travelling. All this adds up to me wanting to get my images into Lightroom quickly so I can see what I have but so I can do it on the run in the airport lounge, for example.

Because of this most of my images are imported using the Minimal previews which are, let’s face it, pretty awful but they are fast. When I get home and I have the time, I want to update the previews to Standard which is a good working size for me.

To change and update the preview size for a folder of images, choose Library > Previews and choose to render 1:1 previews or standard size ones. You’ll be asked if you want to apply this to one image or all of them – choose All and go do something else while Lightroom grinds away at the task.

In the top left corner of the screen you’ll see how many previews it has to make and how far through the process it has got. If you have multiple folders needing updating repeat the process and Lightroom will continue to work on multiple tasks at once.

To change the actual preview defaults, choose Edit > Catalog Settings > File Handling tab and set the Preview size – it won’t need to be any larger than your screen and Medium quality is a good compromise between speed and quality.

Helen Bradley