Actions are a feature of Photoshop that allow you to automate tasks. So you can record your steps as you work as an action and then play them back to make repetitive tasks more simple to perform. You can also find actions on the web that others have created and download them to use yourself. In this post I’ll explain how to find, download, install and play an action.
To find actions on the web, search for “Photoshop Actions” in your favorite search engine. You can also go to Adobe Marketplace and Exchange site at: http://www.adobe.com/cfusion/exchange/ where you can find a lot of actions for downloading. These are rated by other users so it is a good place to find good actions.
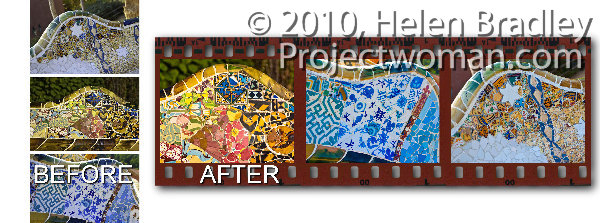
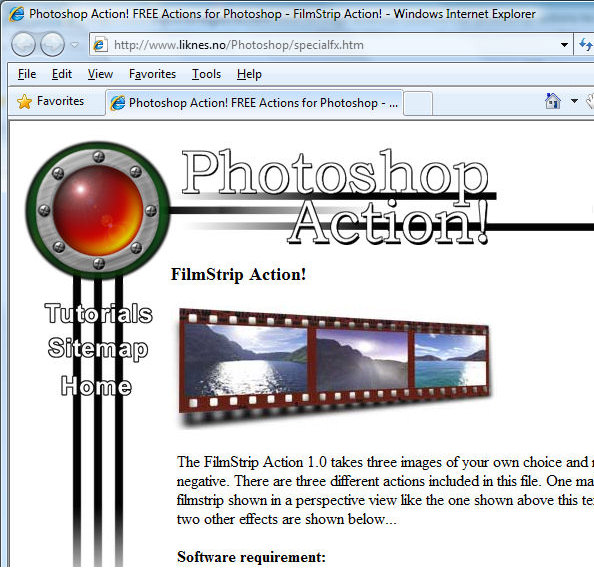
The action I will show you how to install and use is a filmstrip action for the PC that you will find at http://www.photoshop-action.no/specialfxgallery.htm. Download the filmstrip action to your computer and then unzip the file to expand the contents. Although this action states that it’s suitable for Photoshop 6, 7 or CS, it works in versions up to CS4. As a rule of thumb, most older actions work just fine in later versions of Photoshop.
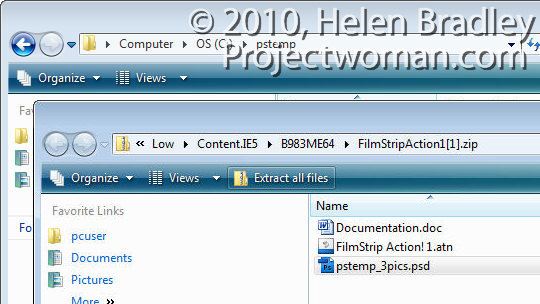
The zip file contains a .doc documentation file, a .atn action file and a .psd Photoshop file. Always read the documentation as it often contains an explanation of what you need to do to make the action work correctly.
In this case you must create a folder called \PStemp in the root directly of drive C and copy the file pstemp_3pics.psd from the zip file into that location. Do this now and leave the folder of extracted files open on your screen.
The instructions go on to tell you to close all open images and to open the three images to use for the filmstrip. It says these will be resized to approximately 730 x 530, (in reality they are resized to approx 735 x 575 pixels). The developer suggests that the finished filmstrip looks best when you use landscape images. The order of the images as you open them is the left to right order of images in the filmstrip.
Launch Photoshop and make sure there are no open images. Make duplicates of the images you plan to use in the filmstrip and open the three duplicate images.
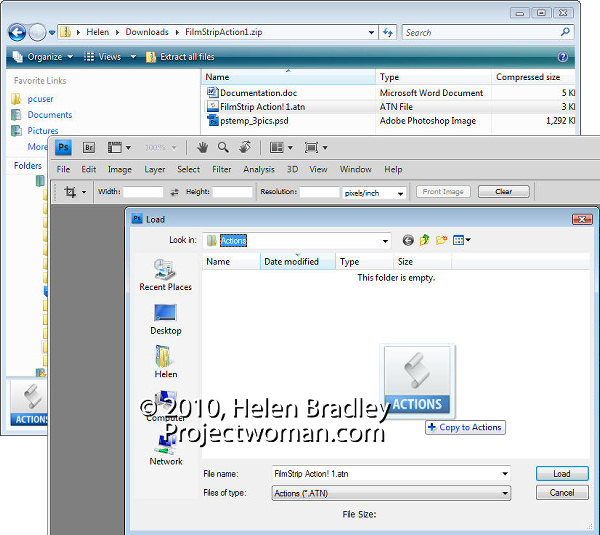
You must now load the filmstrip action and the smart way to do this is to place the file in your Presets\Actions folder so you can always find it easily. To do this, view the Actions palette by selecting Window > Actions. Open the fly-out menu and choose Load Actions.
The folder that opens is the Presets\Actions folder so drag and drop the .atn file from the dialog containing the unzipped files into this dialog to copy it into place. Click the filmstrip!1.atn file and click Load to load it into your Actions palette.
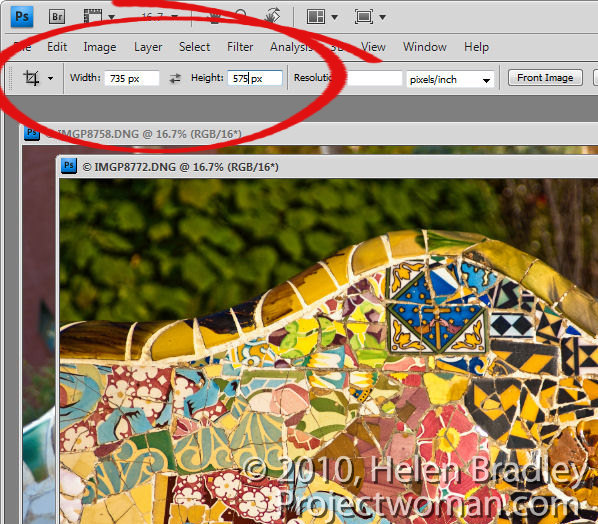
I find it best to crop the three images ahead of time to 735 x 575 pixels in size. To do this, select the Crop tool, set the Width to 735 px, the Height to 575 px and drag over the image to create the crop rectangle at the desired size. Double click to crop the image to that size. Repeat this for the other two images.
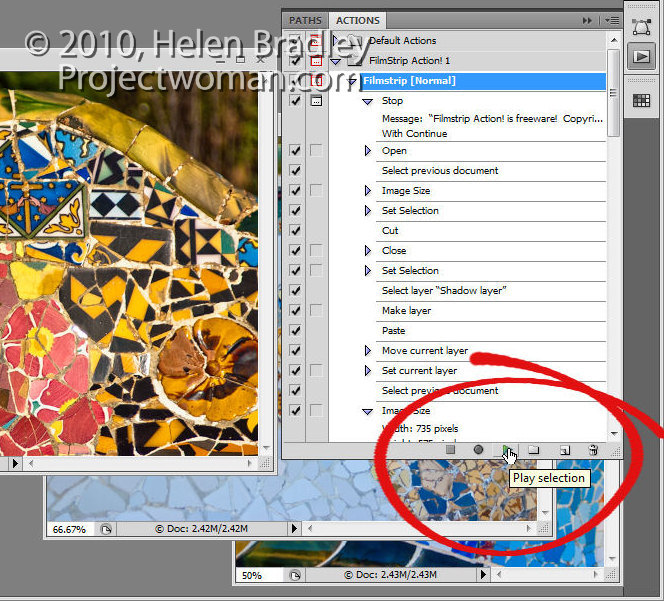
Now run the action by opening the Actions palette, locate the Filmstrip Action 1 action and click either Filmstrip [normal], Filmstrip [wavy] or Filmstrip [perspective] to run one of the three actions.
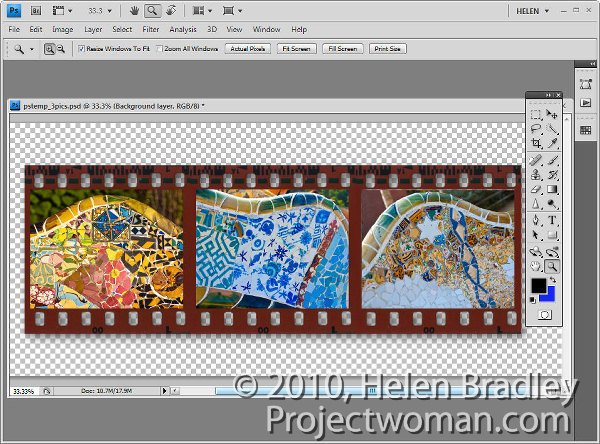
The action will stop and prompt you with a dialog telling you it is running. Click Continue and wait as the filmstrip is created for you. The action closes each of your images as it is finished with them. When you’re done, you can save the filmstrip image.
There are a few things to be aware of when you run an action. Always work with duplicate files and never with your originals, as you cannot be sure that an action will not crop or resize a file to a smaller size or change its resolution and then save it. Working with duplicate images ensures your originals won’t be damaged.
Always close all open files except those that are required by the action to be open. This will prevent you from losing unsaved work or having changes be applied to files you did not mean to be altered.
Always read the instructions for running an action before using it and make sure that any files required by the action are located in the correct place before running it.



awesome post! I always like to visit your blog to see something new 🙂
hi