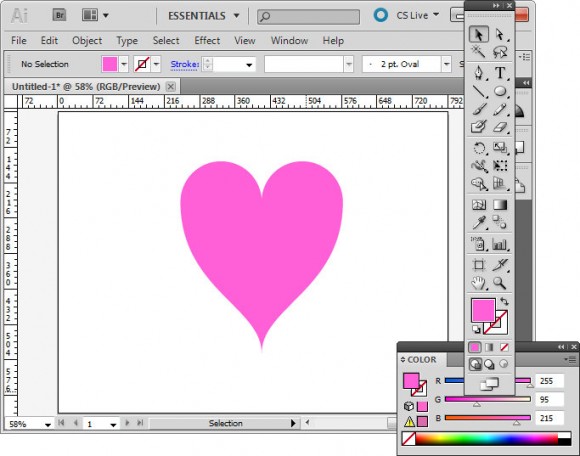
 Here’s how to create a perfectly symmetrical heart shape in Illustrator:
Start in Illustrator and drag a guide to use to position the shape.
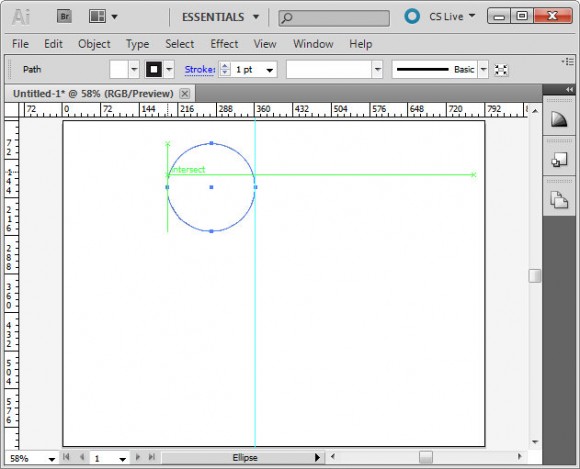
Select the Ellipse tool, click on the guide to start and draw a circle shape to one side of the guide. Add the Shift key to make a perfect circle.
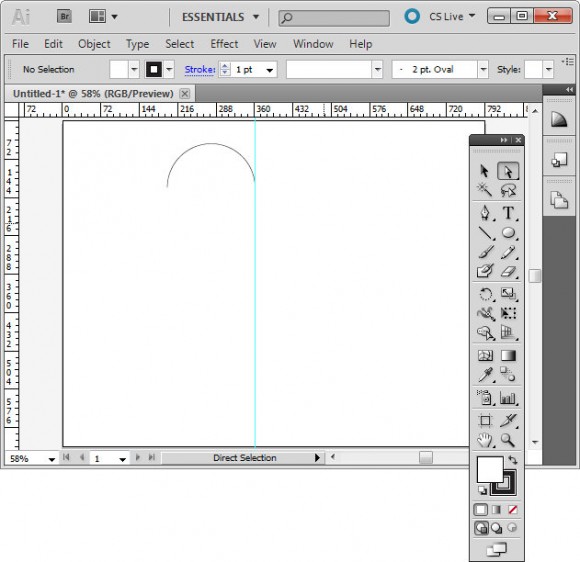
Select the direct selection tool, drag over the bottom half of the circle to select it and press Delete. You should now have a semicircle shape.
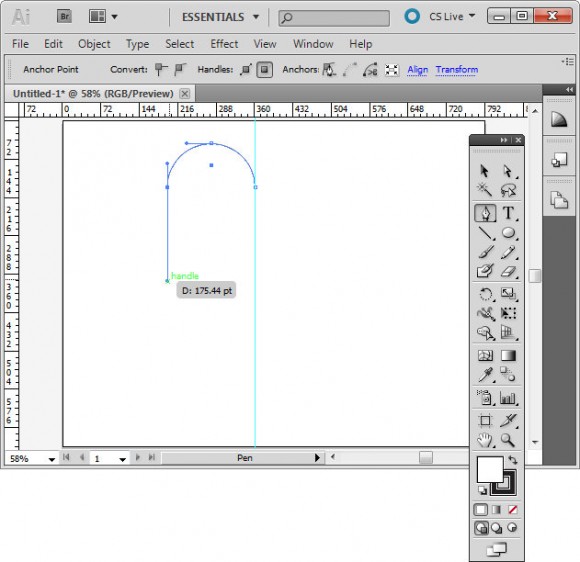
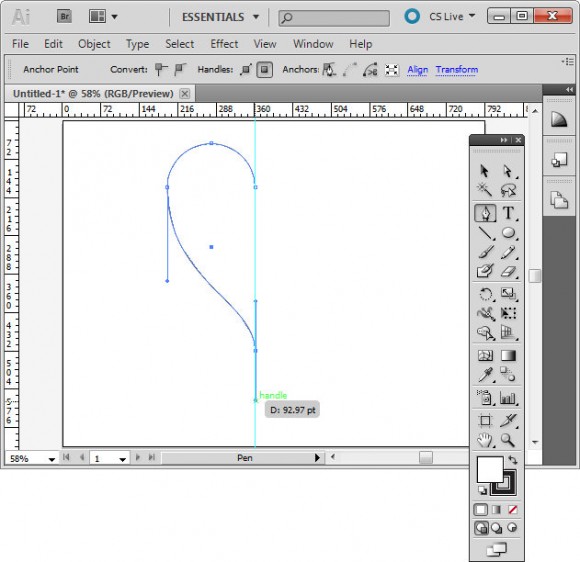
Click the pen tool and then click on the outermost anchor point, the one furthest away from the guide. Click and drag downwards adding the Shift key after you’ve started dragging to ensure the line curves correctly.
Click again on the guideline and immediately add the Shift key and drag downwards to create half of a heart.
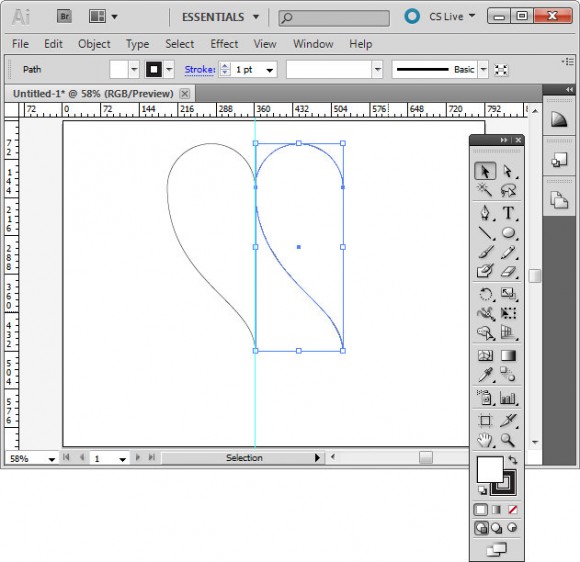
Click on the half heart shape to select it. Drag to the right and as you do, add the Alt and Shift keys (Option and Shift on the Mac) and move the shape until it snaps to the grid line. This should create a duplicate shape.
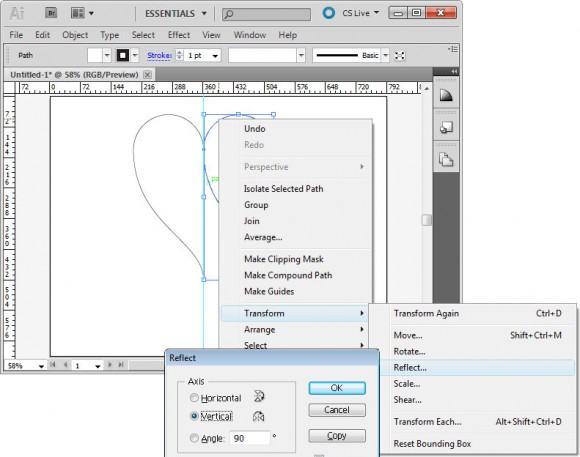
Right click this shape, choose Transform > Reflect > Vertical and click Ok. You now have two halves of the heart.
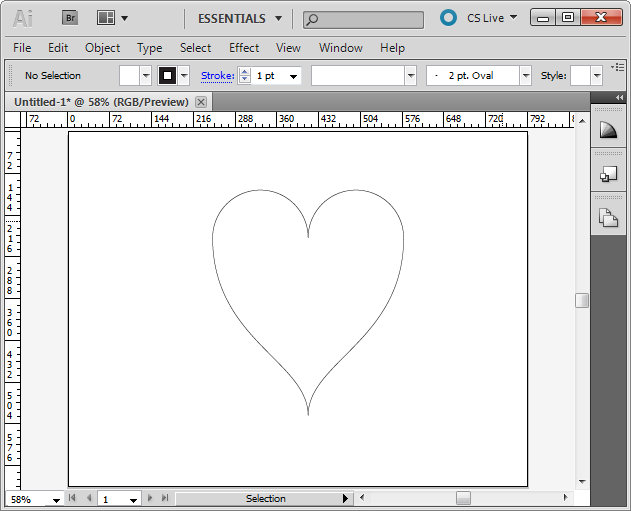
With the selection tool, drag over both sides of the heart to select them, choose Object > Path > Join to join these into a single shape. You can now remove the guide and you have a custom heart shape.


it was really excellent post! & thanks a lot for sharing……
I admit, I have not been to this website in a long time. nonetheless it was another delight to read your great content.