Sunday, April 24th, 2011

Photoshop – “repeat rotate with a copy” shortcut

This week I discovered a totally cool new keystroke combination which I just have to share. Here’s the back story…

I love making regular shapes from irregular ones. Think kaleidoscopes but not always made from images – sometimes I make the kaleidoscope shapes from other shapes. Shapes are the best kept secret in Photoshop because, unlike brushes, they can be scaled up or down to any size and they don’t lose their smoothness.

So, here’s how to make shapes from shapes and how to put my new keystroke to use:

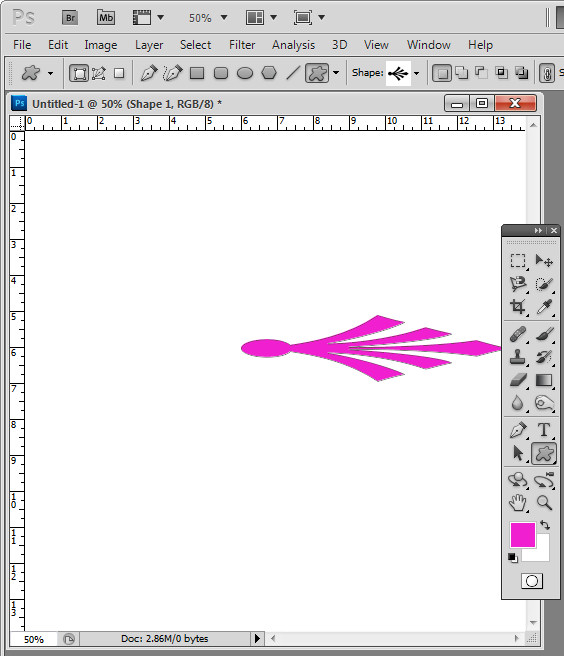
Click the Custom Shape tool and select a shape to use – you can use anything – I’ve used an ornament. On the Tool Options bar, click the Shape Layer icon – it’s the first of the three at the far left of the bar.

Drag the shape onto the image. It will appear as a new layer. It doesn’t really matter what color your shape is right now.

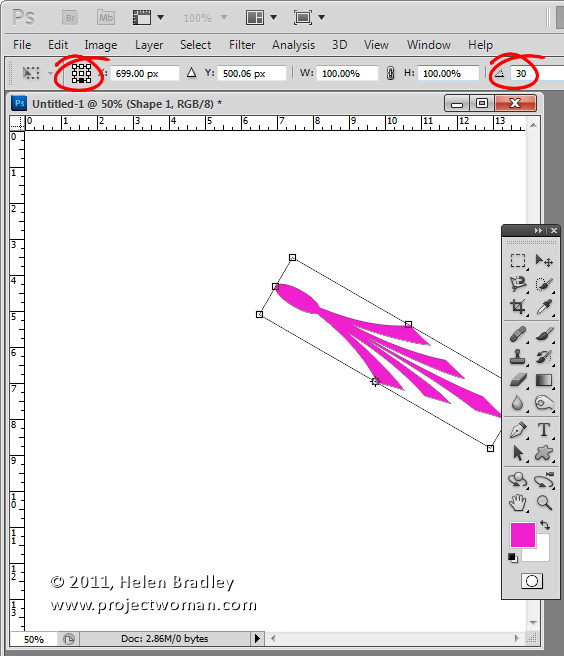
Click the Move tool then choose Edit > Free Transform Path (or press Control + T), click to select the point around which the shape will rotate. You do this using the small indicator on the toolbar – you can choose any of the squares to get an interesting effect – each one will give a different result.

On the Tool Options bar set the Angle to something which is a factor of 360 – 10, 15, 30, 45, 60 and so on. I typically use 30. Press Enter to confirm the rotation.

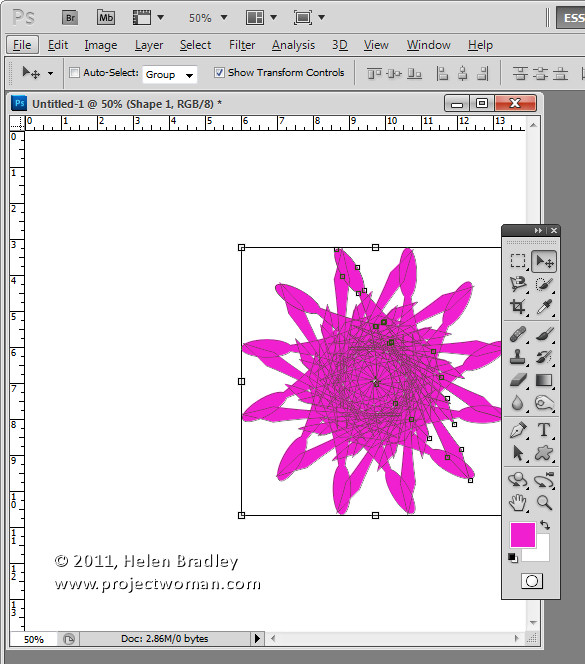
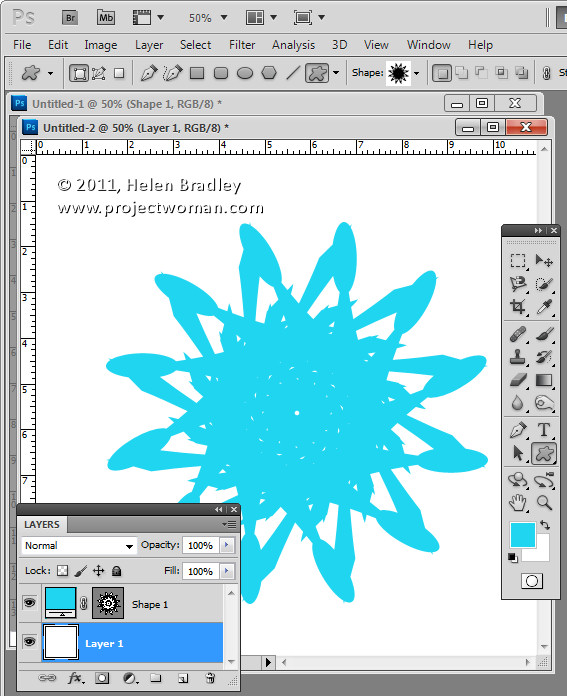
So far you have created a shape and rotated it. Now for the fun stuff – it is time to use the new keystroke combination. With the shape layer selected press Control + Alt + Shift + T (Command + Option + Shift + T on the Mac). Press it a few times until you have duplicated the shape sufficient times to rotate around 360 degrees. The key combination Control + Alt + Shift + T (Command + Option + Shift + T on the Mac) repeats the most recent rotation with a new copy of the shape. Totally cool stuff.

If the final shape goes off the edge of the image you can automatically resize the canvas to include the shape by selecting Edit > Reveal All.

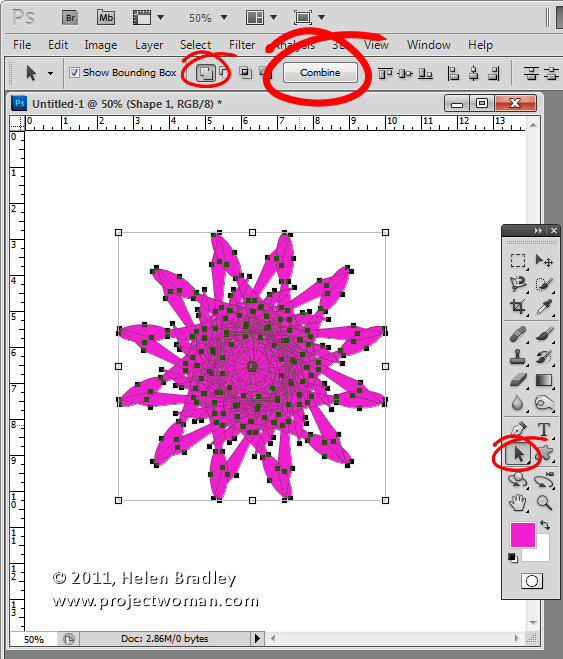
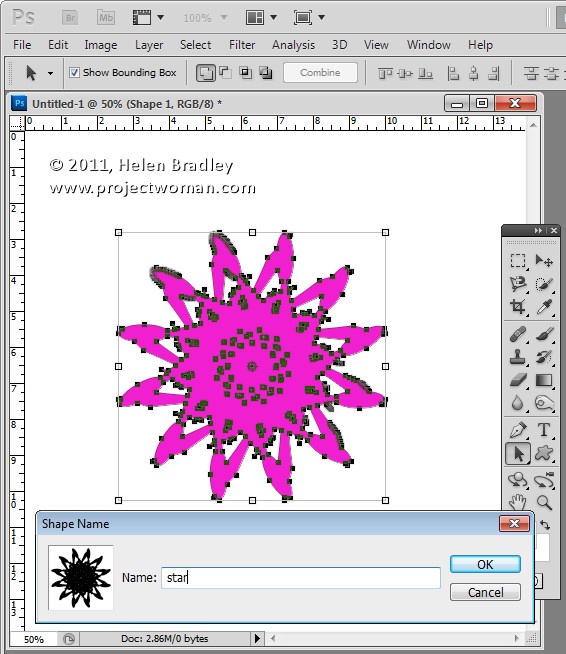
If you like the final shape you can make it a single shape – instead of multiples – by selecting the Path Selection tool and drag over all the shape so you have it selected. From the Tool Options bar select the Add to Shape Area icon and click the Combine button. This makes a single shape from all the combined shapes.

To save the shape so you can use it again in future – with it still selected, choose Edit > Define Custom Shape. Now your kaleidoscope shape is a shape you can use any time in Photoshop by selecting it from the Custom Shape collection.


Helen Bradley

Wednesday, April 20th, 2011

Photoshop – How to fill a shape with a gradient

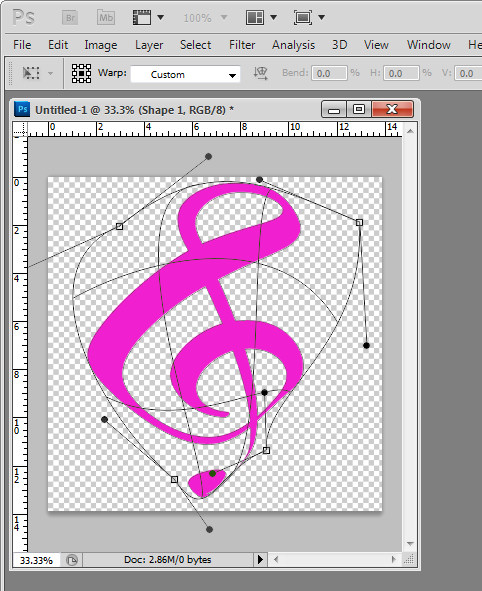
Tricky this one. There are three ways to create a shape in Photoshop and I’ve been working with shape layers so I can warp the result. So far so good. You select the Custom shape tool and then from the tool options you select the Shape Layer option and create your shape. You get a Fill layer with a vector mask showing the shape.

To change the color – double click the Fill layer thumbnail and choose another color. Again – so far so good.

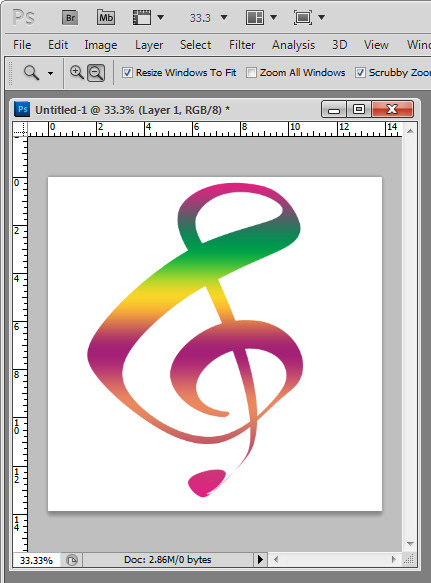
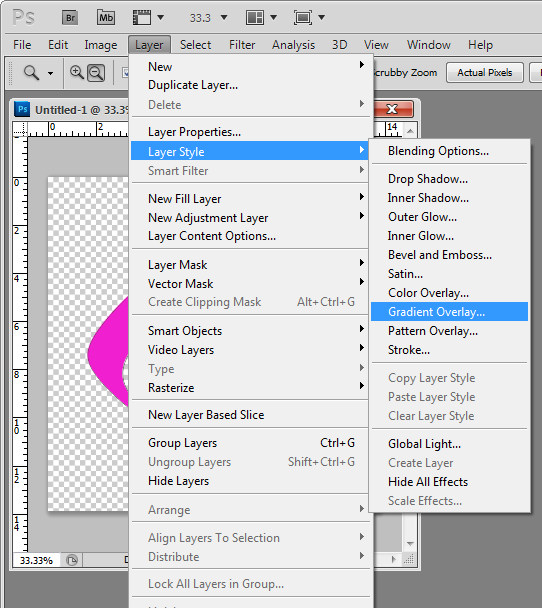
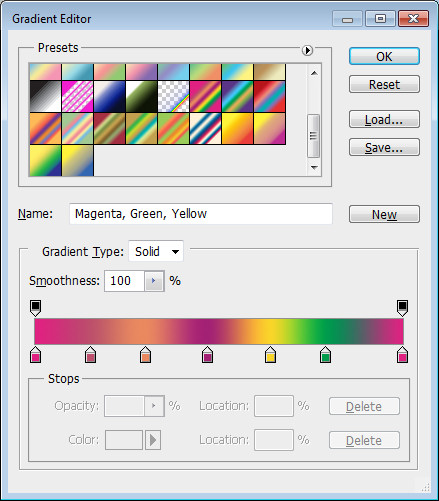
To fill the shape with a gradient – yikes.. there is no obvious option. Here’s a hint – Layer styles! Click the shape layer so you have it selected, choose Layer > Layer Style > Gradient Overlay. Select the gradient to use or make your own custom gradient and click Ok.

Now you know…

Helen Bradley

Friday, December 31st, 2010

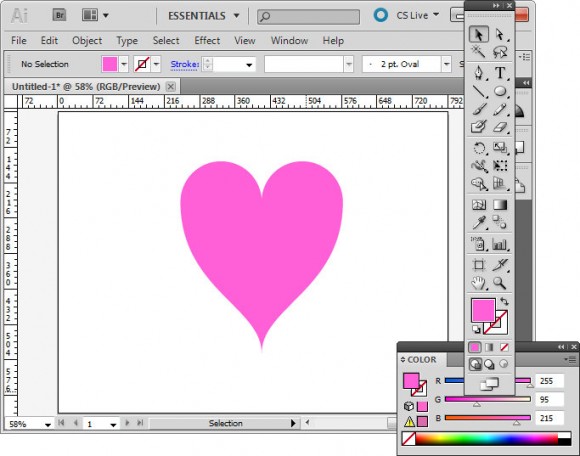
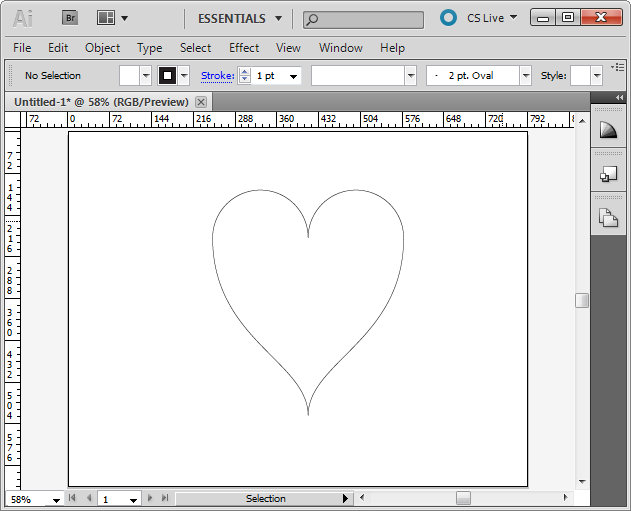
Creating a perfect heart shape in Illustrator

Here’s how to create a perfectly symmetrical heart shape in Illustrator:

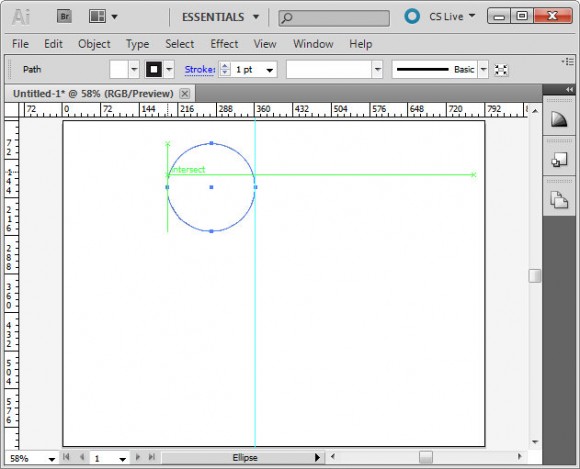
Start in Illustrator and drag a guide to use to position the shape.

Select the Ellipse tool, click on the guide to start and draw a circle shape to one side of the guide. Add the Shift key to make a perfect circle.

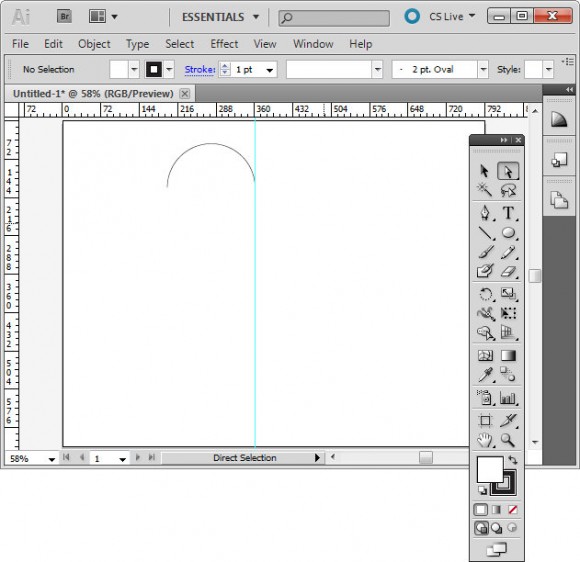
Select the direct selection tool, drag over the bottom half of the circle to select it and press Delete. You should now have a semicircle shape.

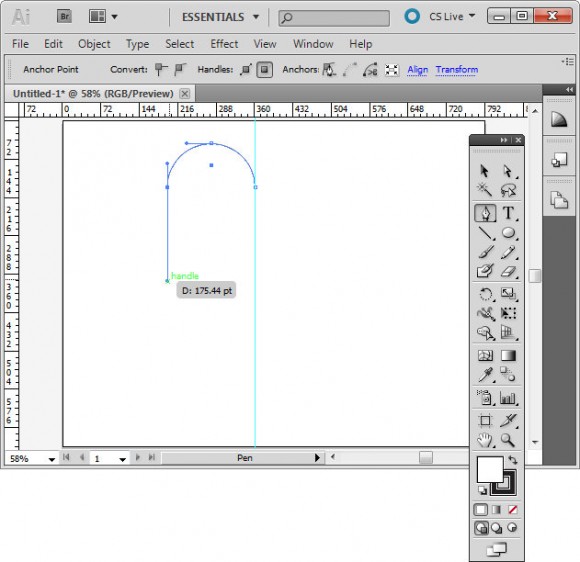
Click the pen tool and then click on the outermost anchor point, the one furthest away from the guide. Click and drag downwards adding the Shift key after you’ve started dragging to ensure the line curves correctly.

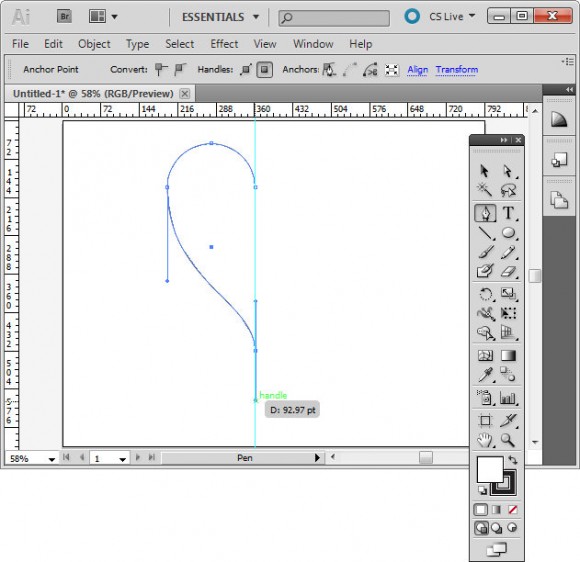
Click again on the guideline and immediately add the Shift key and drag downwards to create half of a heart.

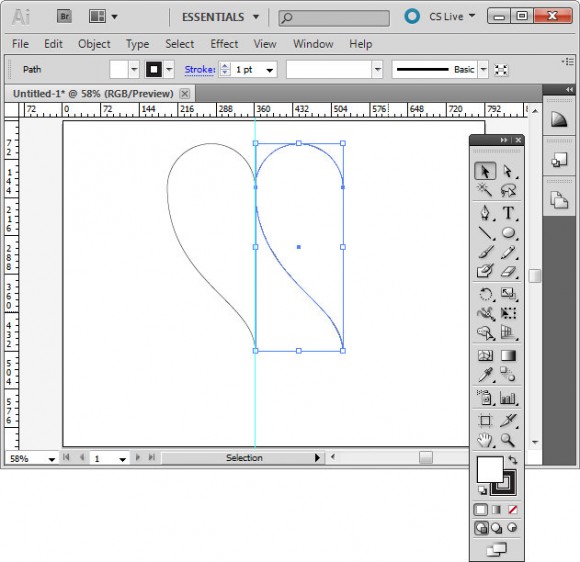
Click on the half heart shape to select it. Drag to the right and as you do, add the Alt and Shift keys (Option and Shift on the Mac) and move the shape until it snaps to the grid line. This should create a duplicate shape.

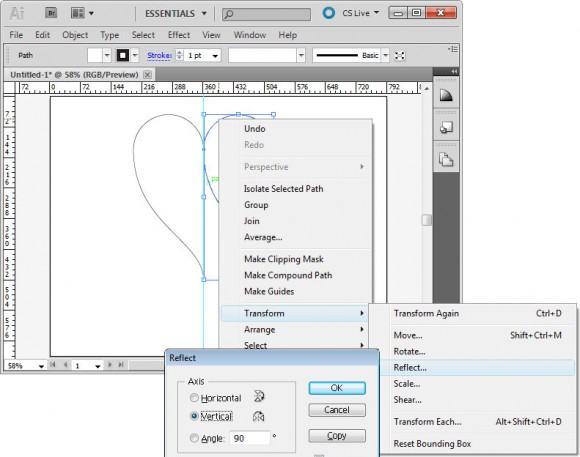
Right click this shape, choose Transform > Reflect > Vertical and click Ok. You now have two halves of the heart.

With the selection tool, drag over both sides of the heart to select them, choose Object > Path > Join to join these into a single shape. You can now remove the guide and you have a custom heart shape.

Helen Bradley

Thursday, December 30th, 2010

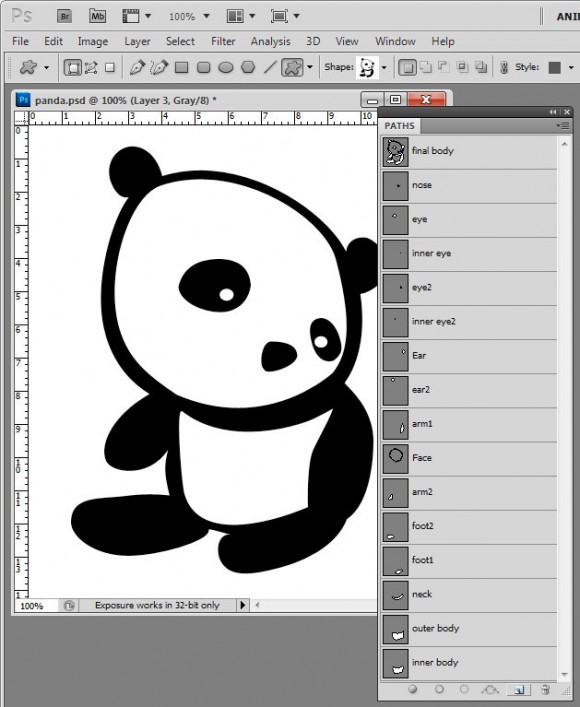
Kawaii Panda Shape – free download

I’ve been messing around today making shapes in Photoshop. This is my final Panda Kawaii shape which I’m offering as a free downloadable shape that you can import into Photoshop and use yourself.

I find shapes are easiest to build up from pieces so I make each piece then build them up bit by bit into the final shape by combining the paths. It’s painstaking work but ultimately rewarding to have a custom shape you can use anytime and scale to any size.

Here is the link to download the shape file – you can use the shape for your own designs but you aren’t permitted to sell the shape or offer it for download from your own site.

Helen Bradley