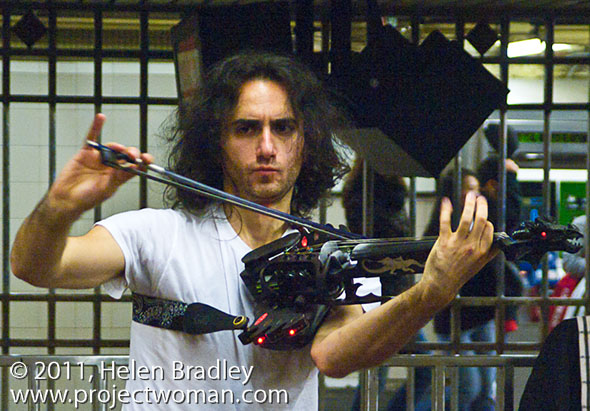
 Image: ISO3200, f5.6, 1/80s – the high ISO gives good sensitivity to light allowing this image to be captured quite fast in a relatively dark NY subway station.
In part 3 of this series on understanding your camera’s manual settings I’ll explain how to combine a choice of ISO settings when varying Aperture and Shutter speed.
In addition to Aperture and Shutter speed you can also configure your camera’s ISO setting. You would do this to adjust for the situation where there is not enough light for a shot or where there is too much light.
ISO is the camera’s sensitivity to light and small ISO values such as 80 and 100 indicate low sensitivity so the camera needs more light to take the photo. High values like 400 and 800 (and even up to 6400 and beyond) increase the camera’s sensitivity to light and can be used when you need more light, for example, where the shutter speed or aperture you want to use can’t give the light you want.
Take care when using very large ISO values as these are susceptible to noise so, using a value of 1600 or more might give you a good exposure but the image may have a lot of digital noise as a result.
Small values like 100 and 200 should show little noise at all.
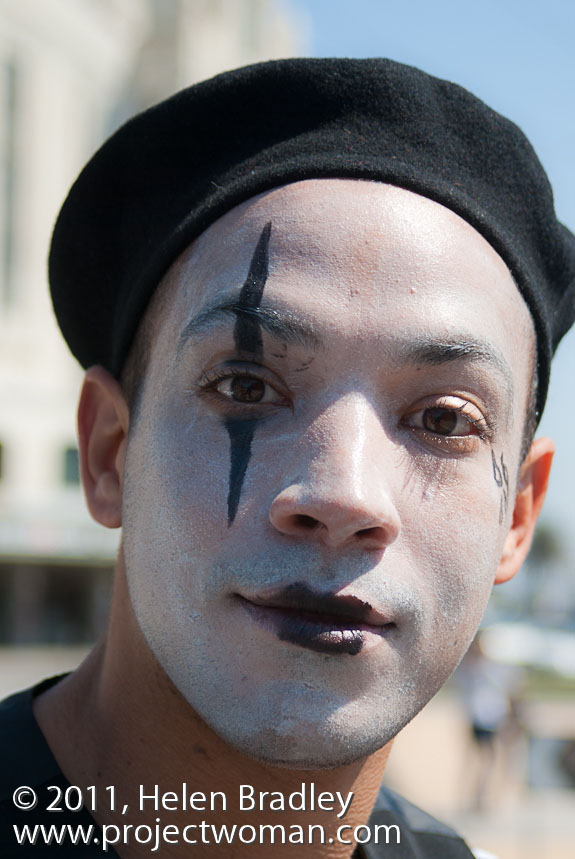
 Image: ISO100 f/4.5 1/500s – in bright summer sunlight, the ISO 100 value reduces sensitivity to light still allowing for a fast shot.
Of course, even excessive amounts of noise are preferable to getting a blurred image because you couldn’t hold the camera steady long enough to take it.
While the Auto setting on your camera will ensure that you get a good photograph most of the time, for creative purposes being able to configure your camera to adjust either the aperture or the shutter speed will give you more and varied options for getting even better images.
 Image: ISO 1600, f/5.6, 1/15s – At dusk in a NY street, the high ISO gives good light sensitivity and the slow shutter speed allows the cars in the background to be blurred nicely.


Post a Comment
Please feel free to add your comment here. Thank you!