Wednesday, July 17th, 2013

The simple secret to photographing silky smooth water

Fall in love with silky water photography – it’s so easy when you know how

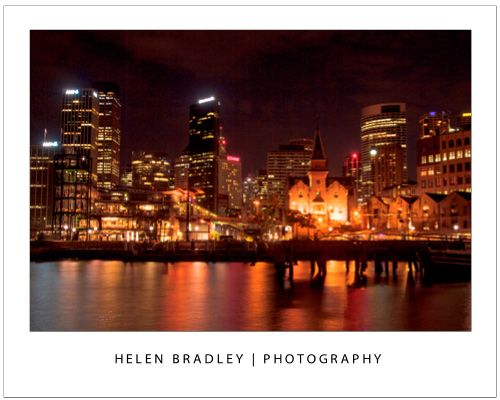
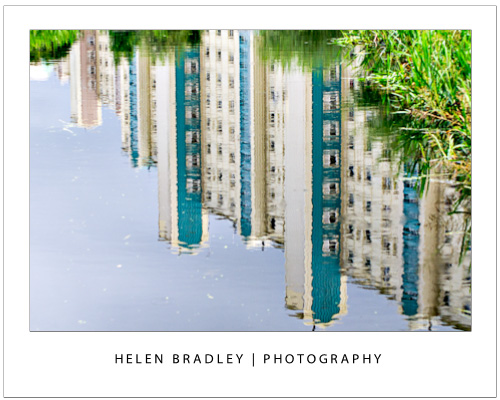
You have probably seen images like the one above that feature impossibly smooth water.

You might have even asked yourself how it was done? Or perhaps you think it is something that can’t be done without expensive equipment and lots of know how.

Well that’s not true. I shot this image with no extra equipment and I’m going to tell you how.

The secret is to shoot really slow. This image took 10 seconds to shoot.

Now I can’t stand still for 2 secs, much less 10 and neither can you so start by finding somewhere to put the camera. I found a place for it at ground level and took a test shot to see it would work, which it did. I backed off the zoom and the composition was pretty good.

So, I had a sturdy place to shoot from. Now, how to easily slow everything down?

You see, slow shooting is what you need for this image. In this night shot the only thing that will be moving a lot is the water. If you can capture the image over a long enough time the movement of the water will blur deliciously and the buildings will remain sharp. That’s the secret to the shot – a long exposure that blurs the water but leaves everything else nicely exposed and sharp.

One option for a long exposure is to use Tv mode on the camera – fancy speak for controlling the speed of the camera. I opted not to do this as I really wanted to use a small aperture and I didn’t want to let the camera choose the aperture size – it would have chosen too large a size resulting in a smaller depth of field – I wanted a deep depth of field so everything would be in focus.

I could have used Manual mode but then I’d have had to make calculations for the shutter speed – too much time and effort to get this right.

So, I selected Av or Aperture Priority mode and set the aperture to f/11. That is a very small aperture so the shot is going to take some time to capture – especially after dark. So far so good. But I wanted it to be slower still and I didn’t want a lot of  noise messing up the image.

The next setting was for ISO which is sensitivity. You use small values like 100 in the daylight and 6400 at night. I set it to 100 – totally the wrong setting for shooting at night because it makes for long shutter speeds but remember we want silky water so it works here. Also a small ISO like ISO100 means less noise than higher ISO values. Don’t get me wrong, I love noise in my images but in its place – I didn’t want it for this image.

So ISO100 both slows down the shot and reduces noise.

So, now the camera is set up, it is nearly time to shoot.

The final camera setting is to set it up for continuous shooting. Ideally you need to take a few shots at once so you want to press the shutter down and hold it and have the camera take a few shots in a row without you having to repeatedly press the shutter. The problem with pressing the shutter is that it moves the camera and movement = blur which is so not what  you want.

Continuous capture means you sit with your finger on the shutter so you don’t move much except on the first and last shot – that’s why you take a few – the first and the last will probably have movement because of the shutter press and release – the shots in the middle should rock!

Now place the camera in the place you already determined it is secure and steady. Steady yourself – I sat down beside it – press the shutter and hold it.

Wait through at least 3 shots (remember the first and last in the sequence are probably ruined so you need at least 3 and preferably more).

When the sequence is complete, review the shots, correct any issues and try again. I took about 4 series of 4+ images to get a couple that were great.


Helen Bradley

Saturday, May 11th, 2013

Photography quick tip – find an angle

Do you always capture photos face on to your subject? If so, add some variety by finding a different angle to shoot from

To add interest to your photos, find a new angle to shoot from.

Instead of always shooting face onto your subject, get down low or get up high to capture something more interesting.

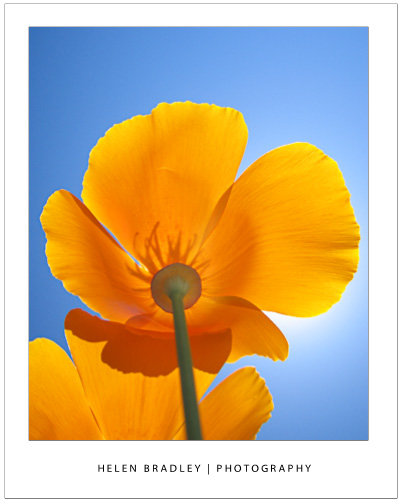
If your point and shoot camera has an adjustable LCD screen you can even get underneath objects like flowers for an even better result.

Helen Bradley

Saturday, May 4th, 2013

Photography quick tip – get up close

You can instantly add a something extra to just about anything you photograph if you get up close

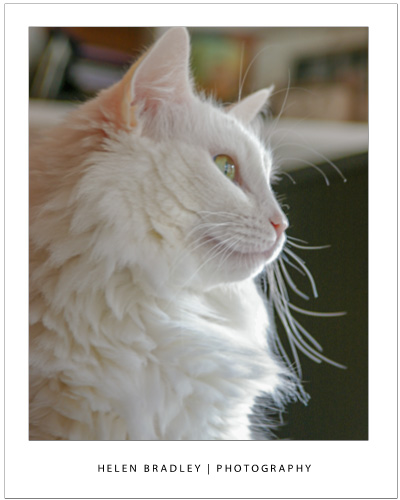
For portraits and pet photos you can get more detail in your shot by getting closer to your subject.

Take a few steps forward to get in close to your subject or use the camera’s zoom if you can’t get physically closer. Fill the viewfinder with your subject and then shoot. Not only will your subject look great but you will remove excess background from the image which generally removes unnecessary and unwanted detail.

Helen Bradley

Wednesday, April 24th, 2013

Photography quick tip – add a frame

Looking to add something extra to your photos? Add a natural frame

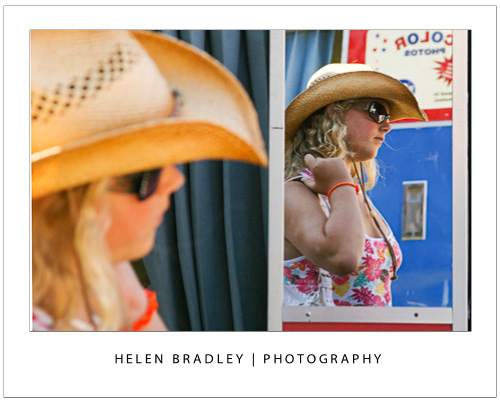
When composing a photo, add more interest to the photo by framing it with something in the foreground.

You can use a window or tree to create a natural frame for a landscape or a building to give the image more depth.

Here the subject herself creates a frame for her reflection in the mirror.

Helen Bradley

Saturday, April 20th, 2013

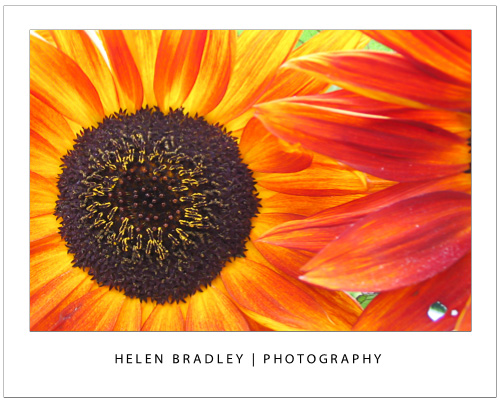
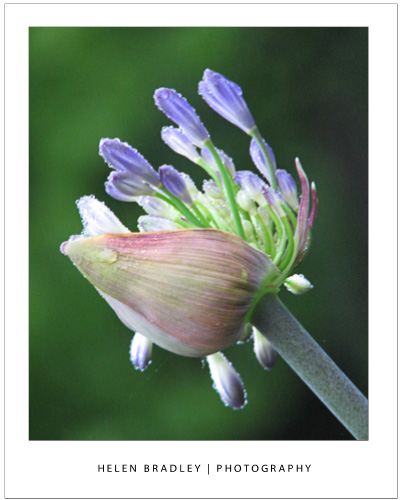
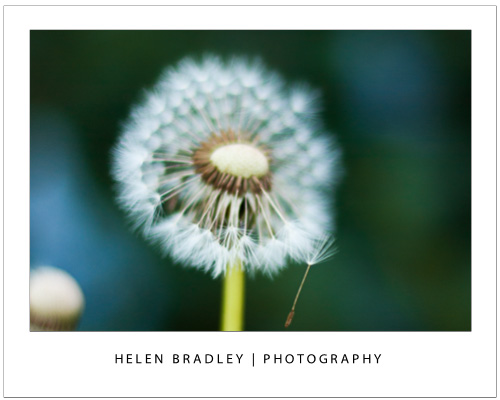
Spring photo inspiration and how to capture great flower photos

Capture the magic of spring with great flower photos

There’s simply no better time to get out and take photographs than in Spring. The weather is great, the colors are spectacular and the flowers are at their peak. Flowers are great to photograph – they don’t get fractious and they don’t blink so they’re good subjects to practice your skills on. Here, I’ll introduce some techniques to try that will ensure you get great photos.

Get up close and personal
When you see a wonderful flower to photograph, move very close so the flower fills the camera’s viewfinder or its LCD screen. When you are this close, the camera won’t focus properly unless you set it to Macro mode – this is indicated by the flower icon and it’s usually easy to find. If you can’t see it, check your camera’s manual to learn how to set this mode. With macro mode set, you should see the flower in focus and you can take the shot.

Macro mode not only ensures the flower will look crisp and in focus but it also has the effect of blurring out the background detail. In macro mode your camera shoots with a short depth of field so only objects on the same plane as the flower should be in focus, things closer to you or further away than the flower won’t be in focus. This is an effect that photographers try to achieve. It is, however, critical that your camera focuses on the flower.

To check the camera is focusing correctly press the shutter release half down and check the LCD screen. If the object is out of focus, let go the shutter release, move the camera so the flower is centred in the screen and press half down again. When the focus is correct, continue to hold the button half down as you move the camera slightly to compose the shot. Then continue to press the button to take the shot.

Even though the background in the shot will be blurred in macro mode, you should still check that any background that is visible is not distracting. If it will ruin your shot, move and try shooting from higher up or lower down so the background isn’t as visible.

Apply the rule of thirds
Apply the Rule of thirds to your flower photography. This rule says you should divide the area being photographed into a grid like a tic tac toe board. Place something of interest along one of the horizontal or vertical lines or where the lines intersect. The result is that you’re not centering everything – and your photo will look much better.

Vary your position
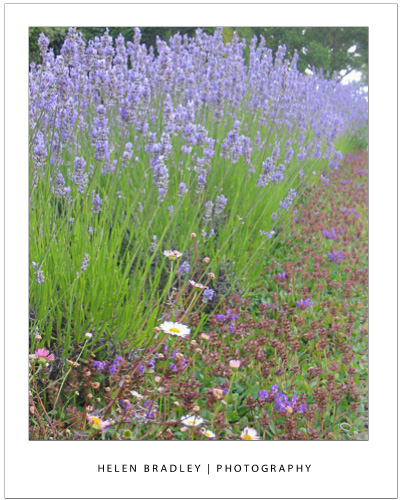
Don’t take all your photos close up and, instead, look out for opportunities to photograph masses of flowers. If you position yourself carefully you can make a bank of flowers look as if they go on forever!

Include the kids
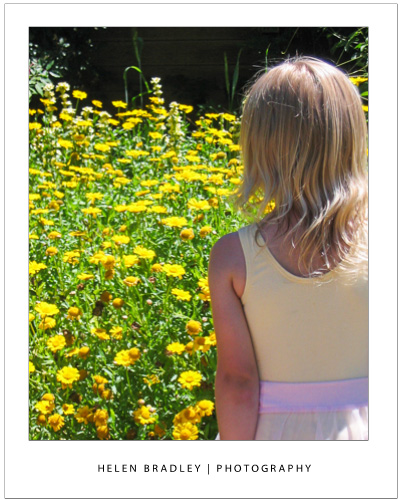
Occasionally, include children or other people in your flower photos for some added interest.

Shoot side on and from underneath
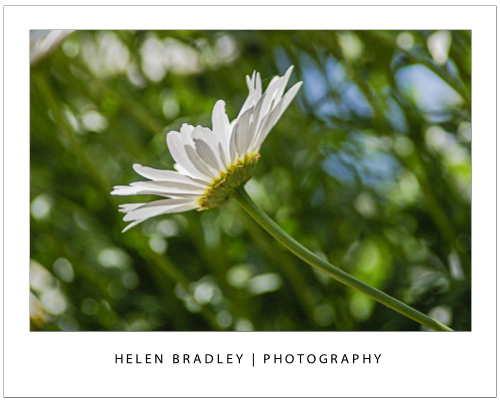
Vary how you shoot your flowers too. While it is typical to take photos of a flower looking into it, you don’t have to take them this way. Shooting from the side will show the shape of the flower and, in some cases, this is what makes them compelling subjects.

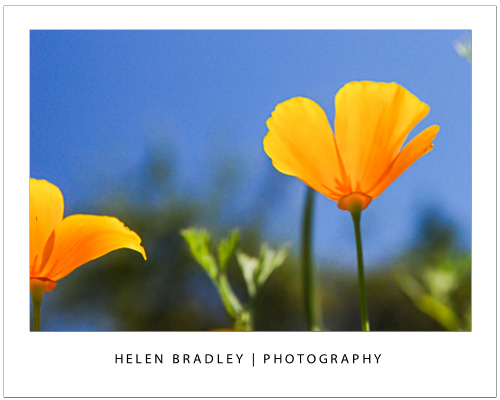
Unusual photos can also be taken shooting blind from under the flower. To do this, you’ll benefit from having a polarizing lens on your camera particularly if you’re photographing on a sunny day. This will cut a lot of the glare and give you deep saturated colors. Hold the camera at ground level under the flower and shoot up through the flower to the sky avoiding shooting direct into the sun. The results you’ll get will be of the “hit or miss” variety – because you can’t see what you’re shooting you’ll have to try a few times until you get results you like. However, you’ll get a totally new perspective on things and you just might be surprised at how interesting the photos are.

Walk and snap
If you’re lucky enough to live in a rural area, take a walk along your favorite towpath or lane and capture the wild flowers that are so often overlooked as subjects for photography. If you live in a city – visit a local park or photograph the colorful display of a local flower vendor. When you’re shooting up close, one flower is all you need to get a wonderful shot.

Helen Bradley

Friday, April 12th, 2013

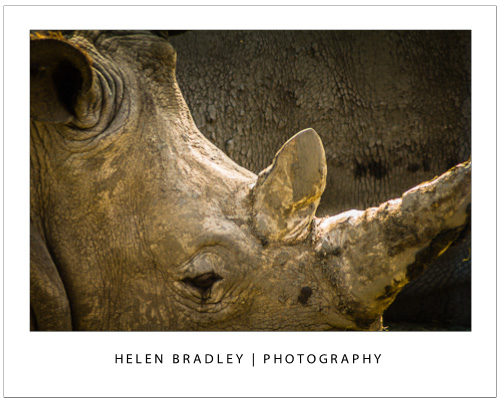
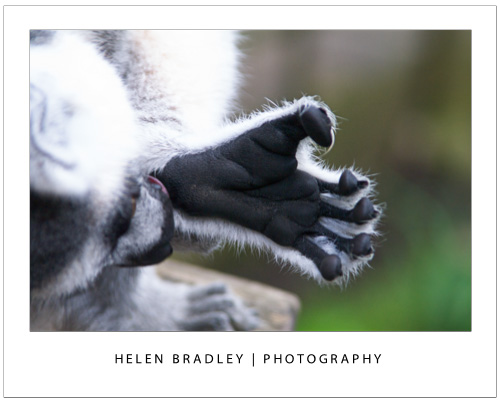
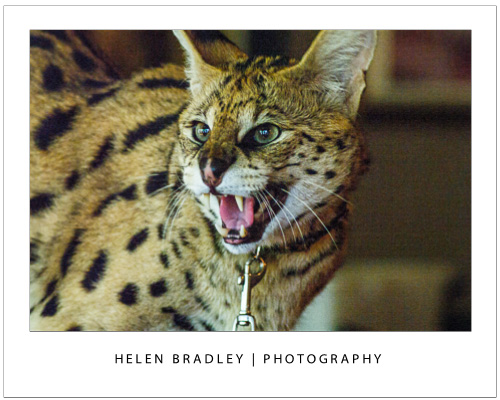
Talk to the Animals – Photograph at the Zoo – Part 2

Photographing at the zoo offers unique opportunities for getting great animal photos

Zoos are a great place to polish your photography skills and to get photos of animals and birds you may never see otherwise.

However, just because the animals are caged doesn’t mean they are easy to photograph so there is plenty to think about and work around.

The plus is that your perseverance will be rewarded and you can get some truly great photos if you know how. Here are some tips for a successful day photographing at the zoo.

Camera settings

To get in close to the animals, use the longest zoom lens you can handle. The downside of a zooming in close with a big zoom lens is that any movement will be exaggerated so you will need to hold the camera steady to capture the shot in focus.

Using a large aperture like such as f3.8, f4.0 or f4.5 will let more light into the camera so the exposure time can be reduced to help you get sharper images. Also consider increasing the ISO to get a faster shutter speed.

A side benefit of using a large aperture on the lens is that you will get a shallower depth of field around the subject and the background and foreground will be blurred. When you’re shooting at the zoo this is an advantage as it minimizes the impact of cages and man made objects.

Just ensure that the camera focuses accurately on the animal you are photographing because of this short depth of field is a double edge sword – if you’re not focused tight on the subject it will be out of focus.

Shooting in low light

Some displays at the zoo are indoors and to shoot in these low light conditions start by adjusting your camera’s ISO equivalency to a high value such as 800, 1,600 or 3,200.

At these settings the camera is more sensitive to light so you can capture your image without using a flash. Not only is the use of a flash typically not permitted in indoor displays, it is also unlikely to give you good results because, instead of lighting the scene it is more likely to bounce back at the camera or wash out the scene.

Take care to adjust for what lighting there is in indoor displays. Very often the lights throw an orange or green cast over the image.

Adjust the white balance setting on the camera to negate the cast and you won’t have to clean up your photographs later on.

What to capture


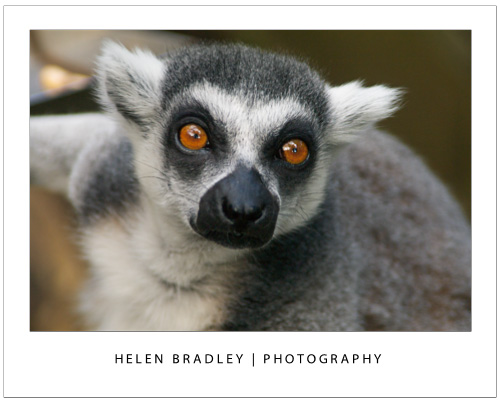
When you’re planning what to shoot, look for opportunities such as capturing an animal when it is looking directly at you.

To do this, you will need to be in a good position relative to the animal and you will need to be patient – and lucky.

Another option is to capture the animal where you can see its eyes and when it is doing something interesting like eating or yawning. Again, take your time, be ready with your camera positioned and be patient.

In some circumstances you may find yourself forced to shoot through glass or perspex. Walk around the area to find a good place where there are minimal reflections and where dirt on the window won’t be distracting.

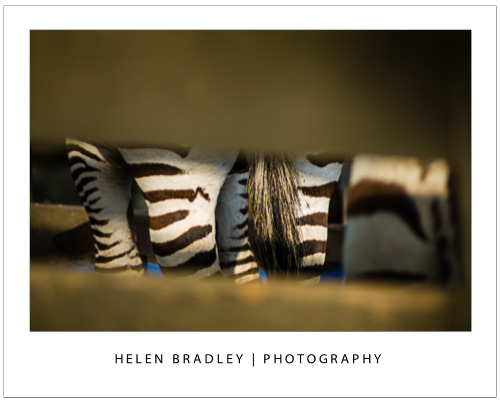
If you’re forced to shoot an animal through a fence, get close to the fence so you can shoot through gaps in it or make the fence an interesting feature.

Even if you’re forced to crop parts of the animal away to get a clear shot you can still end up with a worthwhile image.

Of course, always photograph from a safe distance – some animals are belligerent and dangerous and up close to a fence won’t be safe if they are the other side of it.

If you have the luxury of spending time with animals that are active and in a good position for you to capture them, spend the time you have wisely.

Take your time

Instead of taking a couple of good shots and moving away from the animal, wait around to see what creative opportunities arise that might give you a great shot.

By waiting, you may find the animals interact with each other, playing or fighting or that they arrange themselves in interesting patterns that turn a good photograph into a great one.

When you’re next looking for an opportunity to hone your photography skills it may be time for a visit to your local zoo to take advantage of the wealth of photographic opportunities offered there.

Helen Bradley

Tuesday, January 29th, 2013

Make time to Photograph – the only thing holding you back is yourself

If you think you have to ‘go’ somewhere to get great pics, you don’t – you just need to look around you and start shooting – every day

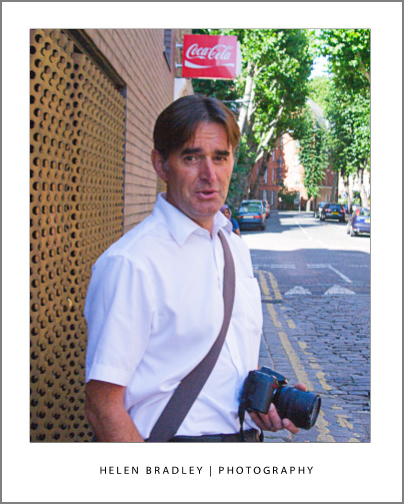
I met this guy in London recently when I was photographing around Brick Lane. That area of London is famous for its graffiti and I had the rare pleasure of meeting some of the graffiti artists there including Stik. But I digress. The reason this guy is so interesting is that he photographs – nearly every day. He works in the area and he heads out at Lunchtime to take photos.

You might be prepared to shrug off his enthusiasm for his craft because of where he lives and works. Let’s face it –  he gets to shoot some pretty awesome stuff. But so do any one of us if we look around us. Anywhere you live will give you fodder to shoot – you just have to go looking for it. Some of my best images have been shot within a mile of my house and sometimes just a few hundred feet. I know that because I walk the same route most mornings from Starbucks to my office. I carry my camera and I shoot whatever I see that captures my eye. So too does this guy.

If you feel frustrated you can’t get out to shoot often enough, I challenge you to go out during lunch time. Spend half of it eating and half photographing and you will end up with an hour or more shooting time each week. It’s not hard, it just takes commitment. So that’s why I take my hat off to this nameless London worker/photographer. He’s working a 9-5 but he’s still indulging his passion!


Helen Bradley

Wednesday, September 19th, 2012

Reflections make the ugly look charming


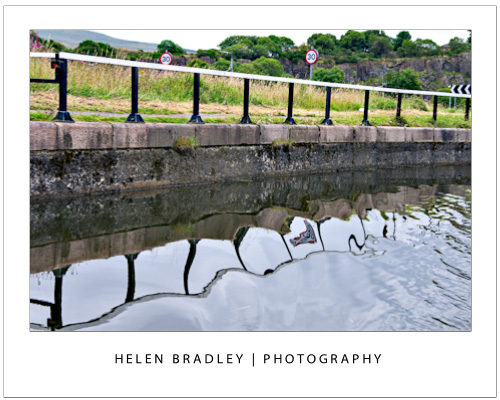
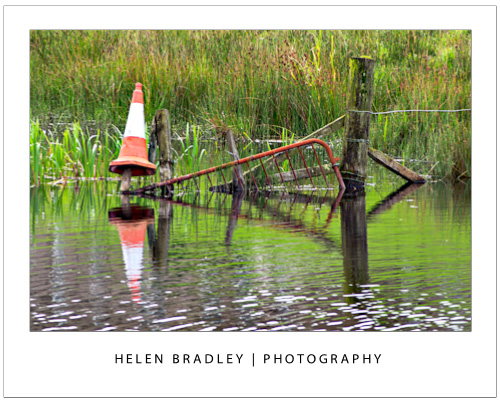
I really cannot emphasise too much how reflections can help you capture wonderful images. They can make even the most ugly objects like discarded road signs and rusty fences look great. It seems that anything reflected seems to grow an immediate charm factor and you can take advantage of this.

In this image, the traffic cone caught my eye so that made the subject something to look at. Perched on the old fence and standing in the canal it had a certain charm. Then the reflection made the shot. If I could pull it all together I had a worthwhile image. I like the result.

When you are out, look for reflections – you will find them in water and in shop windows, in car windows and all sorts of places you might not think of but they are there.

Helen Bradley

Thursday, June 14th, 2012

Shoot right at night – Tip #9 Shoot from Hotel Windows

If you’re travelling for work or pleasure, ask for a room on a high floor in the hotel and shoot the night skies from your hotel window. There’s always something of interest happening in the streets below even if you have a totally awful view in daytime, the nightlights can offer photographic opportunities you don’t get in the daytime.

When you’re shooting from a hotel or office window at night, turn out the room lights so you minimise the reflections in the glass. Look for interesting buildings and light effects, jam your lens up against the window and start shooting. A table or windowsill can be used to steady the camera for long exposures too.

Helen Bradley

Wednesday, March 21st, 2012

Shoot right at night – Tip #8 – Closed shops

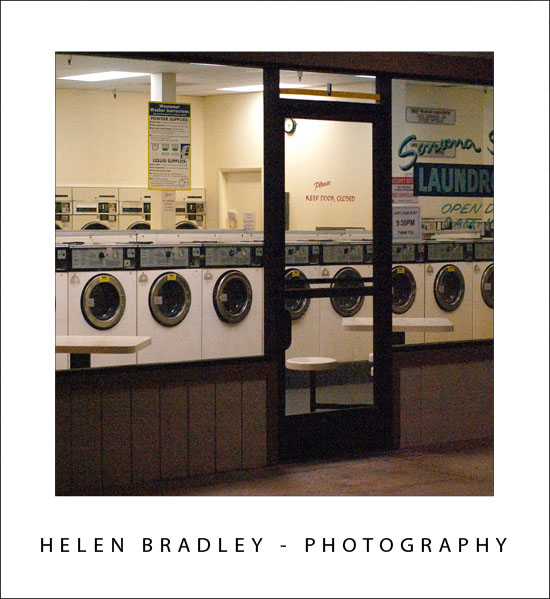
After dark you will find many shops completely blacked out but those which are lit or partially lit offer unique opportunities to photograph empty places.

Without people around to question what you are doing you can spend the time you need to do to find great subjects to capture. Look for different colours of light and repeated objects – here the local laundromat provides a moody subject which is only enhanced by the grain from the high ISO setting used.

Helen Bradley

Page 1 of 212