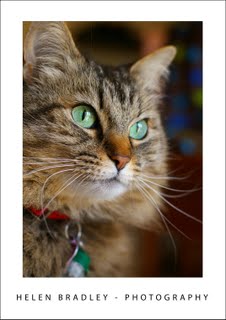
Photographing at the zoo offers unique opportunities for getting great animal photos
Zoos are a great place to polish your photography skills and to get photos of animals and birds you may never see otherwise.
However, just because the animals are caged doesn’t mean they are easy to photograph so there is plenty to think about and work around.
The plus is that your perseverance will be rewarded and you can get some truly great photos if you know how. Here are some tips for a successful day photographing at the zoo.
Camera settings
To get in close to the animals, use the longest zoom lens you can handle. The downside of a zooming in close with a big zoom lens is that any movement will be exaggerated so you will need to hold the camera steady to capture the shot in focus.
Using a large aperture like such as f3.8, f4.0 or f4.5 will let more light into the camera so the exposure time can be reduced to help you get sharper images. Also consider increasing the ISO to get a faster shutter speed.
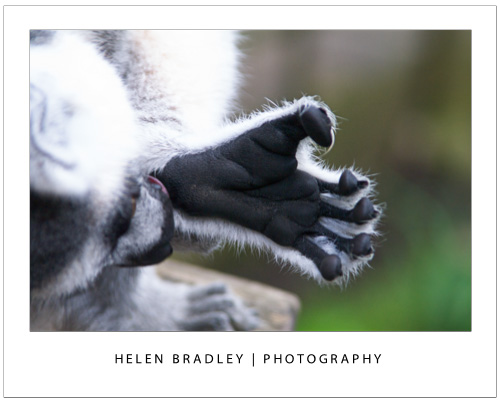
A side benefit of using a large aperture on the lens is that you will get a shallower depth of field around the subject and the background and foreground will be blurred. When you’re shooting at the zoo this is an advantage as it minimizes the impact of cages and man made objects.
Just ensure that the camera focuses accurately on the animal you are photographing because of this short depth of field is a double edge sword – if you’re not focused tight on the subject it will be out of focus.
Shooting in low light
Some displays at the zoo are indoors and to shoot in these low light conditions start by adjusting your camera’s ISO equivalency to a high value such as 800, 1,600 or 3,200.
At these settings the camera is more sensitive to light so you can capture your image without using a flash. Not only is the use of a flash typically not permitted in indoor displays, it is also unlikely to give you good results because, instead of lighting the scene it is more likely to bounce back at the camera or wash out the scene.
Take care to adjust for what lighting there is in indoor displays. Very often the lights throw an orange or green cast over the image.
Adjust the white balance setting on the camera to negate the cast and you won’t have to clean up your photographs later on.
What to capture
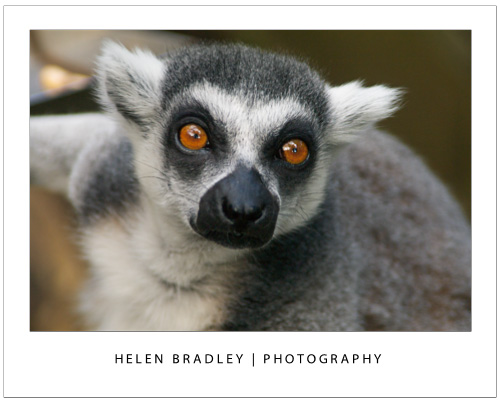
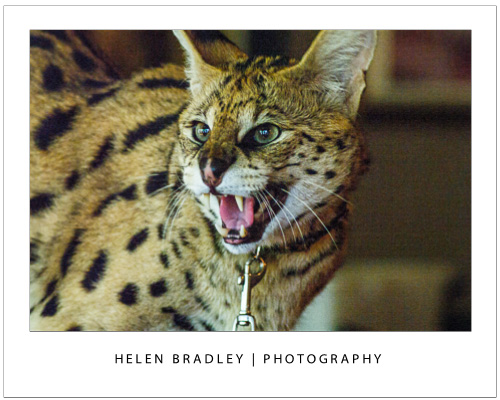
When you’re planning what to shoot, look for opportunities such as capturing an animal when it is looking directly at you.
To do this, you will need to be in a good position relative to the animal and you will need to be patient – and lucky.
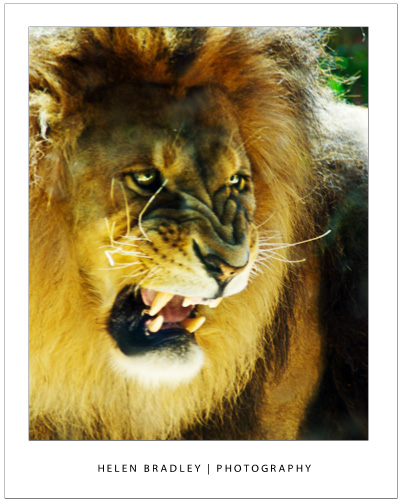
Another option is to capture the animal where you can see its eyes and when it is doing something interesting like eating or yawning. Again, take your time, be ready with your camera positioned and be patient.
In some circumstances you may find yourself forced to shoot through glass or perspex. Walk around the area to find a good place where there are minimal reflections and where dirt on the window won’t be distracting.
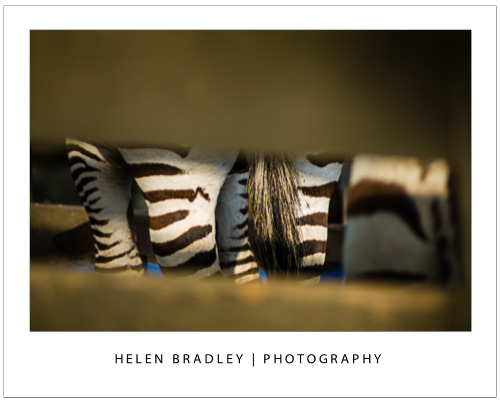
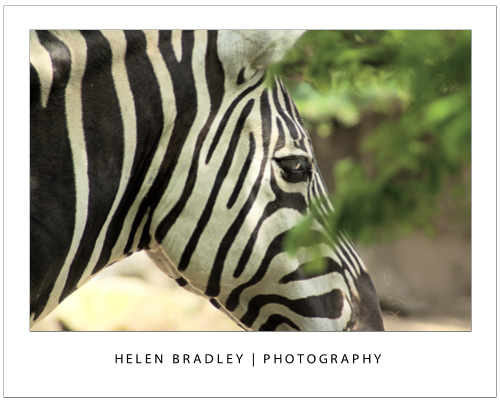
If you’re forced to shoot an animal through a fence, get close to the fence so you can shoot through gaps in it or make the fence an interesting feature.
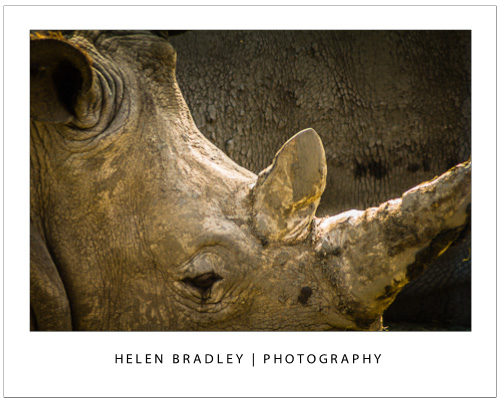
Even if you’re forced to crop parts of the animal away to get a clear shot you can still end up with a worthwhile image.
Of course, always photograph from a safe distance – some animals are belligerent and dangerous and up close to a fence won’t be safe if they are the other side of it.
If you have the luxury of spending time with animals that are active and in a good position for you to capture them, spend the time you have wisely.
Take your time
Instead of taking a couple of good shots and moving away from the animal, wait around to see what creative opportunities arise that might give you a great shot.
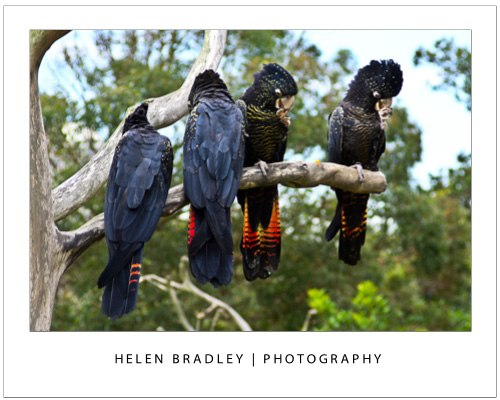
By waiting, you may find the animals interact with each other, playing or fighting or that they arrange themselves in interesting patterns that turn a good photograph into a great one.
When you’re next looking for an opportunity to hone your photography skills it may be time for a visit to your local zoo to take advantage of the wealth of photographic opportunities offered there.


