Learn how to quickly and easily adjust an image’s White Balance
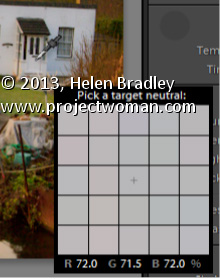
In the Lightroom Basic panel’s White Balance area is a White Balance Selector. You can get to it by pressing the letter W. Hold the White Balance Selector over an area of the image which should be a neutral color, such as gray, black or white – gray is the better choice.
You will see the Loupe appear (which is a grid of 25 cells showing the color under and around the cursor). Click once to set the white balance, using the center color as a reference. If the result isn’t what you want, click again to sample another area. Continue until you get a good fix for the image.


Your tip is a good one as far as it goes, but surely you should have mentioned that as you move the cursor, the changes to the picture can be seen in the navigation panel. Just saying.