Wednesday, October 24th, 2007

Port de Vanves market – Paris

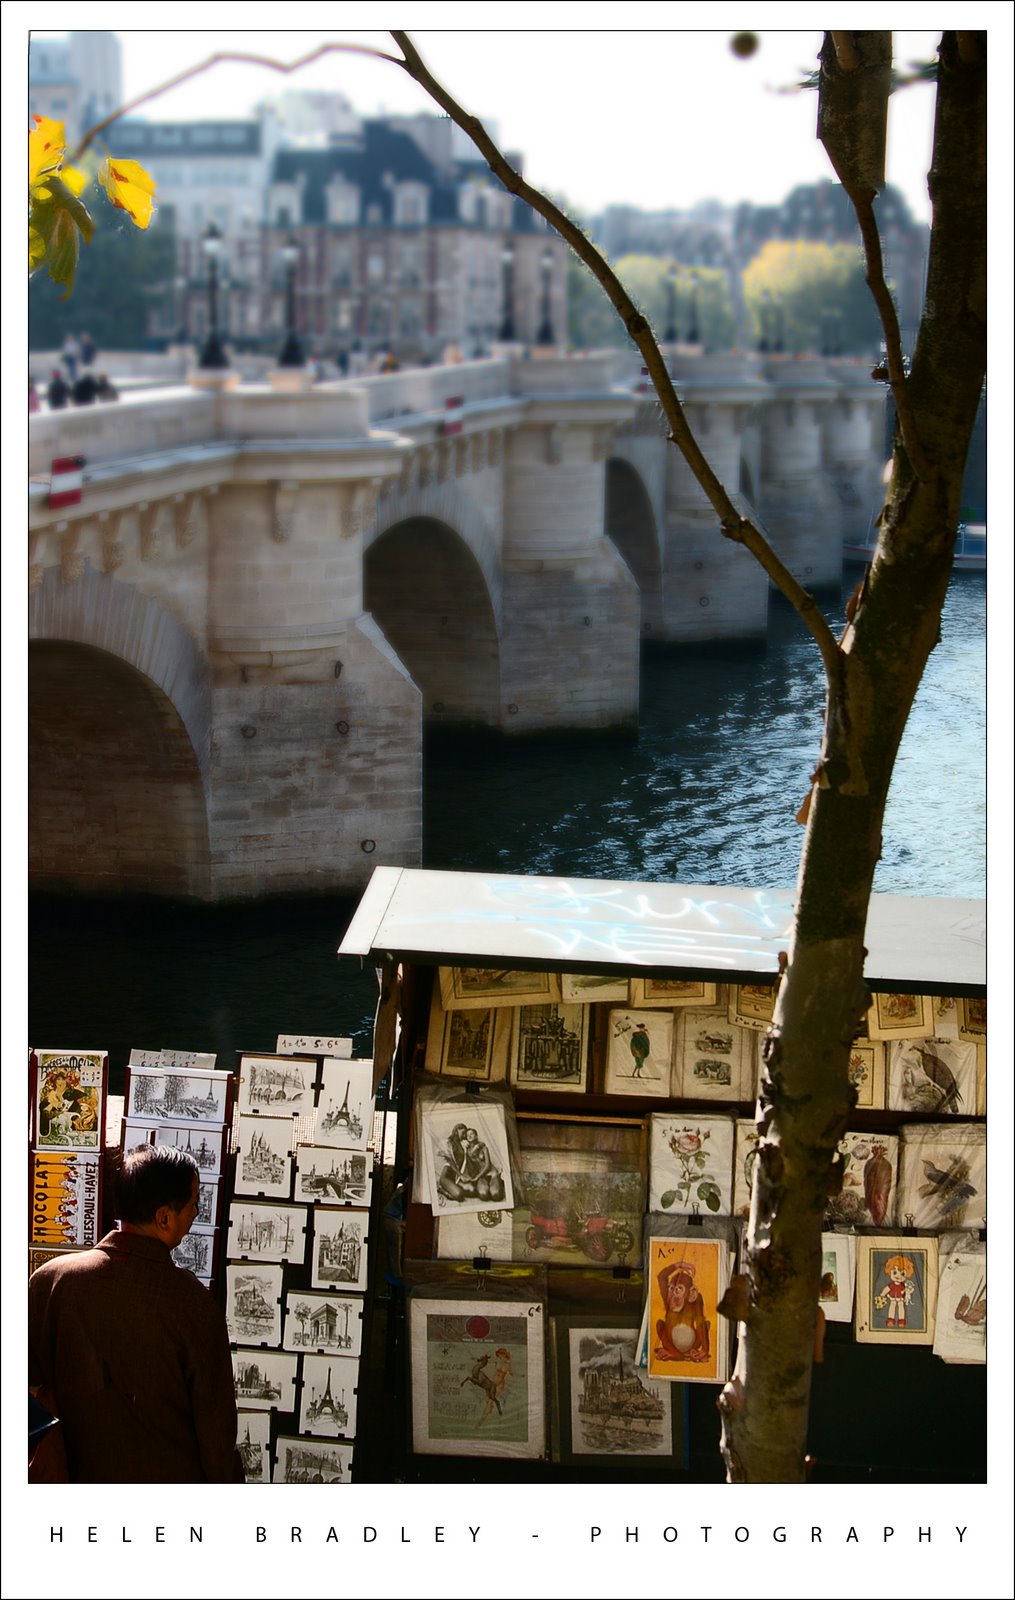
We visited the Port de Vanves market in Paris. This funky market only happens on a Saturday and Sunday morning from 7:30am till around 1:30pm. It is really near a Metro station (tell me what isn’t in Paris!) and it’s not on the tourist beat so it’s more French than you might expect. It was so much fun and I bought lots of little bits and bobs for my artwork. My mum bought me this cute paper mache horse which is hand made and which is on little wooden wheels – way too cute.

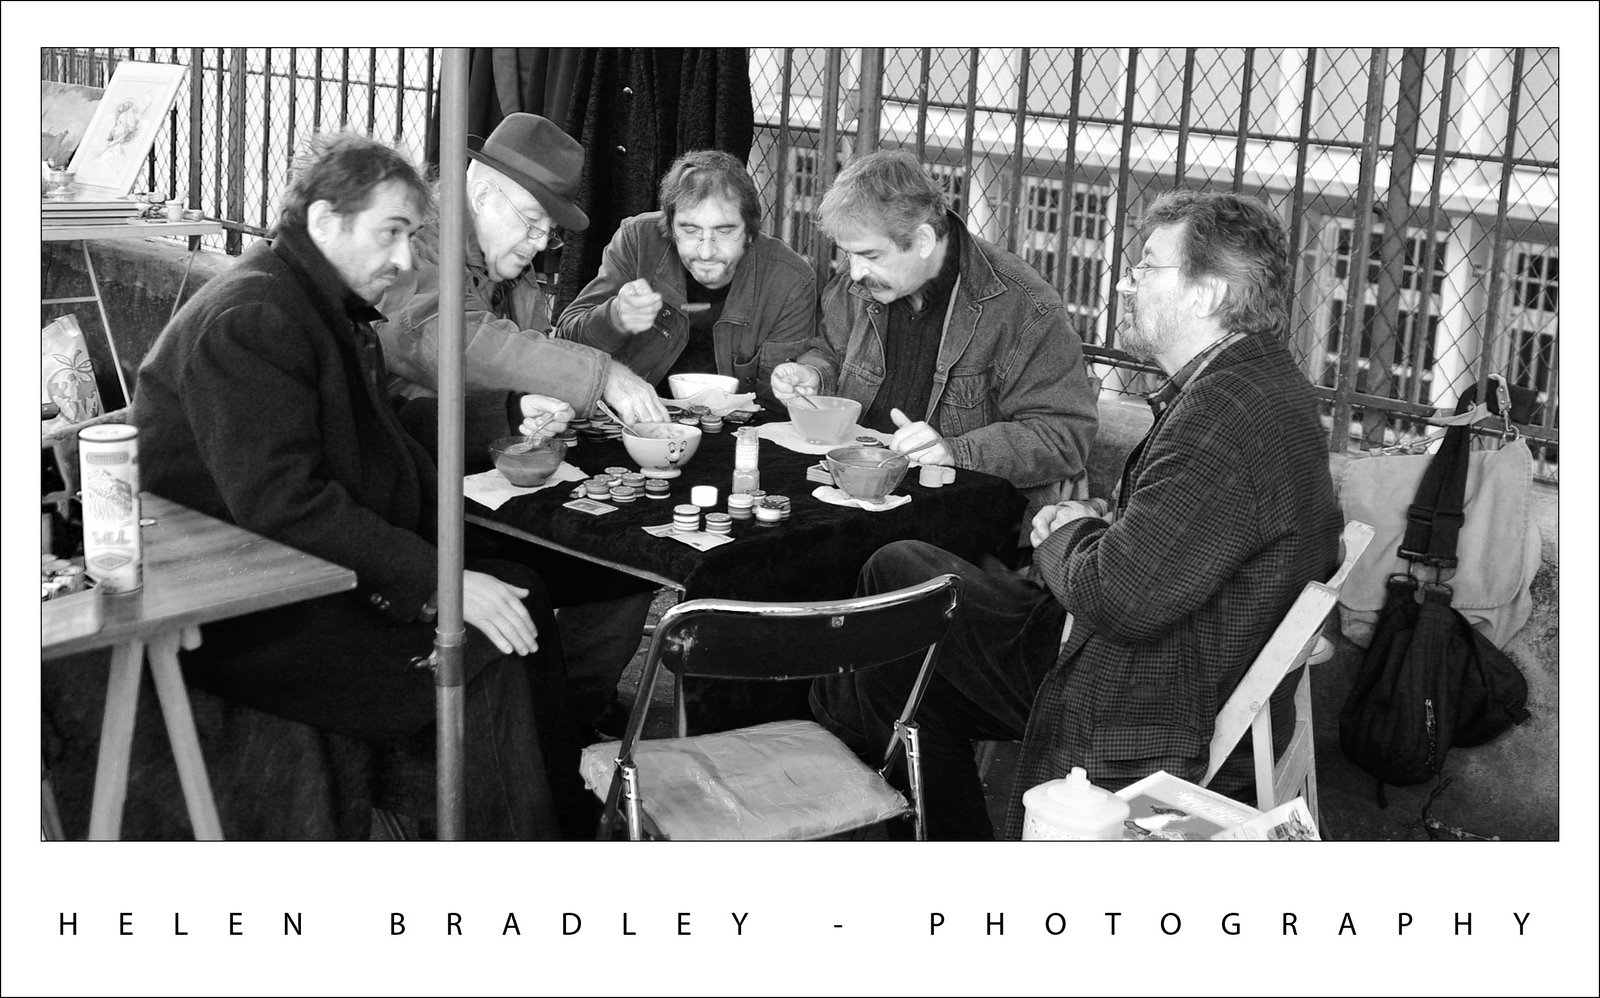
These five guys were stall holders who were taking time out to grab some lunch. They were so wonderful and kind to let me capture this photo.

This photo is a compilation of two I took. I aligned them using the new Photoshop Auto Align layers command and then masked out the bits I didn’t want from the top layer. This let me use the best facial expressions for each person. I used the – new to Photoshop CS3 – Black and White adjustment layer to mix the black and white because this gives you the ability to select colours in the image and take them to black or white. The result is much richer image than I could create with, for example, the Hue/Saturation tool or even the Channel Mixer.

Helen Bradley

Thursday, October 18th, 2007

Paris – by the Seine

There are beautiful little boxes all along the Seine where they sell books and manuscripts and old post cards. A sunny Autumn afternoon is just the place to stroll and find some “must have” item.

This photo underwent radical surgery. It is two photos blended together using Photoshop CS3’s new Auto Align layers and Auto blend layers tools. To do this, add one image’s background layer to the other. Select both layers and you’ll find the commands on the Edit menu. I did Auto align first. You might want to experiment with which layer you use as your topmost layer as the results differ. Then I did Auto Blend which makes a mask on each layer to bring in the bits it thinks you want from each layer. Remember you can click a mask to select it and then paint with white or black as required to reveal or hide detail on that layer – I did this as I wanted the guy in the image but needed to remove the other people who were in the originals.

Then I made a composite merged layer with my fave command CONTROL + ALT + SHIFT + E (Command + Option + Shift + E on the Mac). This gave me an image to work on the colors with. I’ll talk more about how to do that in another post.

Finally, to bring the attention to the bottom of the image (rather than the top), I created yet another merged layer, duplicated this and blurred the topmost layer. On the top layer I added a mask and a gradient fill using the Foreground to Background gradient. This resulted in the top of the image being nicely blurred and leaving the bottom in focus. I also picked out the tree and added it to the mask so it would be more in focus as it’s in the front of the image.

Finally, I added the small black border which defines the edge of the photo. To do this, choose Select, All and then Edit, Stroke and add a small 2 pixel black stroke around the Inside of the image. Add the white photo edge, the text and another small black border around the lot.

Sounds like a lot of work but once you’ve done it a few times it all happens pretty quickly. The worst part was the color correction as it is a bit fiddly.

Helen Bradley