Friday, June 19th, 2009

Cool excel printing options

Excel offers some cool options for printing worksheets. Here are six of my favorite techniques:

1 Printing grid lines (or not)

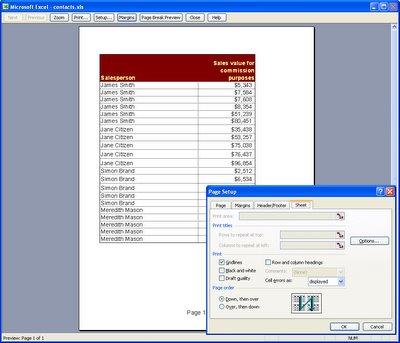
To print grid lines on your final printout, choose File, Page Setup, Sheet tab and enable the Gridlines checkbox. This prints horizontal and vertical lines much like you see on the screen in editing view.

2 Printing row and column headings
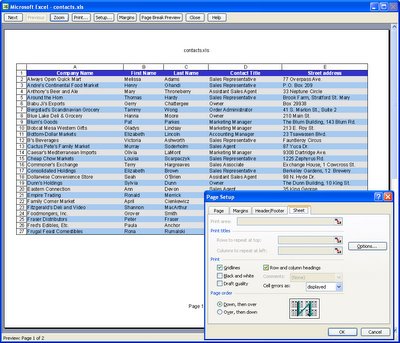

To print the letters A, B, C etc above the columns on your worksheet and the row numbers choose File, Page Setup, Sheet tab and enable the Row and column headings checkbox. This works particularly well when combined with printing Gridlines but can be used without gridlines too.

3 Setting your own page margins
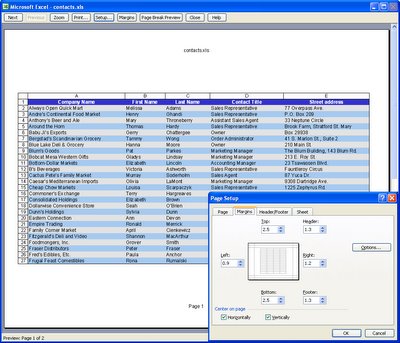

You can configure the margins around the page by choosing File, Page Setup, Margins tab. Set the margin values and use the Horizontal and/or Vertical checkboxes to centre a small worksheet on a larger page.

4 Drag a margin into place
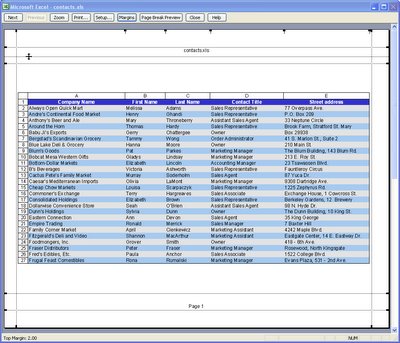

You can also control margins from the Print Preview screen. Click Margins to turn the margin indicators on. You can now move these into new positions by simply dragging on them.

5 Select an area to print
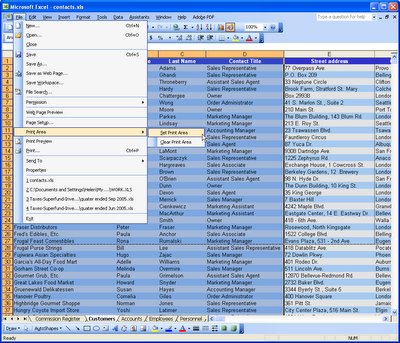

When a print area is set, this will print by default regardless of how big the worksheet is. Drag over the area to use and choose File, Print Area, Set Print Area to configure it. To clear the print area, so you can print the entire worksheet, choose File, Print Area, Clear Print Area.

6 Print a chart
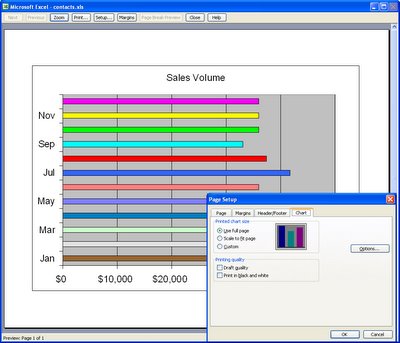

When you click a chart on a worksheet to select it and choose File, Page Setup, the page setup dialog shows no longer contains the Sheet tab and, instead, contains a Chart tab. This shows options for sizing and printing charts. When you click Print, only the chart will print.

Helen Bradley

Wednesday, June 27th, 2007

Gridlines – Yes or No?

In Excel there are gridlines and gridlines. You can display them on the screen as you work or on the printouts or both or neither.

Confusing?

To display or hide gridlines as you work, choose Tools, Options, View tab and enable or disable Gridlines.

For printing, choose File, Page Setup, Sheet tab and enable or disable Gridlines for printing…

Now you know.

Helen Bradley

Tuesday, May 1st, 2007

Hide or color Excel gridlines

Ok, grey is my favourite colour – it’s the colour of my old school uniform. I’m an Aussie and we still wear uniforms to school! Mine was grey serge in winter and grey cotton in summer, complete with hats and gloves. I kid you not and this is seriously OT and it uses Australian spelling so I’ll get back to what I was saying.

Ok, so gray might be my favorite color but it’s probably not yours. If Excel’s gray gridlines offend your color sense, you can change them or remove them entirely. To remove them choose Tool, Options, View tab and disable the Gridlines checkbox.

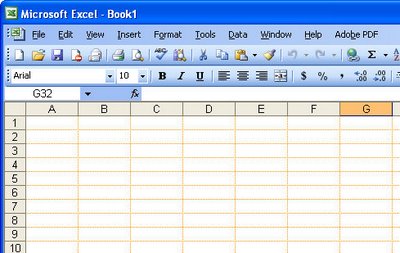
To change the color of the lines, choose Tool, Options, View tab and choose an alternate color from the Gridlines color dropdown list. If you didn’t realise gridlines were little dots and not solid lines, you’re about to see that that’s exactly what they are.

Helen Bradley

Thursday, February 1st, 2007

Align anything in Word

When you want to make sure everything on a Word page lines up properly, display the gridlines.

To do this, first display the Drawing toolbar then choose Draw, Grid and choose the Display gridlines on screen checkbox. Set the Use Margins option to start the grid aligned on the left and top margins. Set the value to 1 for small squares and to 2 or 3 for a larger grid.

If you select the Snap Objects to Grid checkbox all objects will automatically line up against the grid.

If you don’t want this to be the case, press the Alt key as you drag an object and it will be freed from snapping to align to the grid.

Helen Bradley