One of confusing things when you’re getting started in Lightroom is understanding the concept of selected images and the most selected image in Lightroom.
Step 1
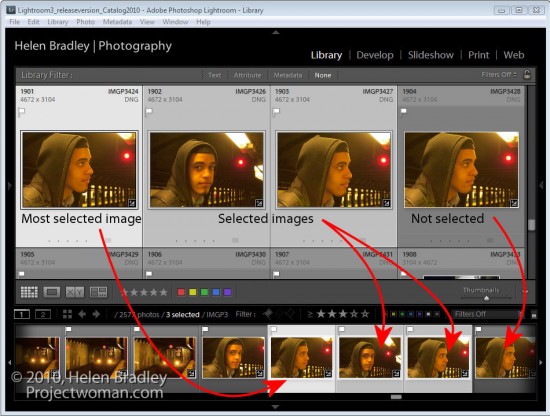
To see this at work, start in the Library module and press G to move to Grid view. Click on any image to select it and Shift + Click on another image. You’ll now have a sequence of images selected.
Notice that in both Grid view and on the Filmstrip the first image that you selected has a lighter border around it than all of the other selected images and notice that the unselected images have darker borders.
The image with the lightest border is the most selected image and it is the image that will be affected by changes that you make to various settings, in particular when you are working in Loupe view with multiple images selected.
Step 2
What you have selected in Lightroom and the view you are in impacts how changes are applied to an image.
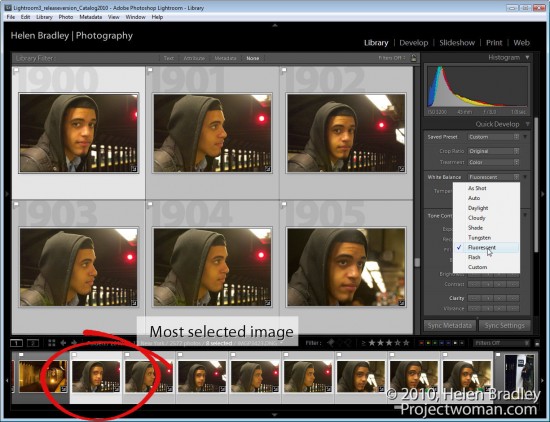
In Grid view if you select the Quick Develop panel and choose a different white balance setting then all the selected images that are selected will be altered.
Step 3
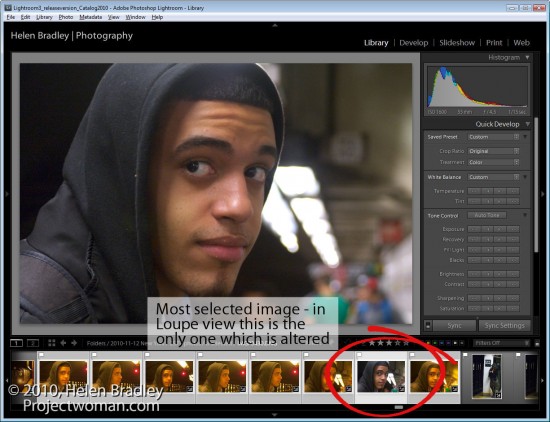
However, if you are in Loupe view and if you make the same change only the most selected image will be altered and not all the selected images.
Grid and Loupe view work very differently and it’s important to understand, particularly in Loupe view, that when you have multiple images selected, there is one that is most selected.
Step 4
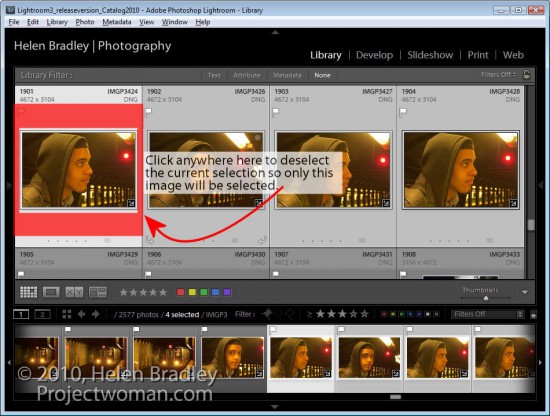
When you have all images in a folder or collection selected it can be difficult to see just how to deselect the images. To deselect a selection, click outside the thumbnail area of any of the selected images in an empty area of the cell it is in. This deselects the current selection so only the image that you just clicked will be selected.


