Quite often, I need to sign a Word document and convert it to a PDF or fax it. It’s easier to do everything on the computer rather than printing it, signing and then scanning it all over again.
The solution is to scan your signature and convert it into an image that you can use inside Word. To give you access to your signature image in Word, first save it as a GIF, JPG or BMP file and then from the Microsoft Office Group in your All Programs menu, select the Microsoft Office 2010 Tools > Microsoft Clip Organizer.
Choose File > Add Clips to Organizer > On My Own and browse to the folder that contains the images of your signature. I have a simple Helen signature and one for Helen Bradley. You can also do the same with your company logos and other elements that you’re likely to want to use repeatedly in Word.
Select the images and click Add. They’ll be added automatically to your clip organizer. Hold your mouse over the first image, click the dropdown arrow to its right and choose Edit Keywords.
Now in the Keyword box type a keyword that describes the image. Add one keyword, click the word Add and then add additional keywords. If there are keywords in the list that you don’t want to use, select them and press Delete. Click Apply to apply the selected keywords to the image and then click Next to do the same thing for the next image in the sequence.
I add my name and the word Signature as keywords to my signature files so they are easy to find.
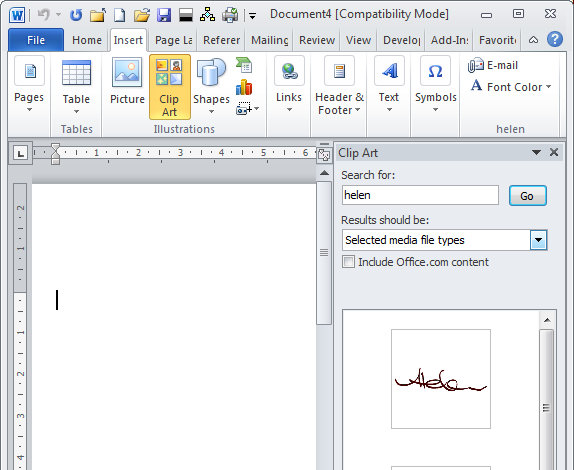
Now you can close the Clip Organizer and whenever you need the image inside Word, choose Insert > Clipart, make sure that the file types are set to Illustrations if you saved the images as Gif files or set to Photographs if you saved them as JPGs or Tiffs. Type your search text which in my case is Helen and press Go.
Microsoft Word locates the signature image and you can then drag and drop it into your document. The images are permanently in the Clip Organizer so they’ll be there next time you launch Word or any Office program that can access it.


