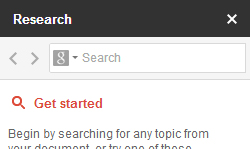
Google Docs has a handy research tool built right into the page that utilizes Google’s massive information database. It can provide a useful catalogue of information on almost any topic.
To open the Research module, go to Tools > Research. Alternatively, you can highlight some text from your document, right click, and select Research ‘[your text]’ from the context window. This will automatically research the highlighted text.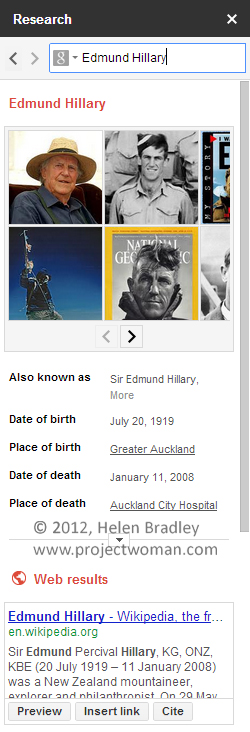
If your topic has any specially indexed information, it will be shown in a summary at the top of your results. It may also show relevant images and published papers on the topic. When Google has exhausted all the information it can find itself, it will simply display a list of search results. Yet these results also contain a useful set of tools unique to the Research module: Preview, Insert Link, and Cite.
Preview provides a quick look at the web page to help you determine if it will actually be useful to you. Insert Link automatically creates a link to the web page in your document. If you used highlighted text to open the Research module, it will turn that text into your link. Cite creates a neat citation for that web page, which is in MLA format by default.
If we take a look at the main page of the Research module again, we’ll find search filters for different needs.
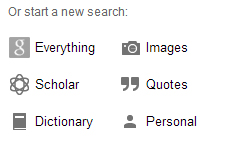
Everything provides the results we initially saw, with as much information as Google could provide. Images narrows your search to just that, a sidebar of topical images which can be easily dragged and dropped into your document. Scholar provides a list of published research papers for your topic, although it does not provide direct links to those papers. These can be easily cited the same way web links can.
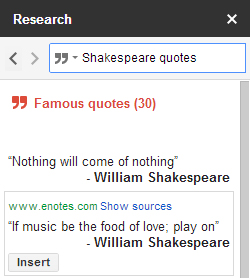
Quotes provides a list of relevant quotes which can also be inserted into your paper. Google also highlights the most famous quotes for you. Dictionary provides a fast and light way to check words’ definitions. Finally, Personal simply shows any files you already have on your Google account that fit the query.
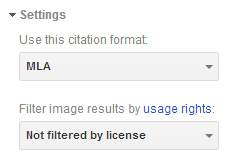
You can also make two important changes in the Settings dropdown menu. The citation format can be swapped between MLA, APA, and Chicago, depending on your need. If you’re using your document for commercial purposes, or if you simply hate unlicensed imagery, you can filter your image search results to show only those which grant a commercial licence.
Overall, the Research module is an excellent tool to help you quickly collect information and content for your document and is worth checking out.
Helen Bradley
