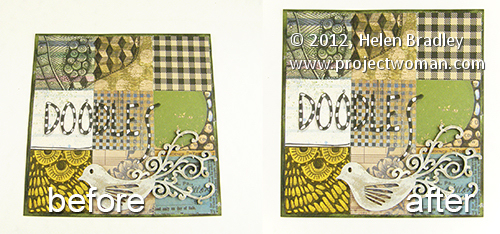
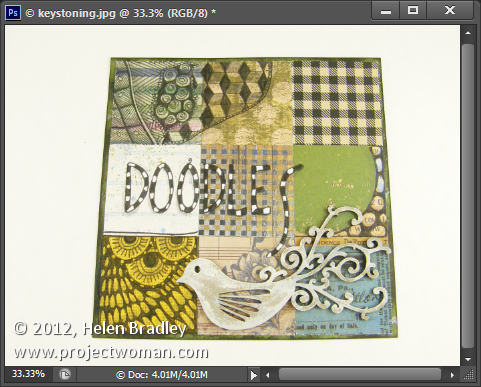
Sometimes you’ll capture an image that should be rectangular but is anything but. In this example I shot an image of a 6 x 6 inch sheet of paper for a project. The aim at the time was to have a reference image before the project was shipped.
Later I found I need to do more with the image and because it had been shot so casually the proportions were all wrong and the image does not look like a square sheet of paper. I also no longer have the project so reshooting is out of the question.
Luckily Photoshop and Photoshop Elements both share a similar tool for adjusting perspective which will go a long way towards fixing an image like this.
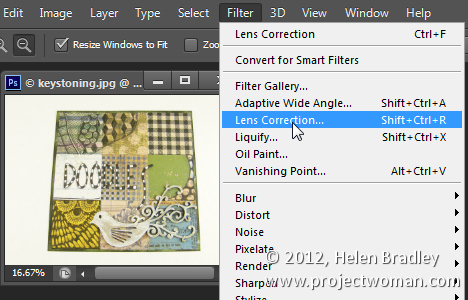
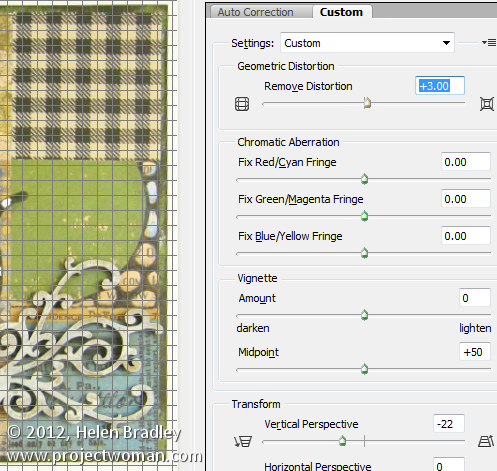
To do this choose Filter > Lens Correction in Photoshop and then click the Custom tab to access the custom tools. In Photoshop Elements choose Filter > Correct Camera Distortion.
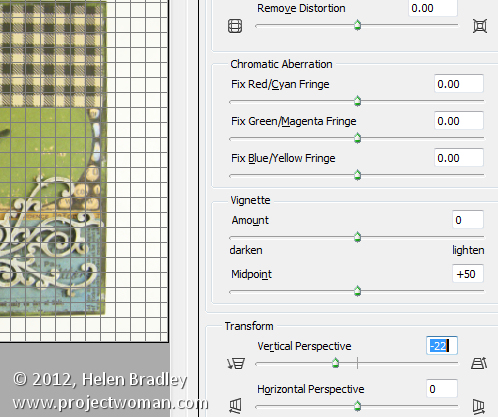
Make sure the Show Grid option is checked and you may want to adjust the grid size so it is useful for determining the straightness of the edges in the image.
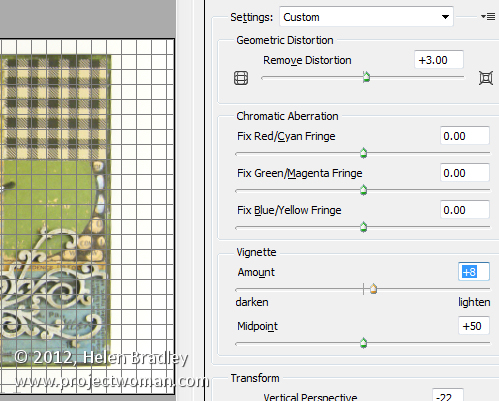
The Vertical Perspective adjustment will fix this image’s perspective problems so drag it to the left to increase the width at the top of the image to adjust for the incorrect perspective.
When you do this you may notice that the image has some geometric distortion. In this case it’s barrel distortion and the edges of the subject are billowed out.
To remove this adjust the Remove Distortion slider to counteract the distortion. It won’t be possible to get it perfect but it will be possible to reduce it to acceptable levels.
In this same dialog you may occasionally want to adjust the Vignetting slider if your lens causes dark vignettes in the corners of the image. In most cases you will drag to the right to slightly lighten the edges of the image.
Once you’re done click Ok to return to Photoshop.
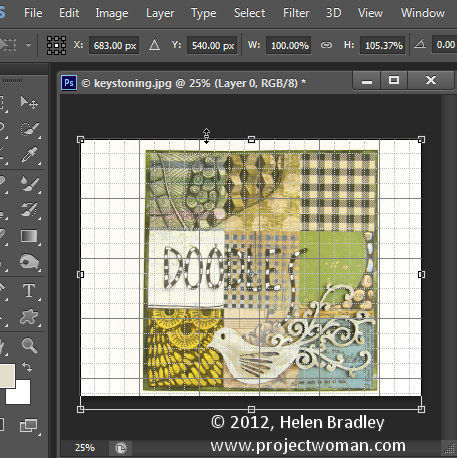
The only problem that cannot be fixed in the lens correction filter is the one that would stretch the image so the subject looks closer to its original proportions which are of a 6 x 6 inch page.
For this you’ll need to click the Move tool and drag up or down on the image to stretch it.
If you need to stretch the image beyond the current image canvas dimensions, do so and confirm the change. Then choose Image > Reveal All to reveal the area of the image off the side of the canvas. While the final image isn’t perfect it looks a lot better than the original.
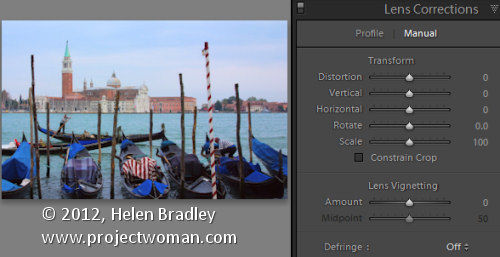
This same tool can be used to adjust perspective on buildings which show a keystoning effect where the building appears to be narrower at the top than at its base.


