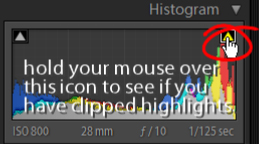
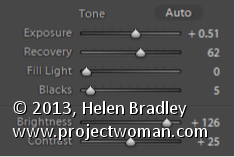
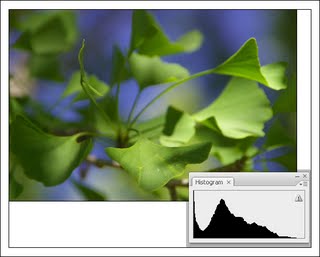
 The image histogram on your camera shows the tonal range in the image, use it to assess the quality of the image. Here there is a little too much data in the shadows (we say the shadows are plugged) and we could adjust the exposure accordingly.
To understand if you need to adjust your exposure, check the image histogram in the camera rather than relying on the image that appears in the LCD screen.
The histogram gives you a graphical representation of the image’s tonal range. If the chart data doesn’t extend from one edge of the chart to the other, you will probably have a muddy lacklustre image.
If the chart is too far to the left, you need to lighten the image and if all the data is to the right the image is being overexposed.
If you’re using a digital SLR you control the exposure by enlarging the aperture or decreasing the shutter speed to let in more light or vice versa to reduce the amount of light.
On a point and shoot camera, the exposure compensation feature lets you adjust the exposure amount to compensate for lighting issues. Typically you can adjust the exposure by any amount in the range -2.0 – +2.0 to darken or lighten the image.  Exposure compensation was used here to expose this musician correctly against a very light background – I traded blown out highlights in the background for a properly exposed foreground.
Helen Bradley


