There’s a lot been written about sharpening your images and traditionally when you sharpen you’ll choose a low radius value. In fact, Photoshop will let you choose really large radius values when sharpening even though, for correct sharpening what you need is a Radius of around 0.5 – 1 for a sharp image and just a little larger for an image that lacks sharpness.

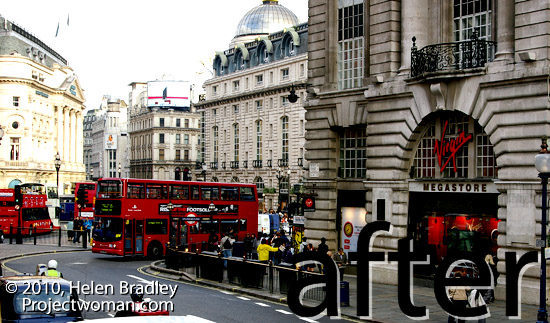
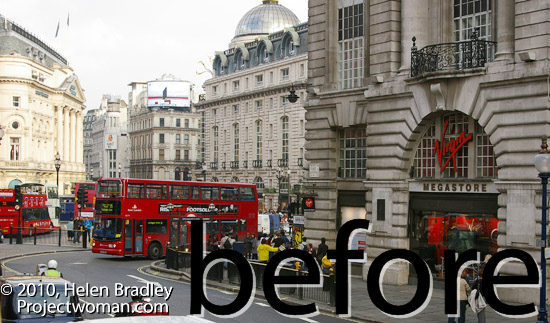
So what is the value of being able to select really large radius values? The answer lies in a technique known as high radius low amount sharpening. It’s a way to add a huge visual impact to your images.
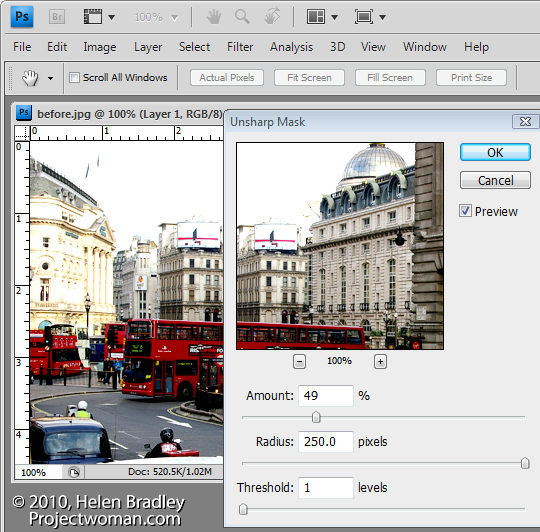
To see it at work, choose Filter > Sharpen > Unsharp Mask. Reduce the Amount to around 30 and push the Radius value up very high. You’ll need to keep the Threshold amount very low.

What Amount does is adjust the amount of sharpening so you don’t want a lot of this type of sharpening. By setting the Radius to a high value you’re pushing the sharpening halos away from the edges in the image into the image content areas so that everything is being given a significant contrast boost.
The Threshold setting is an amount representing the difference between pixels on the edges that you want to effect. It works the opposite to how you might think it would work – a small value gives you much more impact than a large value. So a value of 1 or 2 up to 10 is sufficient.
Once you have a high Radius and low Threshold value set, adjust the Amount to suit your taste.
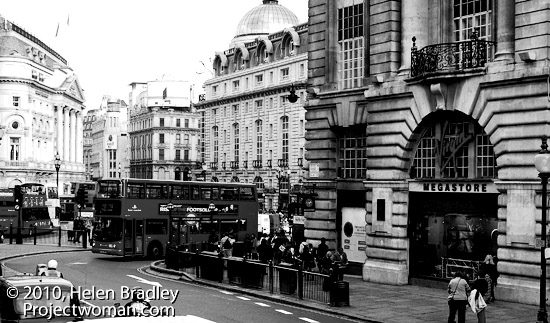
While this feature works really well on color images particularly busy color images, it also gives black and whites a really big shot in the arm.

And while you’re in Photoshop, know that this is the only place you can apply this fix. You cannot do this in Lightroom or in Camera RAW. The reason is that both Lightroom and Camera RAW allow a maximum radius setting of 3.0 and here, because we want to crank up the radius really high, Photoshop is our only option.
Helen Bradley


