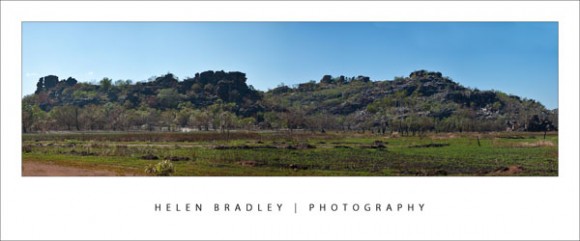
There’s something very compelling about panoramic images. They’re much wider than regular photos and, instead of showing the small portion of a scene that is in front of the camera lens, they show much more.
Some panoramas show a semi circle around a point and others wrap around a full 360 degrees showing everything there is to see. Panoramas have been popular with photographers since the early days of photography. Then, as now, they were created using a series of side by side images put together to form a single seamless image.
Today’s digital cameras and photo editing software let you create panoramas quite easily. Even simple cameras like prepaid phone cameras and point-and-shoot cameras are advanced enough to have a panorama setting. There are, however, some tips and tricks for taking the photos that will help ensure you get a great panorama and I’ve thrown in my best solution for when things go wrong!
Use a tripod
When you take photos for your panorama make sure you stand in one position to take all the shots. It is easiest if you fix the camera to a tripod and test to ensure it will swing around smoothly to capture the images that you want to take. If you don’t have a tripod, practice standing in one position and rotating your body to capture the images.
This painted sign on the building above was too large to capture in one shot but it works well as a panorama.
Overlap the images
When taking the individual shots for a panorama, make sure that the photos overlap each other by around 25 percent. This means that the objects that appear on the far right of one photograph should appear on the far left of the next photograph in the sequence.
If your camera has a panorama feature you can use this to help configure the overlap for the images. Your photo editing software uses the overlapping areas as a key for aligning and matching the images so it’s important that you have enough of an overlap for the software to do its work. On the flip side, avoid having too much overlap as that’s not desirable either.
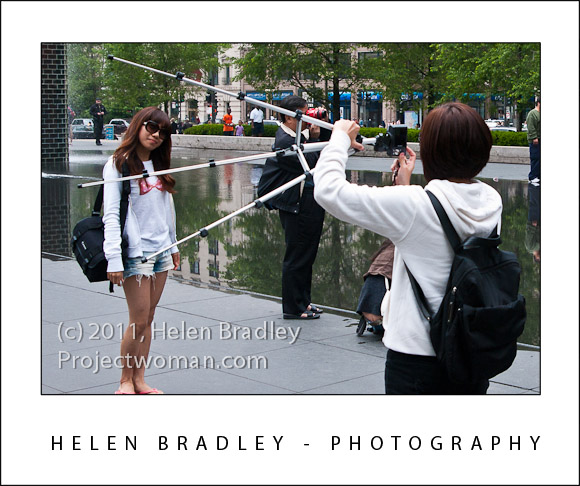
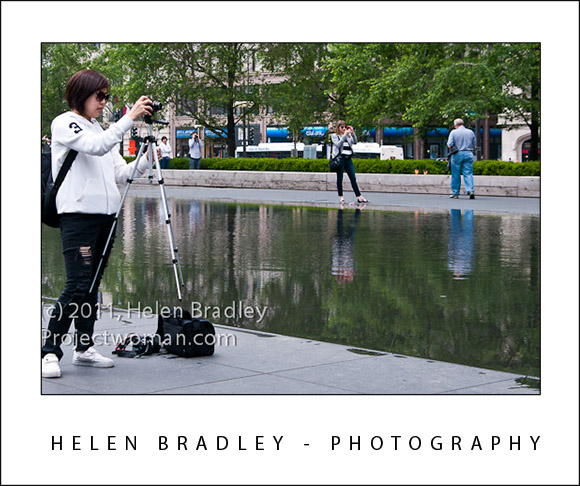
Try to photograph scenes that don’t change rather than subjects that are moving as it’s much harder to match up your images if people are moving around in them such as in this image:
I had to put a lot of work into tidying up this image – with so much action it was far from an ideal topic for a panorama but the results were worth it.
Fix your settings
When capturing photos for a panorama make sure that you do not alter your camera settings, such as the zoom, between shots as this will mess up your images and they won’t be easy to match.
If you’re using a digital SLR camera, keep the exposure the same between shots too. Using Aperture priority mode is a good choice.
There are some classic occasions when a panorama is an obvious solution and I dream of one day spending an afternoon at Lord’s capturing that wonderful cricket ground as a panoramic image. Other shots that work well as panoramas include scenery and landscapes. However panoramas aren’t limited to major spectacles and you can capture a series of two or more images of anything from a sign to a streetscape and assemble it into a panorama.
I’ve shot panoramas of signs, cityscapes, the mounting yard at a racecourse and I’ve done one of my street so one day I will be able to look back and see then what I see now, as I stand on my front porch.
If you’d like to learn more about creating Panoramas, check out this post on Creating Panoramas with a twist. It’s a great way to save an imperfectly shot panorama.
http://www.projectwoman.com/2009/04/photoshop-panorama-with-twist.html


