By Helen Bradley

If you’ve ever tried to crop an image to a fixed ratio in Photoshop you may have run up against an issue. There is, it appears, no option for cropping to a fixed ratio such as 4 x 6, 5 x 7 or even 1 x 1. You can crop to fixed sizes like 4in x 6in and you can set a resolution for the image but you can’t on the face of it just crop to a simple 1 x 1 without specifying a unit of measure. Here I’ll show you how to do this, but first things first…
The risk you run if you don’t watch how your settings are configured and if you don’t watch what you enter in the dialogs, is that Photoshop will not only crop, but also determine the units of measure and resample the image for you.
Default Settings
The default units of measure and the default resampling method are set in the program preferences which you can locate by choosing Edit > Preferences > General (Photoshop > Preferences > General) and then read the image interpolation method being used. In this set up it is set to Bicubic:

The default units of measure are set in the Units & Rulers options or the Panel options for the Info Palette as the ruler measurements:

If you type a number in the Width and Height boxes when you select the Crop tool in Photoshop then the default units of measure are used unless you also type the desired units of measure. This might not sound like it is a problem but if the default units of measure are pixels and you type 6 x 4 and have the Resolution set to 300 dpi you might end up with a very small size image indeed!
It is not possible to type a number in the Width or Height box for the Crop tool without a unit of measure being applied to it. So, what do you do if you want a 1 x 1 ratio crop not a 1 in x 1 in image?
The solution is to type 1in or 1cm in each the Width and Height boxes and ignore the units of measure. Then, remove anything from the Resolution box. When Photoshop is told to crop to a fixed size/ratio and is not told the Resolution to use it crops to the size requested, it doesn’t resample the image, and it simply adjusts the Resolution of the final image to suit the image. It might sound weird but it works to let you crop to a fixed ratio. The problem is of course, that the resulting resolution can be very large indeed.
Here I cropped this image to 1 in x 1 in with no resolution set:

Here are the final image dimensions – the size is 1 x 1 but the resolution is very large:

Change Resolution but not Size
If the resolution of the image is important to you then you can change it by choosing Image > Image Size, disable the Resample checkbox and set the desired Resolution and click Ok to adjust this. This resizes the image to the chosen resolution but does not resample it in the process.

Crop and Resample
On the other hand, if you set a width and height for the image in the Crop tool options and if you set a resolution, Photoshop will crop the image to that size and resolution.
If the image is very large and the desired size is comparatively small then Photoshop will downsize the image and in the process resample the image. If there are insufficient pixels in the image to crop to the desired size and resolution, Photoshop will upsize the image resampling it as it does so.

An Alternate Method
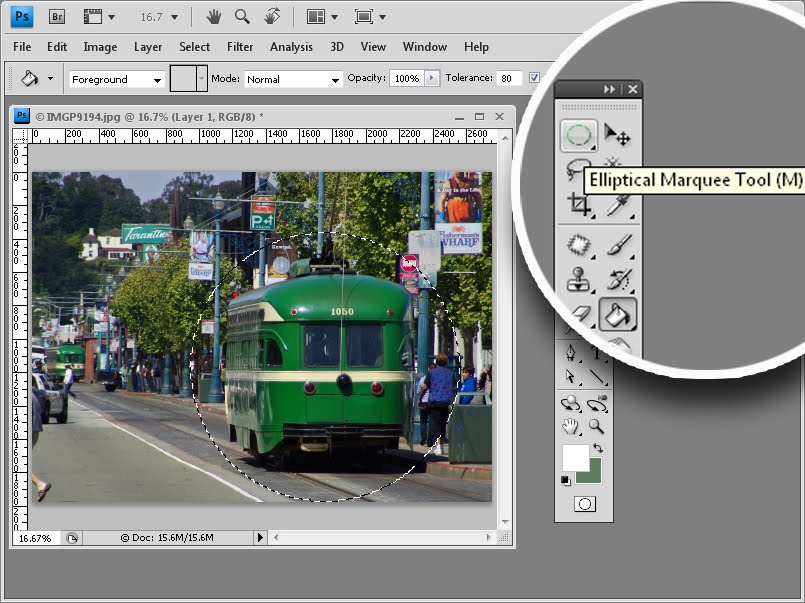
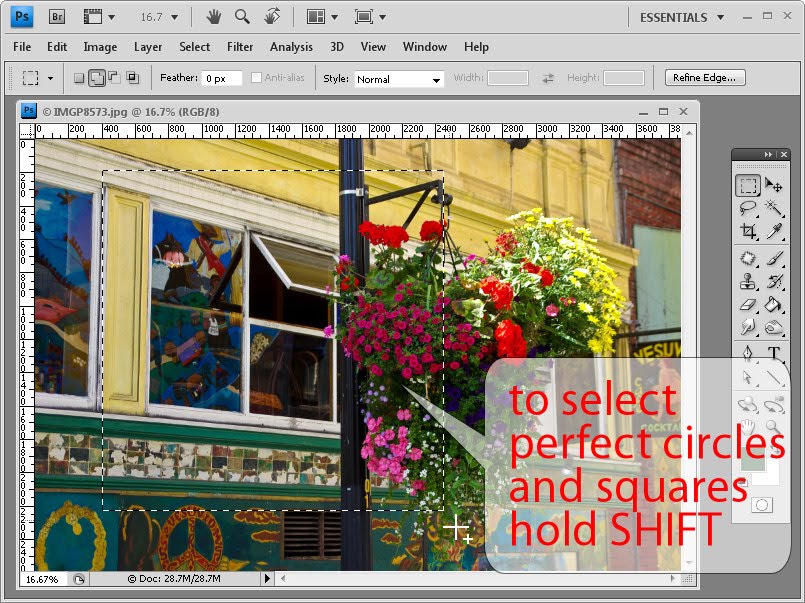
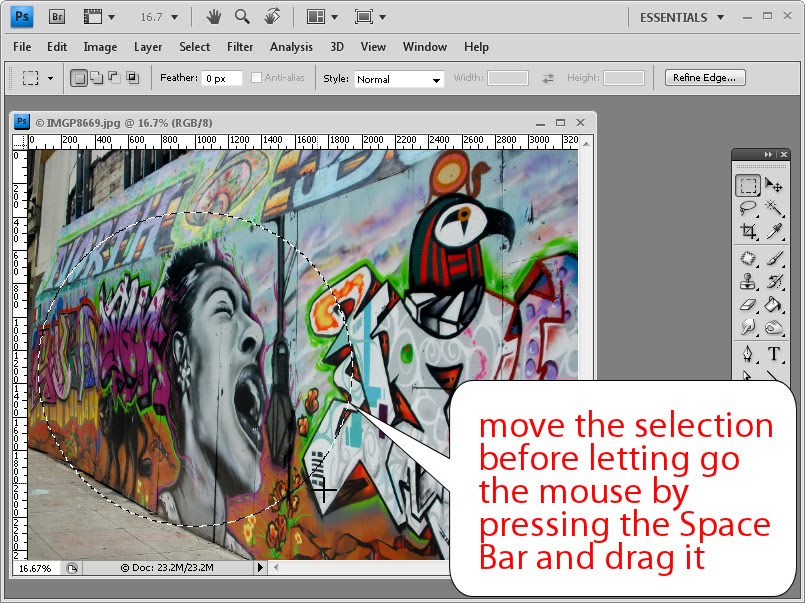
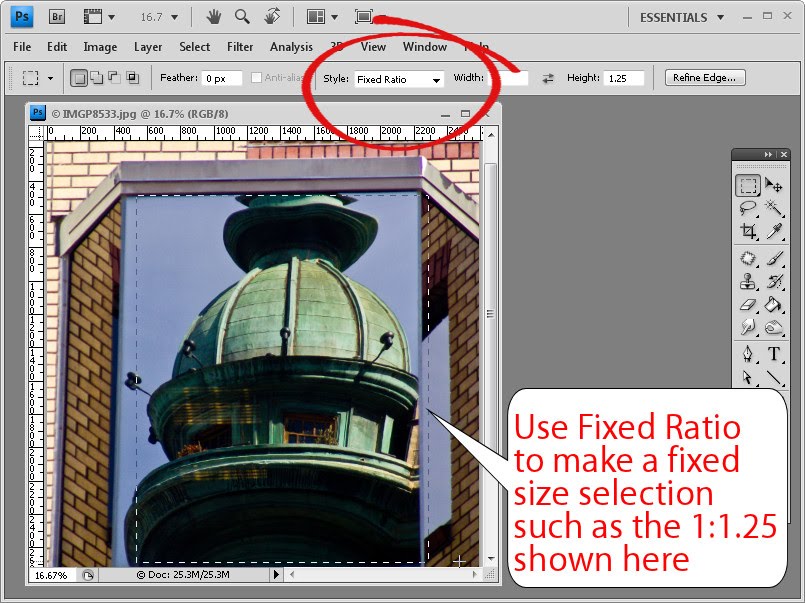
There is an alternative method that lets you crop to a fixed ratio without altering image resolution. It is a little longer but it works well and is bypasses the crop tool entirely. Instead, target the Rectangular Marquee tool and select Fixed Ratio from the Style list and then set the Width and Height as values without measurements. Select the area to keep – if necessary, hold the Space Bar as you are drawing the shape to move it to a new position.

When you ‘re done choose Image > Crop to crop it.

Next time you need to crop to a fixed aspect ratio, one of these methods will ensure you get the result you expect.