Once you know how to achieve different depths of field, the question then becomes when would you use this in your photography?
Once you understand how you can achieve different depths of field in your photography – the question then becomes when would you use this knowledge to craft better photos?
Portraits and a shallow depth of field
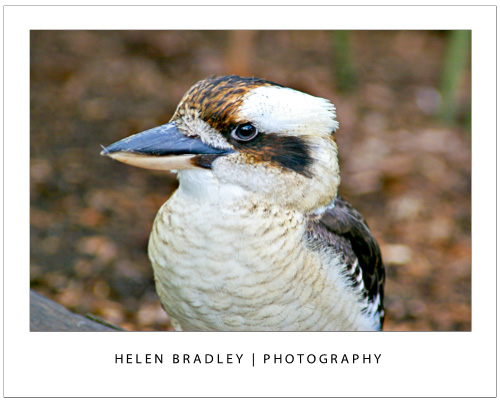
There are a number of situations where it is a good idea to have a shallow depth of field and one of these is for portrait and pet photography. In this case you will want to remove any distracting background from around your subject. When the background is cluttered or distracting, a shallow depth of field helps you to isolate the subject from the background.
To achieve this effect, you would do one of these things or a combination of them:
1 Use a zoom lens and zoom in to your subject,
2 Get closer to the subject, and
3 Set your camera to use a large aperture, such as f/2.8 – f/3.8.
When you do this, take care to focus carefully on the subject. One disadvantage of working with a very shallow depths of field is that the amount of the area in the image that is in focus is very small so if you don’t get your focus right, your subject will be out of focus. You need to make sure that what you want to see in focus is the area you are focusing on.
Photographing flowers and products
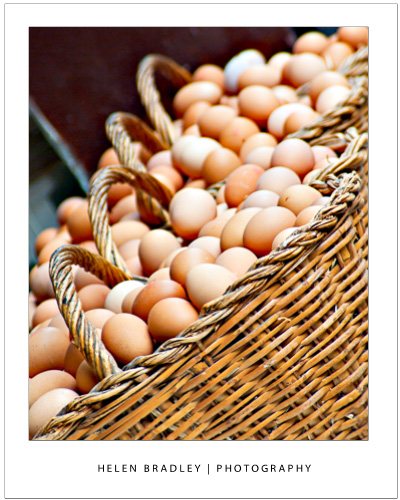
Another situation in which you may want to use a shallow depth of field is when photographing flowers. The closer you get to the flower the more likelihood the background will be attractively blurred.
In product photography, you may also want to get a shallow depth of field and you’ll find that in many cases, the shallower the depth of field, the more attractive the image is. The difference between a shallow depth of field and a deep depth of field can often be the difference between an attractive photograph and one that looks more like a snapshot.
Landscapes benefit from a deep depth of field
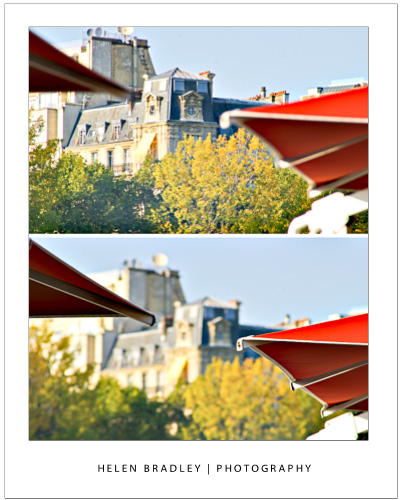
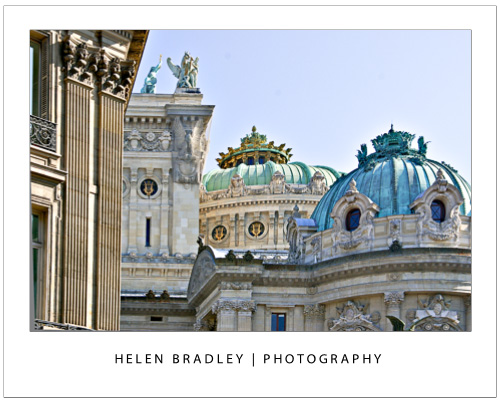
While a shallow depth of field is extremely attractive for portraits and many other types of photographs, when you’re shooting landscapes and cityscapes you will typically want the opposite to be the case and you will want a deep depth of field. For landscape photography, you’ll typically want everything in the image to be in focus.
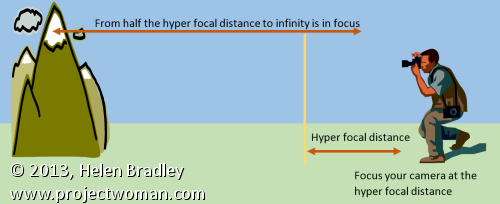
When photographing landscapes photographers often talk about hyper-focal distance. The hyper-focal distance is the point at which you point your camera at to focus the shot so that everything from that point to infinity is in focus and, in addition, an area halfway from the hyper-focal distance to your camera is also in focus. The image shows you how this hyper-focal distance affects the depth of field.
For landscape photography, you’ll typically want to use a small aperture such as f/9 – f/11, a short focal length such as 17mm and be a good distance away from your subject. Calculating the hyper-focal distance then becomes the issue. In many cases, people simply opt to focus the camera at infinity as this typically gives good results without needing technical calculations.
Too much of a good thing
If you’re tempted to increase the depth of field by simply dialing down your aperture to the smallest possible size such as f/35 or so, think again. While it may seem that this will give you a very deep depth of field it can be counterproductive. At very small apertures an effect called diffraction kicks in and this can cause a decrease in quality in your images. Instead you need to find the sweet point at which the smaller aperture gives you a good depth of field but stop short of where it gets so small that light is diffracted decreasing the image quality.
DSLR vs Point and Shoot for controlling Depth of Field
When you’re looking to achieve different effects with different depths of field, you’ll find that a digital SLR will give you much better results than a point and shoot camera. The reason for this has to do with the relative sensor size of the cameras – the larger the sensor size – the more control you’ll have over the depth of field.
Understanding depth of field and how it impacts the images that you take is a key way that you can impact the quality of your images. Choosing the right option for each shooting situation and knowing how to set your camera to achieve the desired result will enhance your photos.


