Wednesday, June 19th, 2013

Capturing Photos of reflections – Pt 2

Let’s look a little deeper into how to capture great reflections

In the previous post we looked at the basics of capturing reflections. Here we’ll look at some additional tips and tricks.

Frame the image

When capturing a reflection of a building in a lake, for example, you have two choices for framing the image. You can capture the reflection alone or you can capture the original object and its reflection. The choice is yours. If you’re shooting digital, capture both shots and see which you like best later on.

If you opt to capture both the original and the reflection, consider where the line where one ends and the other begins should be. You can shoot with the ‘line’ across the middle of the photo but this can be distracting as the eye doesn’t know exactly which image to focus on.

A better solution is to place the ‘line’ along the top one third or bottom third of the image – so the reflected area is double the size of the original or half its size. This will balance the image better and give a more restful image. Make sure the line between the reflection and what’s being reflected is very straight, if it is not, it will be very distracting.

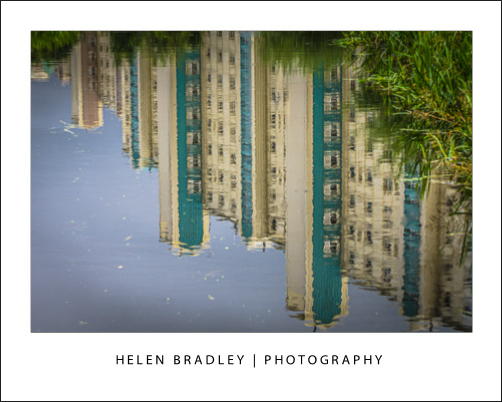
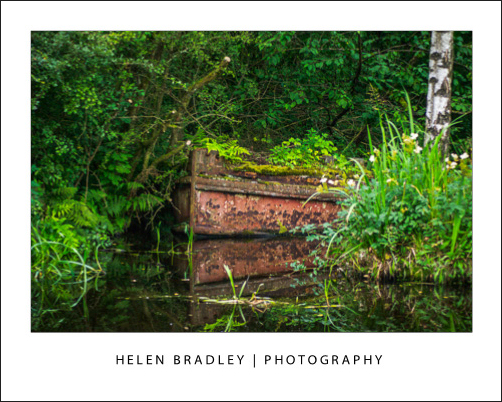
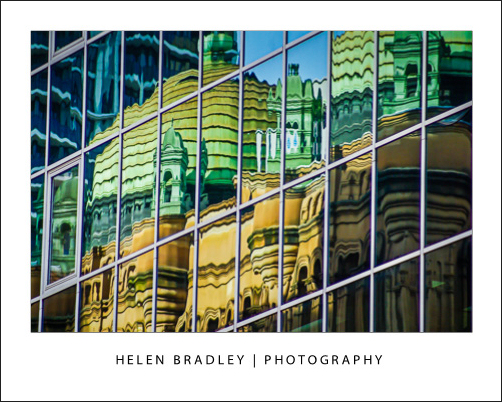
Here the buildings are much more interesting as a reflection than they were right side up!

Capture the imperfect

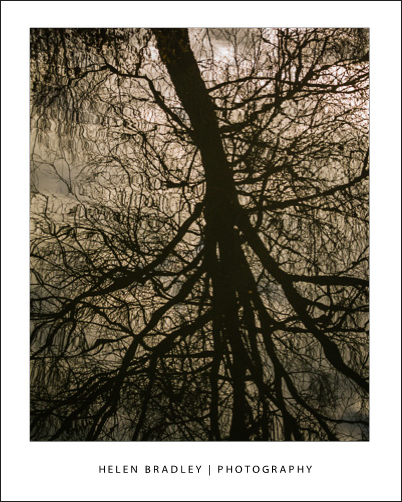
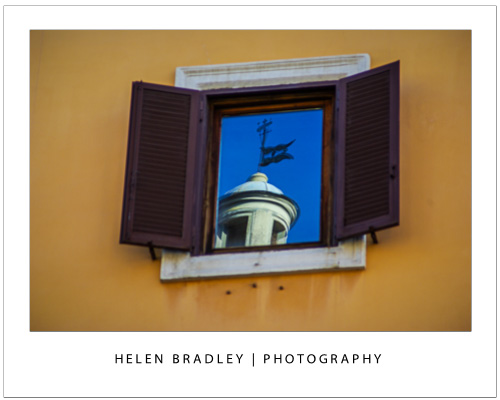
When you’re looking for reflections, don’t always look for perfection. There are interesting photos to be taken where the reflection is bent or rippled because of the characteristics of the reflective surface.

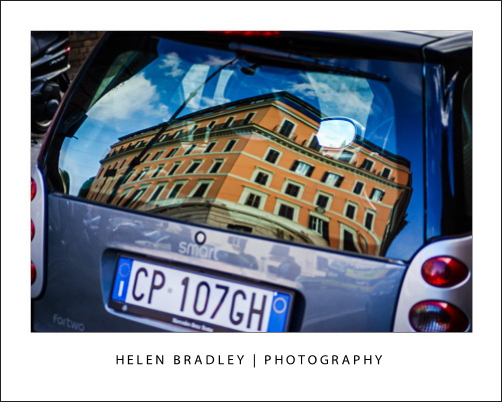
For example, try shooting a reflection captured in a car windscreen. The reflection will be bent and distorted because of this and all the more interesting.

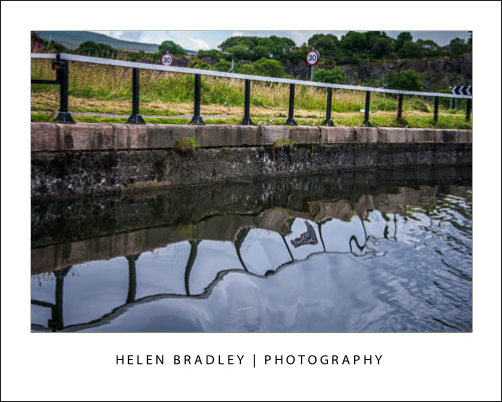
Here the wake of the boat I was travelling on broke the reflection in a very visually rich way:

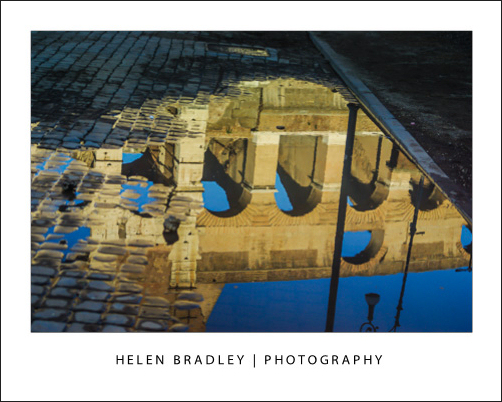
A sudden shower of rain will open up new adventures in capturing reflections as you will see the surrounds reflected in puddles of water on the ground. Even a storm-cloud laden sky will look more threatening if captured reflected in a puddle.

Focus on the point of focus

When you’re shooting a reflection, check your camera is focusing correctly. You want it to focus on the reflected surface and some cameras may not do this correctly and may, instead, focus on the objects behind the reflective surface.

If you’re using a digital SLR, you can switch to manual focus and focus the lens yourself so you can make sure that the area you’re most interested in is  nice and sharp.

Once you start looking for reflective surfaces to shoot images from you will be surprised at just how many there are and what great effects you can get from them with not
much effort.

Helen Bradley

Wednesday, June 12th, 2013

How to photograph reflections

Reflections make for great photos so here’s how to capture them

Reflections occur all around us. When you’re driving, the road behind you is reflected in the car rear vision mirror and your car will be reflected in the chrome on the car next to yours at the stop light.

Other reflections are more obvious and often constructed to be so, for example, the Reflecting Pool at the War Memorial in Canberra reflects the surrounding buildings and beautiful houses are often constructed with lakes in front of them to reflect their beauty.

Capturing these objects and their reflections can lead to some wonderful photos so here I’ll show you want to look out for and how to capture a great shot.

Axe the Polarizer

The first thing to do when shooting reflections is to remove the polarizing filter from your camera. This filter is designed to reduce reflections which, most of the time is a good thing, but not when it’s the reflections themselves you’re interested in.

If you leave the filter on and photograph something reflected in a window, chances are you’ll capture an image of what’s behind the window instead of what is reflected in it.

Ideas for reflections – sunglasses

While a beautiful building reflected in a lake makes for a great shot, there are reflections you’ll come across every day that will often be more interesting because they are not staged or expected.

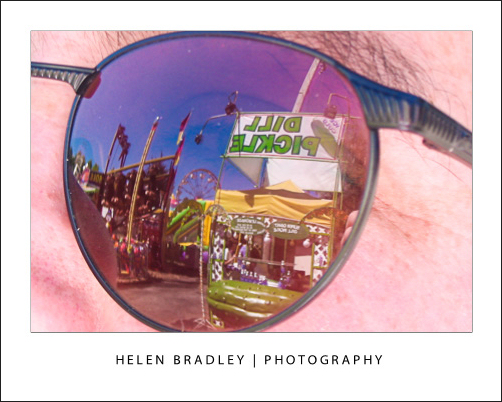
For example, the lenses in sunglasses will reflect the scene around them. By positioning yourself so you can see something interesting reflected in the lens you can capture a mini scene within the glasses themselves.

Ideas for reflections – rear vision mirror

Car rear vision and side mirrors are great for capturing interesting reflections.

Hold the camera at an angle to the mirror so you don’t capture the camera in the shot (unless you actually want to) and frame the shot in the mirror. You’ll need to frame it very accurately because anything outside what shows in the mirror won’t be captured.

Ideas for reflections – city buildings

If you live in a city there will be reflection opportunities in the buildings around you. For example, capture a busy streetscape in the glass front window of a shop. Look out for an interesting shop to use for this purpose such as a fruiterer or bakery or some shop where what is in the window is as much of interest as what is reflected in it.

When you’re shooting reflections in shop windows, there’s a good chance the final shot will be a mix of reflection and what shows through the glass.

Tall buildings with mirror glass will reflect the buildings around them and the sky too. Look for opportunities where the sun is right and the reflected image an ideal one to compose and capture.


Helen Bradley

Wednesday, May 15th, 2013

How to photograph bluer skies

If the skies in your photos are a lighter blue than they should be here is how to capture bluer skies in your photos

If you find that the skies in your summer photos look less vibrant than they should consider investing in a polarizing filter.

A polarizing filter cuts out reflected glare and the result is that colours look more saturated so your skies look bluer. The polarizing filter will also allow you to capture, for example, fish in a pond rather than capturing the glare from the sunlight bouncing off the pond.

When purchasing a polarizing filter, make sure to select the right polarizer for your camera – some won’t work on a camera that uses a through the lens metering system. The polarizer is a glass filter that simply screws onto the lens on the camera so its diameter needs to match the size of the thread on your lens.

If you are using a point and shoot camera then you may need a special attachment to be able to add a polarizer to the camera.

When you are using the polarizer, screw it onto the camera and then turn the ring on it to find the position that gives the best results before capturing the shot.

Helen Bradley