Monday, February 20th, 2012

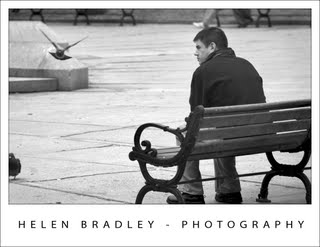
Shoot right at night – Tip #1 – Get the light

When the sun goes down, a world of different lights opens up and it’s a great time to pull out your camera for some stunning photos. However, before you go out to shoot at night, there are some things to think about that will help you take great shots even when the lighting isn’t ideal.

Today we’re starting a new tip series – shooting right at night and here’s the first tip:

Make light or capture what little there is

At night, there’s obviously less light than there is during the day. So, to get good shots you either have to replace the missing light with a flash, or open up the aperture so more light gets in and slow the shutter speed so the camera gets enough light to register the image. You can also up the ISO – in the next few tips we’ll look at each of these options in more detail and find some great topics for shooting at night.


Helen Bradley

Tuesday, January 31st, 2012

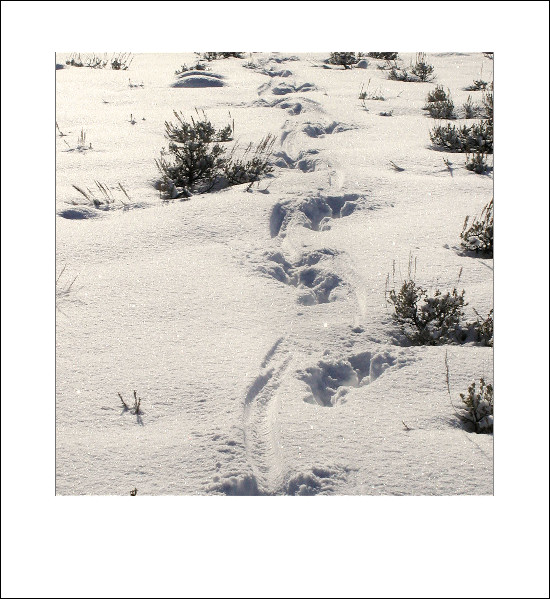
Winter Photography Tip #8 – White balance

When you are photographing in snow conditions there are situations where you’ll need to adjust the white balance so that snow is white and so it doesn’t have a blue cast.

On the other hand the colourcast you get when you shoot in the early morning or at sunset is desirable so don’t remove it or your sunsets and sunrises will be ruined.

To capture the colour of the light set the camera’s white balance setting to sunny day – the camera makes almost no adjustment to white balance when you do this. This makes it a good setting to use when capturing sunsets, for example.

However, when there is a colour cast that you don’t want to capture such as blue light on snow, then adjust the white balance setting in your camera to remove it. To warm up an image, set the white balance to shade as this adds a pink/ orange warming cast to the image and counteracts the blue/colder light.

Helen Bradley

Friday, September 3rd, 2010

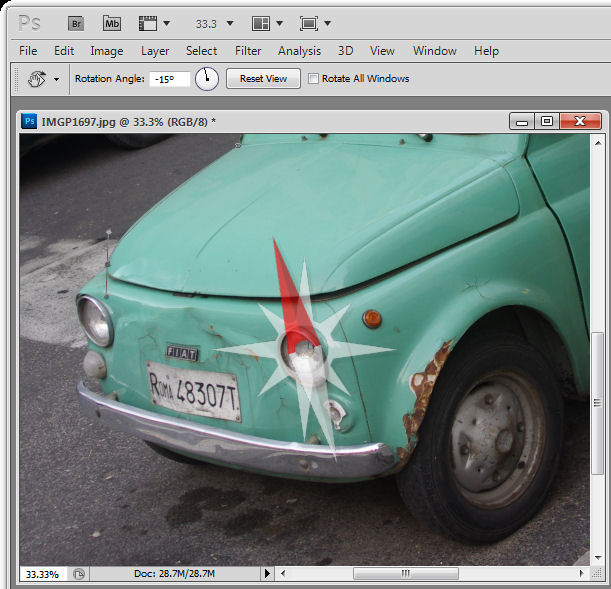
Run out of canvas using Photoshop’s Pen tool?

I’m sure this has happened to you – you’re zooming along drawing a path around an object using the Photoshop pen tool and all of a sudden you’re running out of room – the image is off the screen. The solution is simple, press and hold the Spacebar and the cursor turns into the Hand tool so you can move the canvas around to get the next bit of the image in view. Let go the Spacebar and you’re back to working on your path.

And, while you’re there – wanna rotate the canvas so you can draw your path more easily? Easy! Press and hold R (R for rotate) then drag the canvas to rotate it.

Helen Bradley

Monday, January 4th, 2010

Better photos Tip #2 – Hold the camera right

© Iryna Kurhan,istockphoto.com
Hold your camera in both hands as you shoot to steady it and to ensure your shot is in focus.

When you are photographing, take care to hold the camera steady so your photos won’t be blurred.

Hold your camera in both hands and position your arms close to your body with your elbows tucked in to form a solid foundation for supporting the camera.

Press the shutter release half way down and pause to let the camera’s auto focus system focus on the subject.

Then press the shutter the rest of the way down to capture the image.

If possible, hold your breath as you do this, to avoid the movement which would otherwise occur if you breathe in and out as you are taking the shot.

Helen Bradley

Friday, January 1st, 2010

Better photos Tip #1 – Rule of thirds


Place objects at the intersection of lines on an imaginary noughts and crosses board for a more interesting image.

When you are composing your photograph have in mind the principles of the rule of thirds. This rule suggests that you draw an imaginary noughts and crosses board over the photograph that you are about to capture. Where the lines intersect is a good place to position the subject of your image.

For example, if someone’s eyes are located where the lines intersect you will get a much more interesting photo than if the person is positioned dead centre of the photograph.

In addition, placing the horizon along one of the lines of the noughts and crosses board is more interesting than placing it across the middle of the photo.

Simply moving your camera a little bit to the right or left, or up or down can be the difference between a so-so image and one which looks much better.

Helen Bradley

Page 15 of 15« First1112131415