Tuesday, July 3rd, 2012

Make a Website a Chrome App

I’ve been working with Google Chrome a lot lately because it makes good sense as a Browser. I have my assistant to thank for this as, without his continual poking and prodding to explore Chrome I probably would not have got there as quickly as I did.

One of the nice things about Chrome is its integration with Google+. However it’s not Google+ that I plan talking about here but rather I want to show you how to add a website as an app to Chrome.

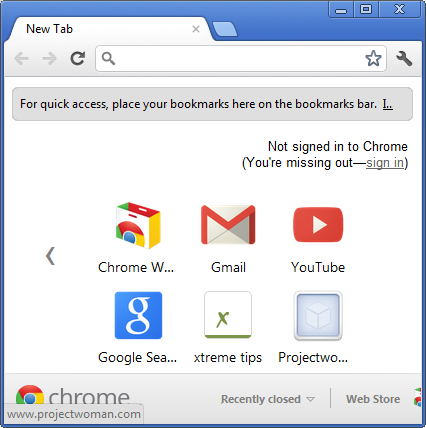
If you click the New Tab icon in Chrome and then click Apps at the foot of the page you’ll see that there are some apps already in the list such as YouTube, Gmail and so on. What I am going to show you is how to add your own choice of websites as apps and to do it quickly and easily.
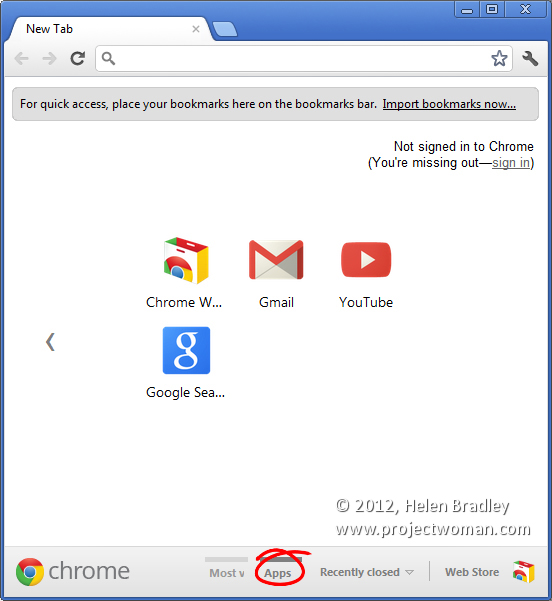
You may already know that you can create an app from a Most Visited page. Click Most Visited at the foot of the New tab and anything that’s in that list can be easily created as an App by just dragging and dropping it onto the Apps icon. This automatically makes the page an App.

The problem is that if something isn’t a Most Visited page it’s a little cumbersome to make it an App. The solution is to click the New Tab icon and display the Apps page. Size your browser down so that you can see everything clearly.

Now click the New Tab icon again and this time browse to the page that you want to add as an App. Once you’ve visited that page drag the tab for that page somewhere else on the screen so that you have two browser windows – one showing the Apps area and the other one with your web page open in it.
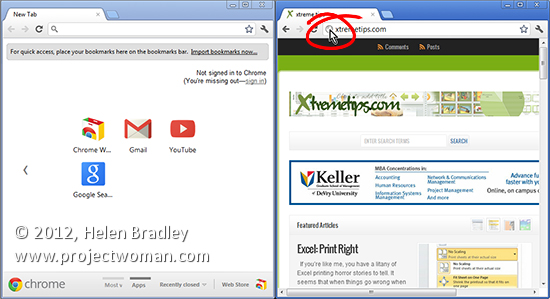
Now locate the icon immediately to the left of the page URL that you want to add as an app. As you hold your mouse over it, it will show View Site Information as a tooltip.

Drag and drop this into the Apps area in your Chrome browser. It will automatically be added as a new App. You can then drag and drop that App or any others to rearrange them to suit.
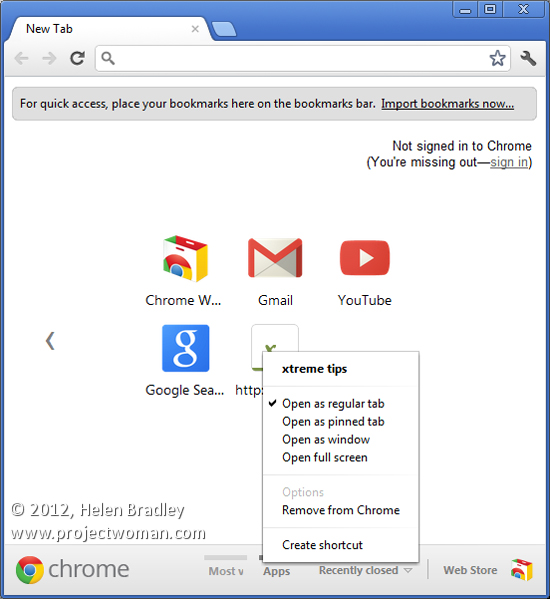
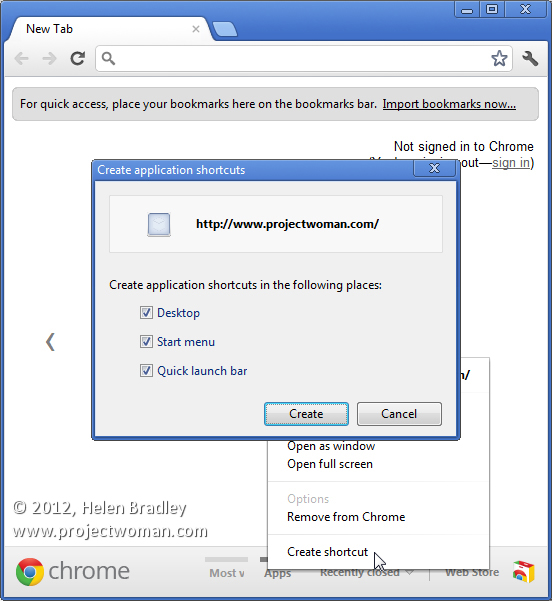
An app can also be created as a Desktop, Taskbar or Start Menu shortcut. To do this right click the web page in the Apps area and choose Create Shortcut. You’ll get a series of shortcut options including Desktop, Start Menu and Pin to Taskbar. Select the checkboxes for those that you want to create and click Create.
There’s a lot of misinformation on the web regarding adding websites to the Chrome apps collection. A lot of sites suggest you repeatedly remove Most Visited pages until you get to the page that you want to add. This solution which involves simply dragging and dropping a URL into the page is far quicker and makes a lot more sense.

Helen Bradley

Saturday, June 16th, 2012

iPad style Apps come to Photoshop – At last!

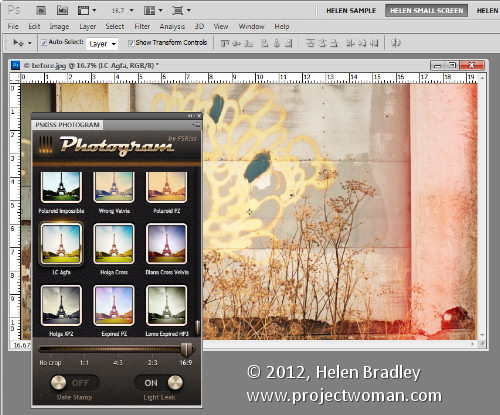
If you envy your friends their iPhone Instagram app and their iPad grunge photo editing apps then PSKiss has the solution. PSKiss recently released its PSKiss Photogram which is the first ever (at least as far as I’m aware) app like extension for Photoshop. It has all the coolness of an iPad app and it works on the desktop.

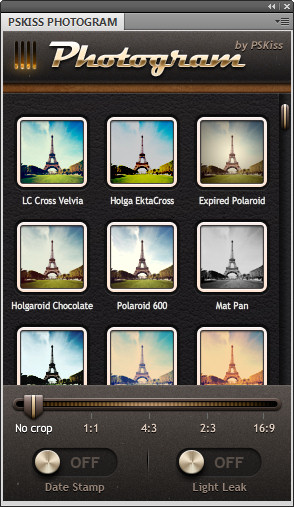
PSKiss Photogram is an extension so it installs like any extension and, when running, you see an iPad style interface with Instagram like features all running in a panel inside Photoshop.

You can download the extension from pskiss.com and right now the starter price is $9.90 which is comparable with many iPad apps. The extension is called Photogram and it has a distinctly retro look – it’s tag line is “Bringing the 70’s into Photoshop”.

Once you’ve downloaded the zip file, unzip it, fire up your Adobe Extension Manager and install the ZPG file. If you are using Windows 7 or Vista you may need to run the Extension Manager as an Administrator to install the extension in the correct location. To do this, right click the Adobe Extension Manager in your Start menu and choose Run as Administrator.

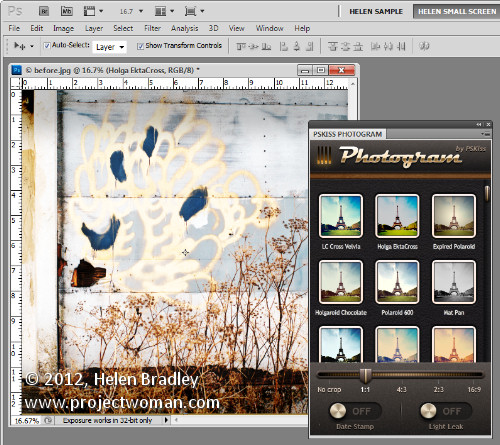
Once installed, close Photoshop if it’s open and then re-launch it. Start by opening an image that you want to work with. I grabbed an image of some graffiti I shot this morning  with a view to using it with this extension.

Run the extension by choosing Window > Extensions > PSKiss Photogram. The panel opens showing a series of image effects including Holga, Expired Polaroid, PolaroidPZ, Wrong Velvia and others. They are a mix of faux retro camera effects which are guaranteed to give your photos a very different look.

In addition to applying effects you can also crop your image to one of a number of crop ratios including No Crop, 1:1, 4:3, 2:3 and 16:9.

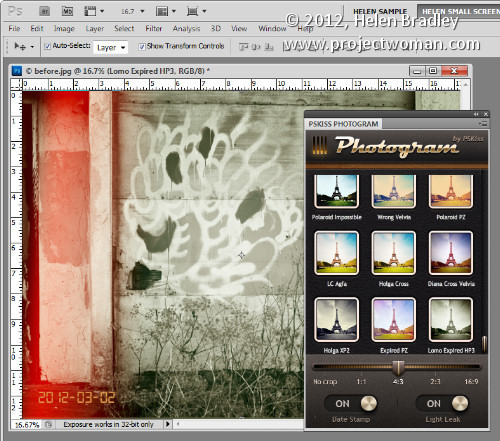
The app also lets you add light leaks by turning on the Light Leaks switch and add a date stamp which is set using the image metadata.

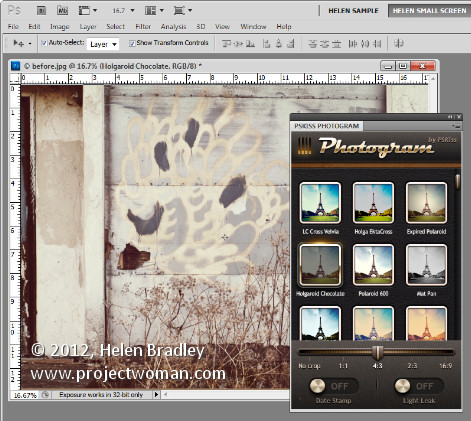
To apply an effect to an image, set the crop ratio, set the date stamp and light leaks switches then click an effect. You can wind back the processing using the History palette so click on Open in History to revert to the original image. If you choose a different effect it replaces the one you just applied and isn’t added to it so you don’t need to wind back your changes if you want to experiment with different effects.

The light leaks are random so they move around each time you click to add an effect.

If you want the same effect but a different crop, select a different crop and then reapply that same effect to it. You can tell which effect is in use as it has a glow around it and the title bar of the image indicates which effect is in use.

When you’re done, you can save the image as you would any regular image.

Helen Bradley

Saturday, September 24th, 2011

iPad 2 -Blog to a self hosted WordPress blog


Ok, the challenge is how do you blog from your iPad to a self-hosted WordPress blog and how do you do it with images from your iPad?
Well, the actual blogging part is simplicity itself. Just crank up Safari and log in to your WordPress dashboard. From there you can do almost anything you want – except the one thing you really want to do – add images from your iPad to your post!
Ok. So, Safari is a great place to work in but we have to solve the image problem and for that we use the WordPress app for the iPad – good news is that it is free so download it from the store and get it started.

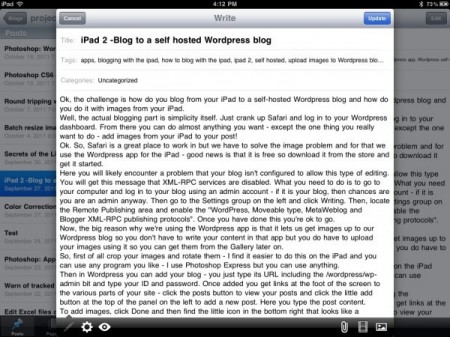
Then in the WordPress app you can add your blog – you just type its URL including the /wordpress/wp-admin bit and type your ID and password. You only do this once.

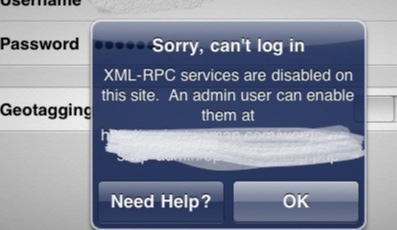
Here you will likely encounter a problem that your blog isn’t configured to allow this type of editing. You will get this message that XML-RPC services are disabled.

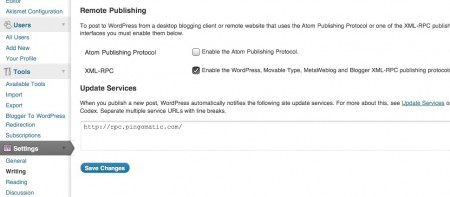
What you need to do is to go to your computer and log in to your blog using an admin account – if it is your blog, then chances are you are an admin anyway. Then go to the Settings group on the left and click Writing. Then, locate the Remote Publishing area and enable the “WordPress, Moveable type, MetaWeblog and Blogger XML-RPC publishing protocols”. Once you have done this you’re ok to go and your blog will be added to the WordPress app. If you have multiple blogs you can add more than one, which is smart.

Now, the big reason why we’re using the WordPress iPad app is that it lets us get images up to our WordPress blog so you don’t have to write your content in the app but you do have to upload your images using it so you can get them from the Gallery later on.
So, first of all crop your images and rotate them – I find it easier to do this on the iPad and you can use any program you like – I use Photoshop Express but you can use anything.

Now click on your blog name to get access to your WordPress site on your server.  You will see some links at the foot of the screen which take you to the various parts of your site – click the Posts button to view your posts and click the little Add button at the top of the panel on the left to add a new post. Here you type the post content.

To add images, click Done and then find the little icon in the bottom right that looks like a landscape image – click it and add images from your Camera Roll.

Regardless of where you are when you do this all the images go one after the other into the post… this is the sucky part but it really is a small issue – at least they are there!

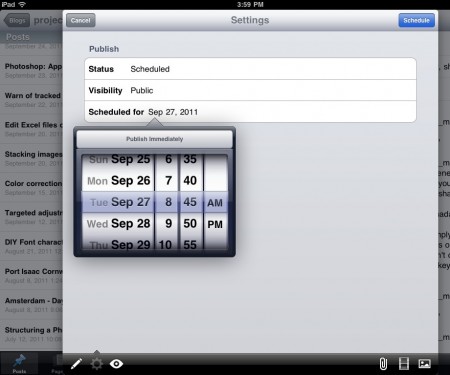
Before you leave the WordPress iPad app, click Done and click the Settings button (bottom Left) and set a Schedule for the post – I make this a day or more but at least an hour so ahead of time so I have enough time to fix the image issue back in WordPress in Safari before everything goes live.


Now, still in the WordPress app, go ahead and Upload and Update everything. Then go back to Safari and log in to your blog.

By the way, I haven’t mentioned it yet, but it really helps to have one of those bluetooth keyboards so you have arrow keys and you can use shortcuts to copy and paste and select stuff. It beats working with your fingers on the screen – if you’re serious about blogging on the iPad you really need one. I use the Zagg one which I really like.
Back in WordPress on Safari I just delete all the code which has been added for the images as they are seldom where I want them to be. Now I move into position in the post and add the images using the regular WordPress Add Image button – the pictures are all in the Gallery – thanks to the WordPress app.

In WordPress in Safari I can do things like add Captions and descriptions and scale any image that need resizing.

On a scale of 1 to 10 it would be easier to be able to do everything from inside Safari or inside the WordPress app but I wouldn’t call this difficult or unnecessarily cumbersome. I can live with the slight workaround for the sake of being able to blog with images from the iPad in WordPress to a self hosted blog.

I’d rate it around a 7/10 ease of use and functionality and I love it. In fact this is the last big issue I’ve had with the iPad and not being able to blog to my WordPress blogs would have been a deal breaker for me. I need to be able to blog on the road and I want to do this with images – in particular as I am doing an apple a day blog over at my design site and looking at heaps of cool iPad apps so not being able to include images would be horrible!


Helen Bradley