Sunday, April 20th, 2014

Create a new Default Custom Swatch in Illustrator CC

Learn how to quick start a new document with your preferred swatches in place automatically

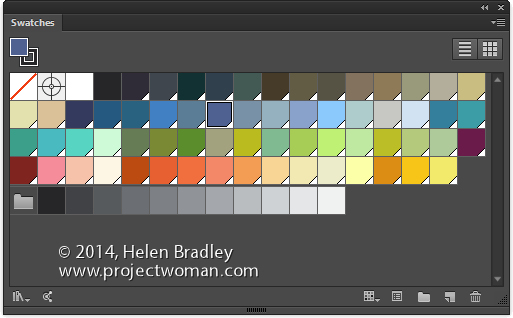
By default Illustrator starts all new documents with a preset set of swatches in the Swatches palette. If you prefer, you can create your own custom set of default swatches, save them and have them show up when you start a new document. Here’s how:

Create a new document – the size you create it as being will be the default for all documents created based on this profile as will the other settings in the New dialog.

Now choose Window > Swatches and select all the swatches you don’t want and drag them onto the Trashcan icon to delete them.

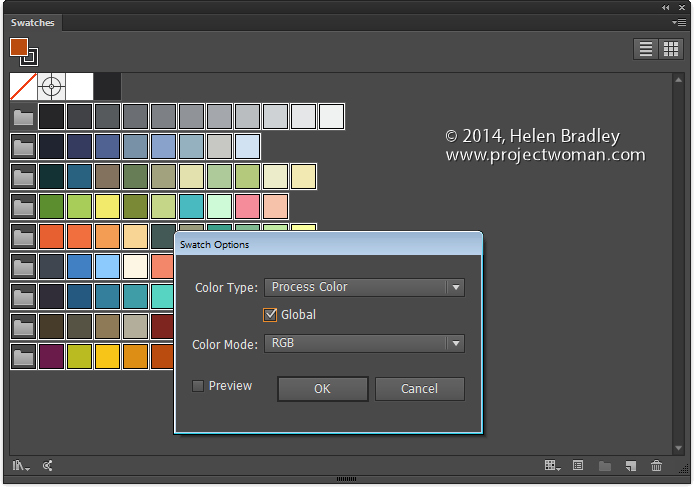
Add all the swatches you do want to have available to the Swatches palette. If you want some colors to be global colors, select them, click the Swatch Options button and click Global.

You can add any type of swatch at this point including pattern, gradients and solid colors.

Then when you are done, choose File > Save As and save the file to one of these locations depending on your version of Illustrator and  your operating system:

On the Mac save the file to:


~/Library/Application Support/Adobe/Adobe Illustrator 17/en_US/New Document Profiles.

The tilde (~ ) indicates your hidden user library.
You can open it this way:
1 Launch Finder
2 Choose Go > Go to Folder
3 Type ~/Library and click Go
4 This opens the ~/Library folder and you can now navigate to the appropriate folder listed above.

In Windows 7:

First make sure you can see hidden folders and locate this folder (the exact folder structure may vary slightly but it should be pretty easy to find):

C:\Users\AppData\Roaming\Adobe\Illustrator 17 Settings\en_US\x64\New Document Profiles

To locate your c:\users\\AppData folder, launch Windows Explorer and type this in the address bar :
%USERPROFILE%\AppData
This automatically opens the AppData folder for you so you can now navigate to the desired folder as detailed above.

The name you give to your file is the name that the document profile will appear as in future so make it descriptive of the purpose of the document.

Once this is done, you can close the document.

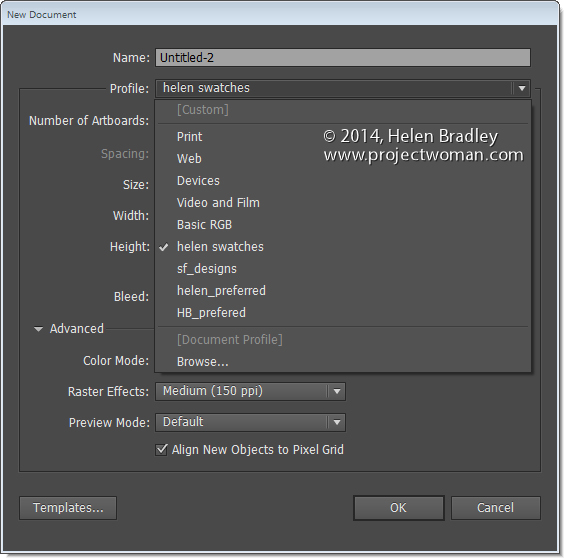
In future you can open a new document based on this profile by choosing File > New and choose the document profile from the Profiles list.

When you do so, your swatches will appear automatically. You can have multiple custom profiles so create them for the tasks you do most often.

Helen Bradley

Helen Bradley

Wednesday, December 2nd, 2009

Custom color swatches in Photoshop

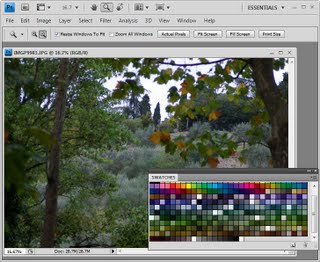
I’ll often look at the color palette in Photoshop and find it difficult to locate a nice rich brown color, for example. A useful solution is to create a swatch of the colors I most often want to use so I can load it when I need it.

To do this you can find the colors you want in your own photos. Open an image which is largely monochromatic and which contains the colors you are interested in. For example open a bark image to get browns and a leaf image to get greens.

Step 1
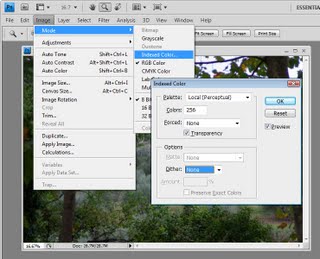
Choose Image > Mode > Indexed Color and, when the Indexed Color dialog appears, from the Palette list select Local (Perceptual) Colors, set the Colors to 256, set Forced to None, set the Dither to None and click Ok.

Step 2
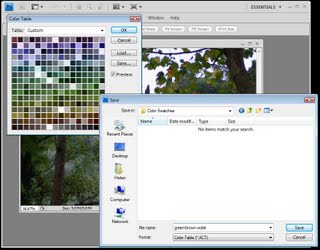
To save the Palette choose Image > Mode > Color Table to see the colors sampled from your image. Click Save and type a name for your color table – it will be given the .ACT extension. Save it to your \Presets\Color Swatches folder.

Step 3
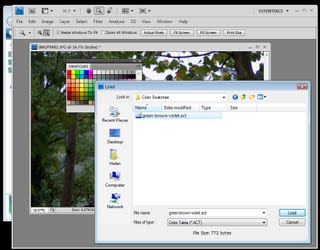
In future, to use the colors from your saved swatch, choose Window > Swatches and open the palette flyout menu. Choose Load Swatches and, from the Files of Type list, choose Color Table (*.act). Select your file and click Load to load the colors as a new Swatch.

Helen Bradley

Thursday, November 22nd, 2007

Custom color swatches

I like to look at what users type into Google when they land on my blog. Today, someone wanted to create a monochromatic swatch from a monochromatic image. I don’t have explicit instructions for this, so I thought it a good concept to consider.

To do this, first convert your image to monochrome by choosing Image > Mode > Greyscale and click to Discard the color. If the image doesn’t show the variety of greys you want, use a Levels adjustment to alter the tonal range in your image.

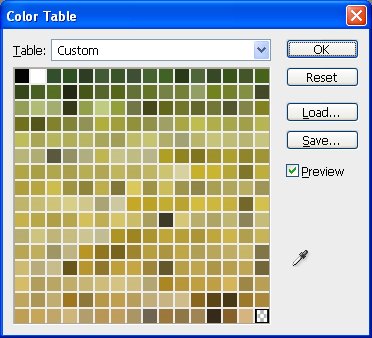
Now choose Image > Mode > Indexed color and then Image > Mode > Color Table. Here is your custom swatch sourced from your image. Simply click Save to save the color table.

Now, you don’t have to make a monochrome swatch. Say you need some lush greens for a project. Grab an image that shows the greens you like. Choose Image > Mode > Indexed Color and, for now, select the defaults and click Ok. Now choose Image > Mode > Color Table and you have a color table created from your image with your lovely greens and you can save them to use any time. If you get too many other colors in the swatch, crop the image to just the green area before making the conversion. Save the Color Table but don’t save the image and you’ll find no photos have been harmed in the process of creating your own custom color swatch.

To add the color table as a swatch, display the Swatches palette (Window, Swatches) click the menu and choose Load Swatches. From the Files of type list choose Color Table (*.act) and then browse to find your saved file and open it.

Helen Bradley