Saturday, May 18th, 2013

View Offline in Google Docs


You can easily enable offline viewing of any Google Docs documents. By default this ability is turned off, so you may want to enable it for emergency situations if you rely on Google Docs for viewing and editing important files. Keep in mind that you must be using Google’s Chrome web browser to do this. Chrome can be downloaded here. Also note spreadsheets can only be viewed, not edited, using this method.

To do this, go to your Google Drive and click the More button along the left side, under the Create button. This will open a small dropdown menu that includes the Offline option. Select this, and then follow the simple instructions to enable offline mode. This really involves just two clicks and some waiting. Once you have selected the Enable Offline button, you’ll have to wait some time so that all of your documents can be downloaded to your computer for offline storage. All offline documents will be listed in the Offline section once this is done.

If you want to disable offline editing for any reason, simply click the gear icon toward the top right of Google Drive and select Disable offline.


Helen Bradley

Wednesday, August 8th, 2012

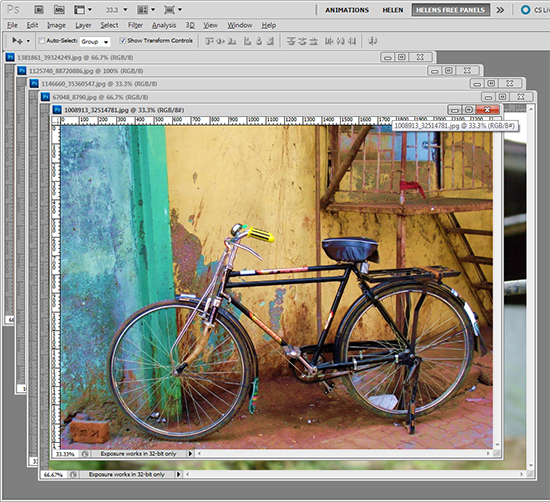
Trevor’s Photoshop Tip of the Week – Cycling Through Open Projects

(photo by: Asif Akbar)

Cycle through your open images by pressing the Ctr + Tab keys on the keyboard.

Helen Bradley

Thursday, April 26th, 2012

Harness the power of Business Information sets in Publisher


Publisher’s Business Information Sets make it easy to populate documents with information about people and businesses. You only need type the text once and you’ll know it is always  correct wherever it happens to be used.

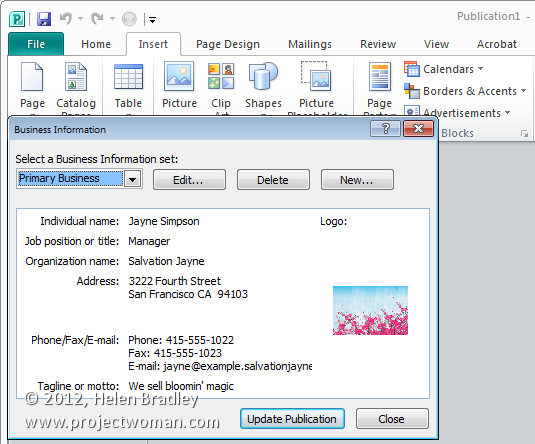
To use these sets, in Microsoft Publisher use File > Info and select the Edit Business Information. Here you can view the information sets that you have available. While they’re called Home/Family, Other Organization, Primary and Secondary Business, you can make them anything you want them to be.

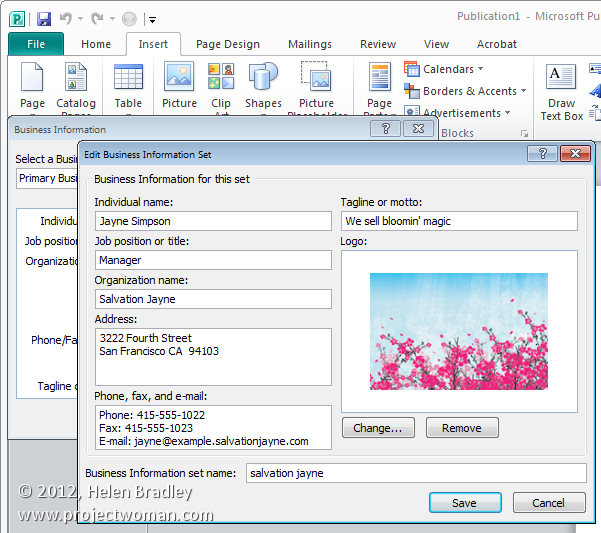
So select an option and click Edit. Enter the information for your business including the person’s name, address and information. Click Add Logo to add a your company logo.

You can also type a new set name in the set name box. By adding to the business information sets details you use frequently, you can use this information in any document later on such as business cards and brochures.

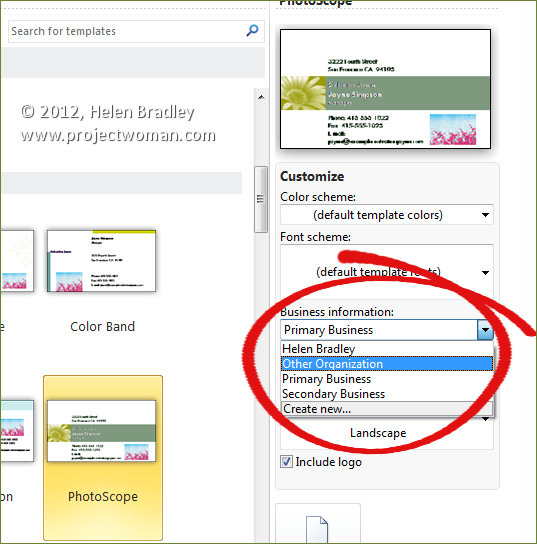
To do this, select the business card template to use and then select the business information set to use with it. You can choose to include your logo or not as circumstances demand. Click Create and the business card will be created for you with all the details already in place.

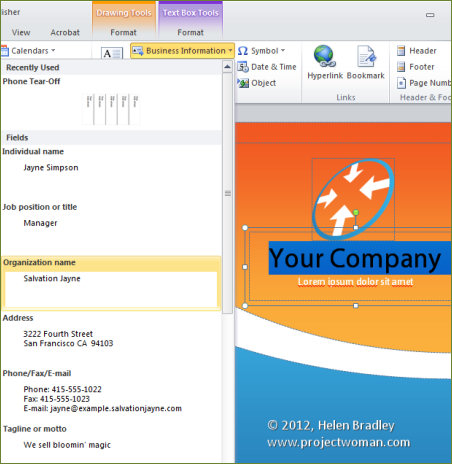
You can also use business information in regular documents by choosing Insert and then from the Business Information dropdown list select the items that you want to use in a document. For example, you can drag and drop telephone information into any document from the business information set.

You can also change the business information in a document. So, if you’ve created a business card and want to do the same thing for another person for whom you have a business information set  created, just choose File > Info > Edit Business Information and select the set to use and click Update Publication. This allows you to quickly change information in documents and create flyers for multiple businesses or business cards from multiple people.

Helen Bradley