How to Create a Photoshop Workspace Just for You
I like Photoshop to open and “look the way I want to see it”. But sometimes ‘the way I want to see it’ is different than others. I’m fickle – but thankfully Photoshop plays nice with me – the secret is its Workspaces. These Workspaces let me preconfigure my Photoshop screen for various scenarios, to save them so I can reuse them, and to put everything back in its place when I mess them up.
If this sounds like something you could use – here’s how to give your Photoshop window a custom look with workspaces.
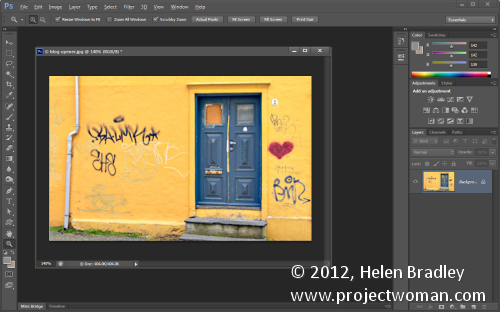
The first thing I do is to set up Photoshop the way you want it to look and that means hiding all the panels you don’t want to see and displaying those that you do.
Then arrange them on the screen exactly the way you want to see them. For me, I prefer my toolbar to be in two columns rather than one long one. I like my layers and paths palettes visible but not much else.
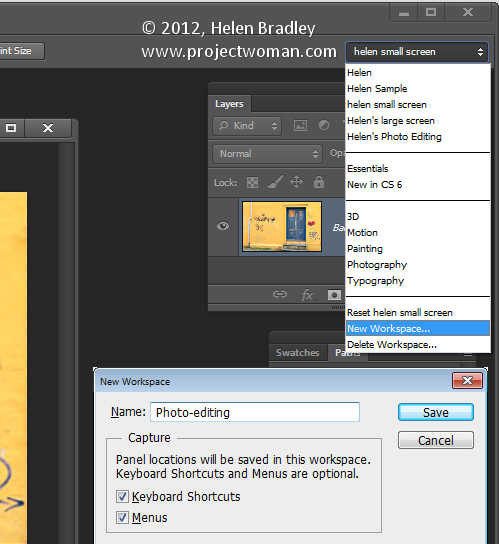
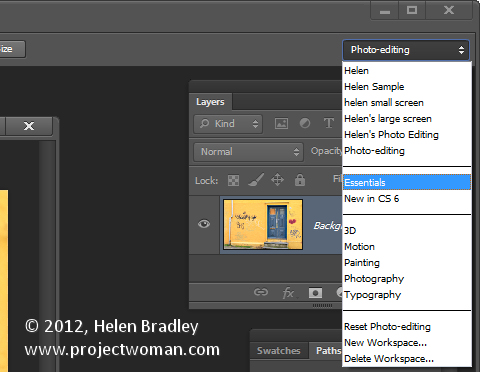
Once the screen is organized the way you want it to look, from the dropdown list in the top right corner choose Essentials > New Workspace and type a name for the workspace. Select the options for keyboard shortcuts and menus select and click Save.
You can repeat this process, if desired, and create other workspaces. You might make one for photo-editing, one for collage, one for illustration or one for videoing depending on your own personal needs.
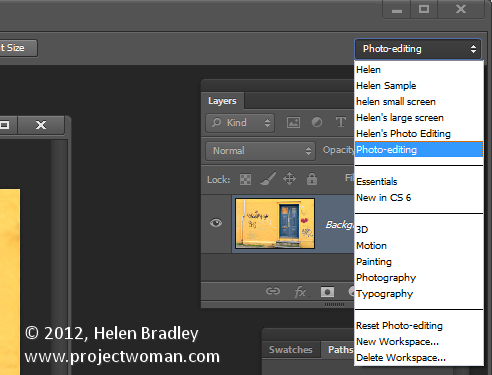
In future you can set up your screen by choosing the workspace of your choice from the dropdown list.
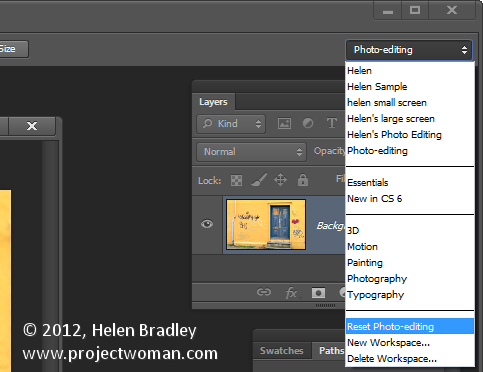
If you move things around and things go a bit crazy it is easy to reset a workspace back to how it was when you last saved it.
To do this, first make sure you are viewing the workspace to reset and then open the Workspace menu and choose Reset
Likewise you can return to Photoshop’s default workspace anytime by selecting Essentials then click Reset Essentials.
And one last word on workspaces…
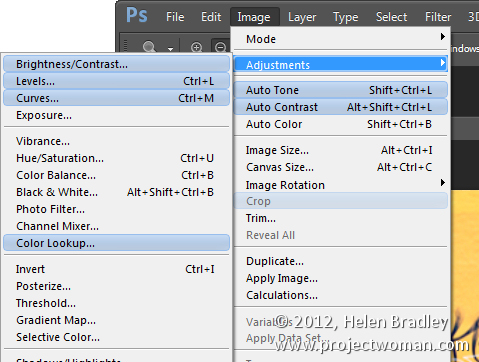
If you want to see what’s new in Photoshop CS6 click the New in CS6 workspace and you can see what is new in Photoshop. Open a menu and any new options in it will show as blue on the menu.


