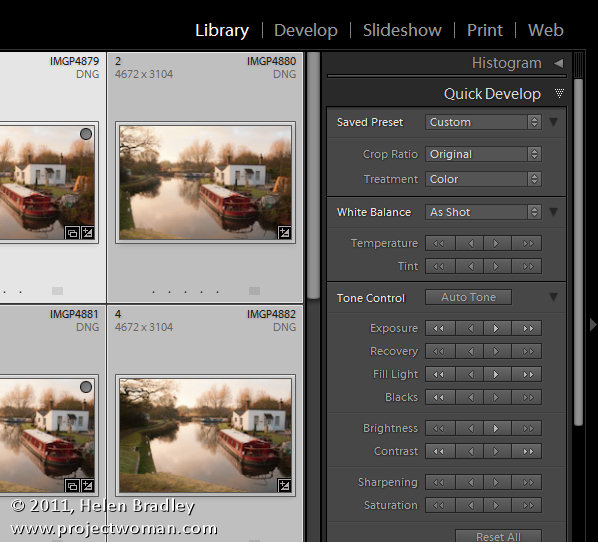
In Lightroom you can fix a series of images all at once using the Quick Develop Panel in the Library Module. While this tool lacks the precise adjustments you can make to an image in the Develop Module, it offers a quick solution for getting started fixing your images.
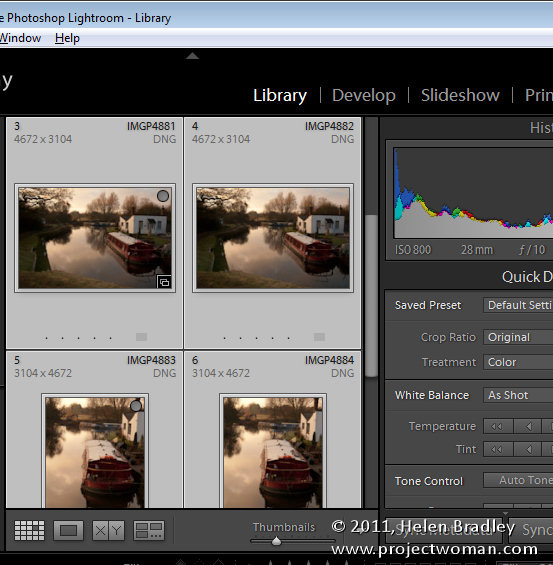
To make use of the Quick Develop panel you should be working in the Library Module, in Grid View. So open the Library module and click G to select Grid view. If you are in Loupe view the changes you make will be applied only to the most selected image regardless of how many images you have selected in the Filmstrip.
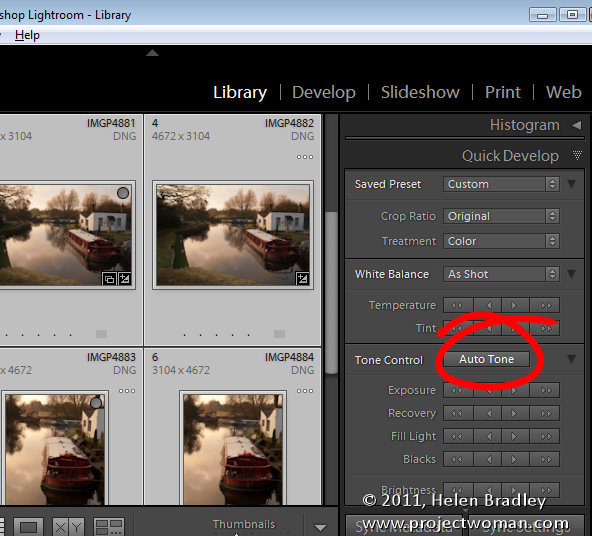
If you typically use the Auto Tone feature in the Develop module to quick start fixing your images, select all the images to fix in grid view and click the Auto Tone button. Every image will be assessed and then adjusted according to its particular needs.
How fixes are applied
In the Quick Develop module, when you choose to adjust, for example, the Exposure on a series of selected image, each image will be adjusted by the same relative amount. So, if you select a series of images and click the single right pointing arrow, you will add +0.33 to the current Exposure value for each image. So, if an image had a starting Exposure setting of 2.00 it will be increased to 2.33. The single left pointing arrow moves Exposure -0.33. If you click the double arrows you will increase or decrease exposure by 1.0 for every image. Each adjustment works in a similar way although the relative values will vary.
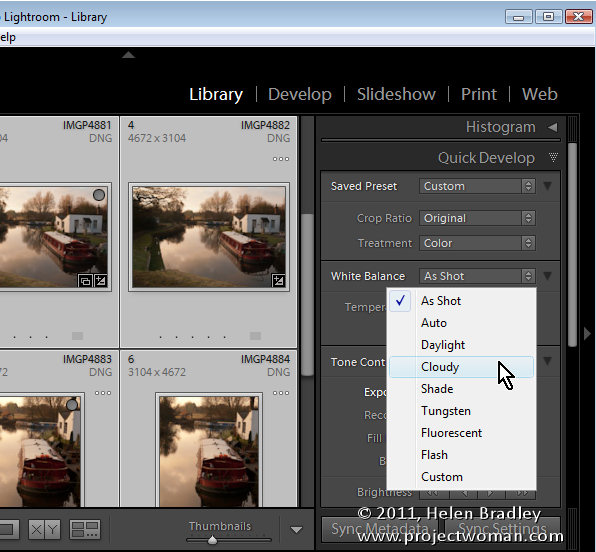
One feature of the Quick Develop module which is useful is the White Balance tool. If you have a series of images all shot in similar light you can select them and adjust the white balance for all of them by choosing a different White Balance setting from the dropdown list or by adjusting the Temperature (Blue/Yellow) and/or Tint (Green/Magenta) sliders.
Hidden Options
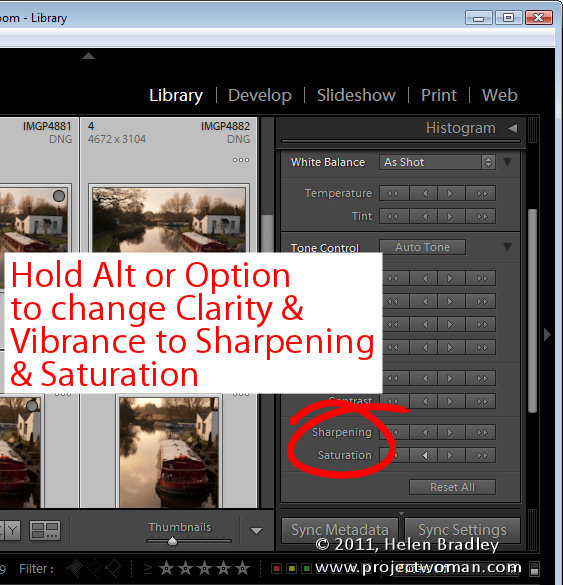
There are some options hidden in the Quick Develop panel. If you hold the Alt key (Option on a Mac) the Clarity and Vibrance adjusters change to allow you to adjust Sharpening and Saturation. Notice that Sharpening is an all in one setting and that it lacks the ability for you to alter the Radius, Detail and Masking which you can do with the Detail panel sliders in the Develop module.
How I use it
I use the Quick Develop panel to make quick edits to a series of images at one time. I’ll assess the images to see if they need a particular adjustment such as increasing the Exposure if they are all a little underexposed. I also like to increase Clarity and Vibrance.
So, I’ll select the images in the Grid, click to increase Exposure and then again increase Vibrance and Clarity.
Using the Quick Develop panel to make fixes to all images saves me a little time later on when I switch to the Develop module and apply additional fixes on an image by image basis.
One Gotcha to be aware of
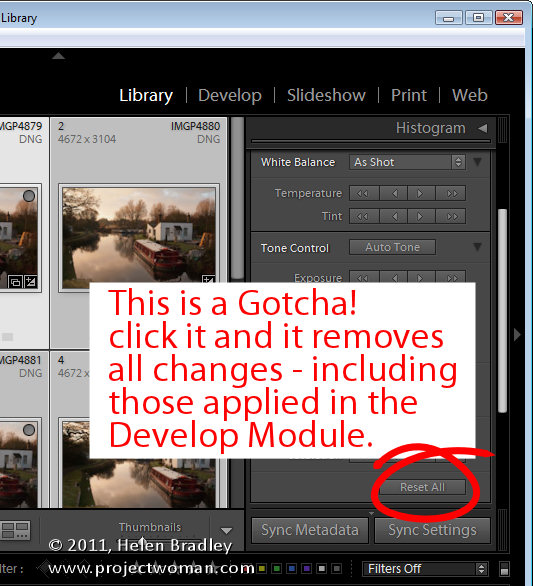
If you want to remove the settings applied to an image you can do so using the Quick Develop panel. Select the image and choose Reset All. However, be aware that when you do this, you will remove not only all settings applied to the image using the Quick Develop panel but also any changes made to it using the tools in the Develop module.


