Saturday, October 12th, 2013

Reinstate a RAW or DNG image in Camera Raw


Remove all the edits you’ve made to a raw or dng image in Adobe Camera Raw

No doubt you’ve encountered the situation where you have a raw file or a dng that you’ve worked on in Adobe Camera Raw or Lightroom and you one day look at it and think – “what was I thinking?”

You decide you want immediately to remove all the changes you’ve made to the image. Easy? Not really!

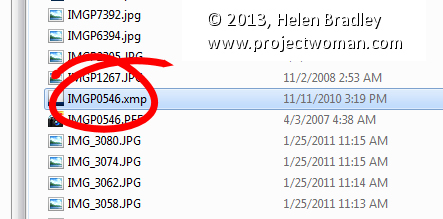
If you’re working with a raw image then you can locate the image on disk and alongside it will be its sidecar xmp. Shall I say that again, because to the uninitiated ‘sidecar xmp’ just sounds so cool doesn’t it. What it is is an .xmp file with the same name as the raw file and it contains the edits you made to your image. The sidecar xmp file is used because you cannot write data to a camera raw file so the edits have to go somewhere. They go in this little xmp file as a set of text entries – delete the file and you remove the edits, permanently – in fact just remove the xmp file to another folder where ACR can’t find it and you’re done.

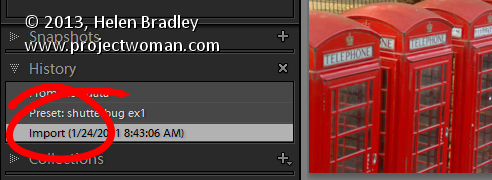
In Lightroom you can wind back edits to an image from the Develop module in the History panel on the left of the screen. Open the panel and select the bottom-most entry to wind back the changes you made to the image.

Unfortunately this won’t work if you made changes in a program that wrote an .xmp file and it won’t work if the changes were made to a dng file, written to that file and then the file was imported into Lightroom.

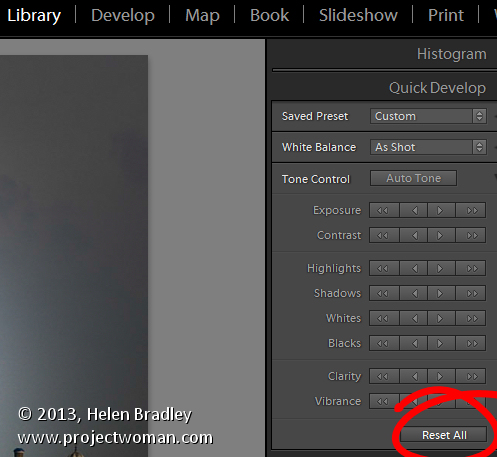
In that case, go to the Library panel and open Quick Develop and click Reset All – that removes all the edits.

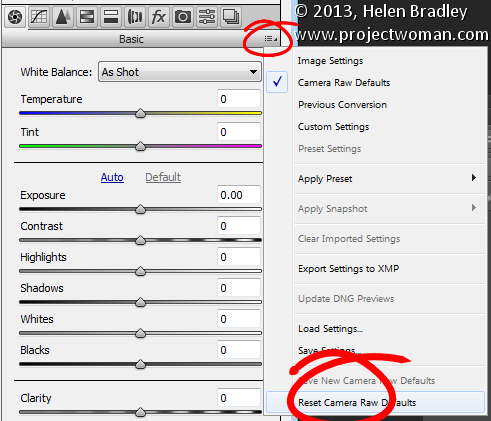
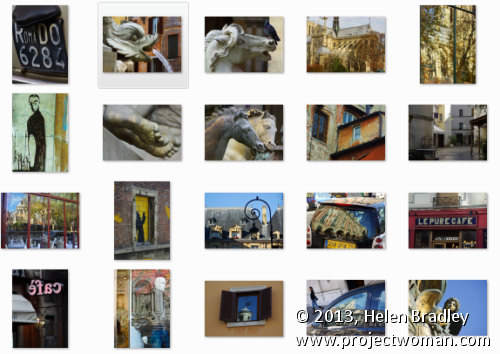
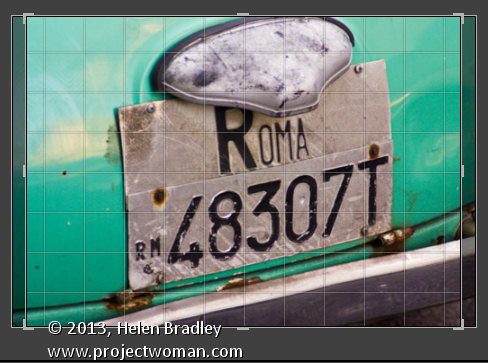
In ACR, go to the small menu in the top right of the edit pane and choose Reset Camera Raw Defaults. This removes the edits and returns the image to its out of camera state (see image at the top of this post)

This is also very handy for teachers who teach using a set of images – if you need to start over editing an image with a new class, this option will help you start over with a clean image.


Helen Bradley

Saturday, October 5th, 2013

Lightroom Tip – Batch Crop & Resize

Save Time in Lightroom when Resizing and Cropping Large Amounts of Output Images

If you’re working on a large shoot and need to output a lot of images at a fixed size then Lightroom can do the work for you. It isn’t obvious how you can crop all your images to a fixed size and output them at a certain set of pixel dimensions but it is easy to do when you know how. Here’s how to do it:

Step 1

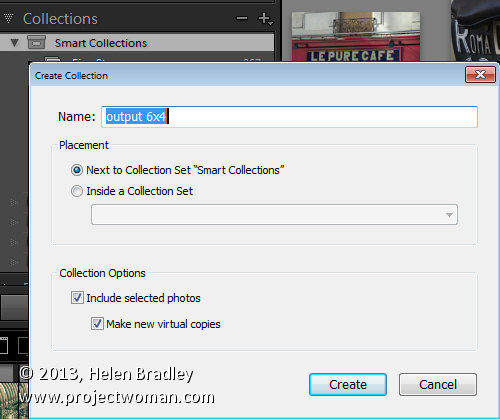
First locate the folder with your images in it. I prefer to make virtual copies of my images and put them in a new collection but you can do whatever makes sense to you.

Step 2

Select all the images in Grid view in the Library module in Lightroom.

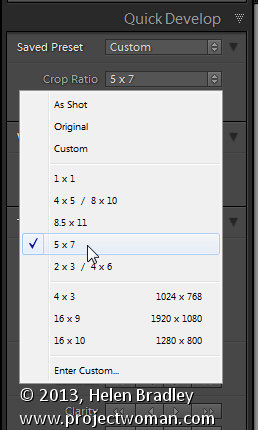
Open the Quick Develop panel on the right and, from the Crop Ratio dropdown list, select the crop ratio that you want to crop to. For example you can crop to fixed ratios such as 1 by 1 or printing sizes such as 5×7, 4×6 and so on.

Here I’ve selected 5×7 and when I do so all the selected images are automatically cropped to this 5 x 7 ratio.

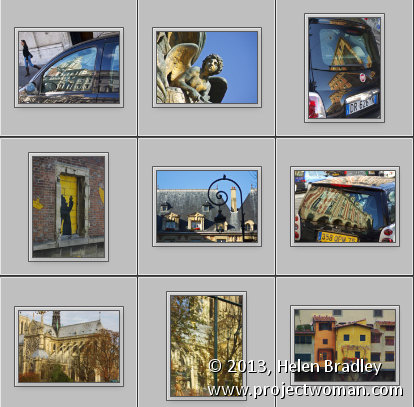
Lightroom is smart enough to understand that some images are portrait orientation and others are landscape. Portrait images are cropped to 5 x 7 and landscape orientation images to 7 x 5.

Step 3 (optional)

If desired, you can now move to the Develop module and check the crop for all the images. By default, Lightroom will center the crop rectangle on the image and this may not be exactly what you want for some images. However, it is easy to go to the Develop module, click the first image and click on the Crop Overlay Tool so you see the crop marquee in position on the on the image.

Now from the filmstrip you can click on each image in succession to preview it in the crop window and you can easily identify if any of them need an adjustment to the crop rectangle. If they do simply drag on the crop rectangle to reposition it. When you’re done return to the Library view.

Step 4


As the images are now all cropped to size, press Ctrl + A to select them and then click Export. Choose a folder to export the images into or click New Folder to create a new folder.

You can now set your desired preferences in the Export dialog.

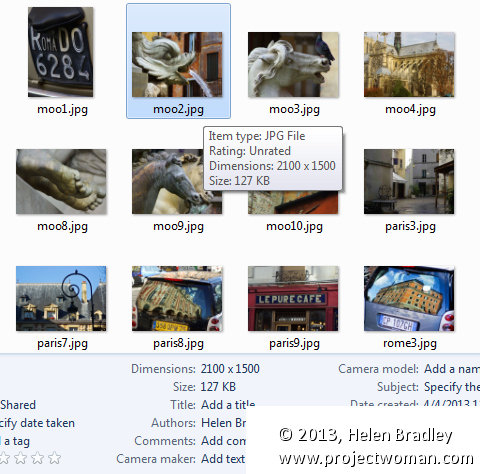
To control the output size – in pixels wide and tall – of the images easily because you already know the crop ratio. To do this, select the Resize to fit checkbox and choose Long Edge from the dropdown list. Then type a pixel dimension for the long edge. So, for example, to prepare 5 by 7 ratio images for printing at 300 dpi the longest edge will need to be 2,100 pixels (7 x 300) so type 2100 and set the resolution to 300.

Step 5

Click Export to export your images and they will be exported to a folder at the chosen size and resolution.

This process allows you to quickly and effectively prepare a batch of images for printing. It manages portrait and landscape images so that you don’t have to separately handle each type. It’s a simple workflow and a fast way to prepare images from a large shoot.

Helen Bradley

Monday, December 5th, 2011

Work in the Lightroom Quick Develop panel


In Lightroom you can fix a series of images all at once using the Quick Develop Panel in the Library Module. While this tool lacks the precise adjustments you can make to an image in the Develop Module, it offers a quick solution for getting started fixing your images.

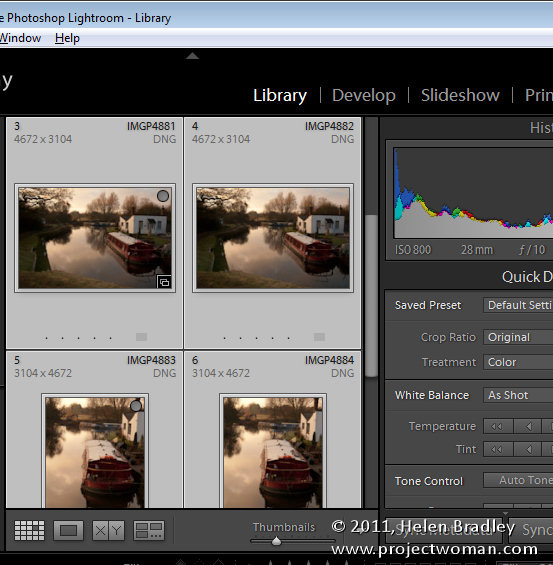
To make use of the Quick Develop panel you should be working in the Library Module, in Grid View. So open the Library module and click G to select Grid view. If you are in Loupe view the changes you make will be applied only to the most selected image regardless of how many images you have selected in the Filmstrip.

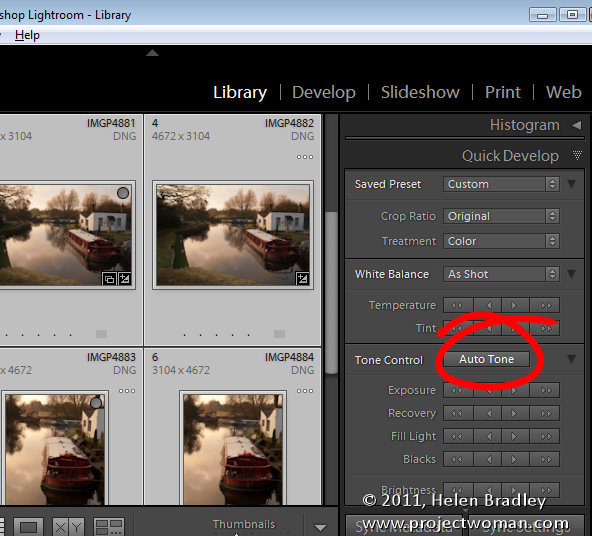
If you typically use the Auto Tone feature in the Develop module to quick start fixing your images, select all the images to fix in grid view and click the Auto Tone button. Every image will be assessed and then adjusted according to its particular needs.

How fixes are applied

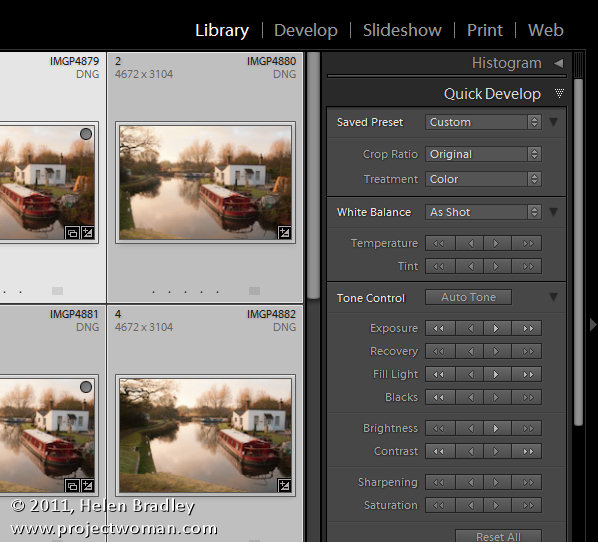
In the Quick Develop module, when you choose to adjust, for example, the Exposure on a series of selected image, each image will be adjusted by the same relative amount. So, if you select a series of images and click the single right pointing arrow, you will add +0.33 to the current Exposure value for each image. So, if an image had a starting Exposure setting of 2.00 it will be increased to 2.33. The single left pointing arrow moves Exposure -0.33. If you click the double arrows you will increase or decrease exposure by 1.0 for every image. Each adjustment works in a similar way although the relative values will vary.

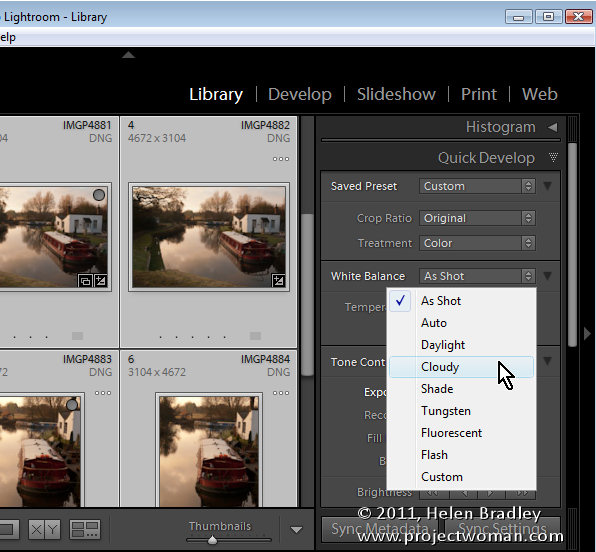
One feature of the Quick Develop module which is useful is the White Balance tool. If you have a series of images all shot in similar light you can select them and adjust the white balance for all of them by choosing a different White Balance setting from the dropdown list or by adjusting the Temperature (Blue/Yellow) and/or Tint (Green/Magenta) sliders.

Hidden Options

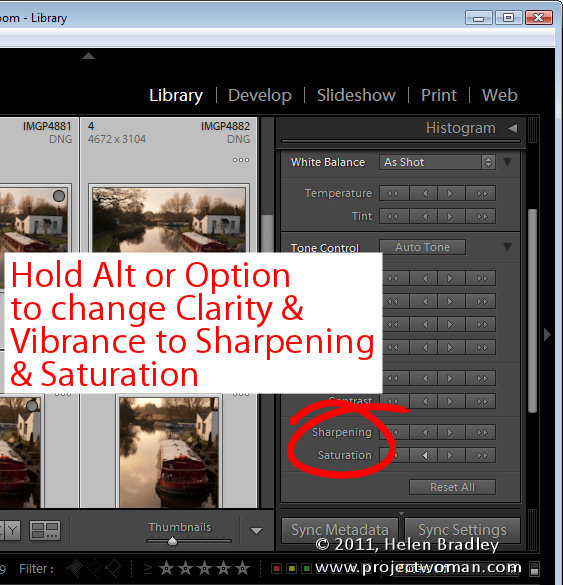
There are some options hidden in the Quick Develop panel. If you hold the Alt key (Option on a Mac) the Clarity and Vibrance adjusters change to allow you to adjust Sharpening and Saturation. Notice that Sharpening is an all in one setting and that it lacks the ability for you to alter the Radius, Detail and Masking which you can do with the Detail panel sliders in the Develop module.

How I use it

I use the Quick Develop panel to make quick edits to a series of images at one time. I’ll assess the images to see if they need a particular adjustment such as increasing the Exposure if they are all a little underexposed. I also like to increase Clarity and Vibrance.

So, I’ll select the images in the Grid, click to increase Exposure and then again increase Vibrance and Clarity.

Using the Quick Develop panel to make fixes to all images saves me a little time later on when I switch to the Develop module and apply additional fixes on an image by image basis.

One Gotcha to be aware of

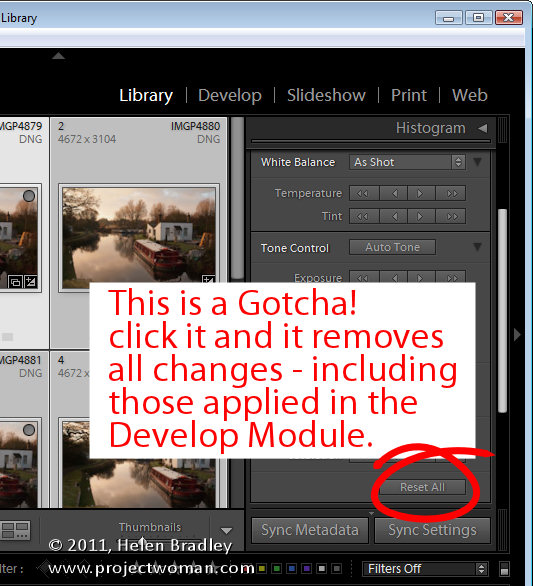
If you want to remove the settings applied to an image you can do so using the Quick Develop panel. Select the image and choose Reset All. However, be aware that when you do this, you will remove not only all settings applied to the image using the Quick Develop panel but also any changes made to it using the tools in the Develop module.


Helen Bradley