Learn what depth of field is and how your camera settings affect it
Some subjects need to be fully in focus to be shown at their best and others need dreamy out of focus backgrounds to create the right setting. The feature that is key in both situations is called depth of field – it gives you both that ‘everything in focus’ look and it also gives you soft out of focus look. Depending on what you are photographing getting the depth of field right is often the difference between a snapshot and great image.
I’ll explain what depth of field is and how to control it with your camera settings.
What is depth of field?
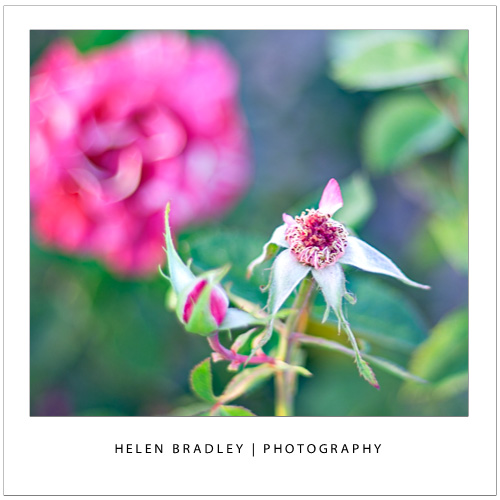
At its simplest, depth of field is the zone of sharp focus in front of, around and behind the subject in your photo when you are focused on that subject. When you have a shallow depth of field, only a small area around the subject will be in focus and quite often only a small part of the subject will be in focus. Everything else in the image will be out of focus with things further away from the subject, either in front of or behind the subject, being more out of focus the further away they are. This image has a shallow depth of field – it’s a great way to shoot flowers:
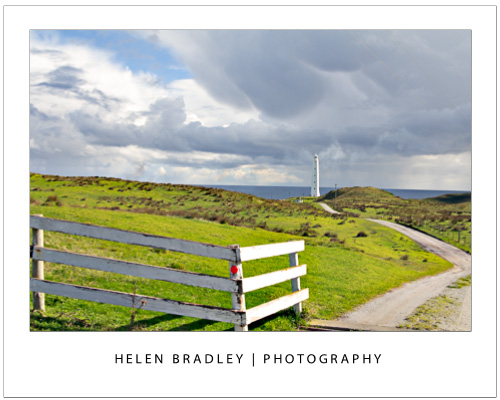
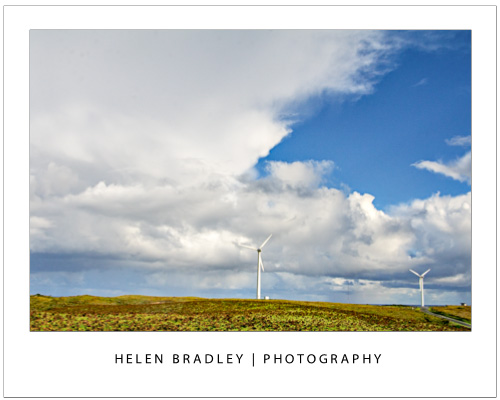
When the depth of field is deep, nearly everything in the shot is in focus. You control the depth of field in your images by adjusting the camera’s settings for aperture, adjusting the focal length of the lens and the distance you are from the subject. This image has a deep depth of field – that’s important as we want to see everything in this scene from the grass in front of us to the horizon miles and miles away.
Let’s look at each of these in turn.
Control depth of field with aperture
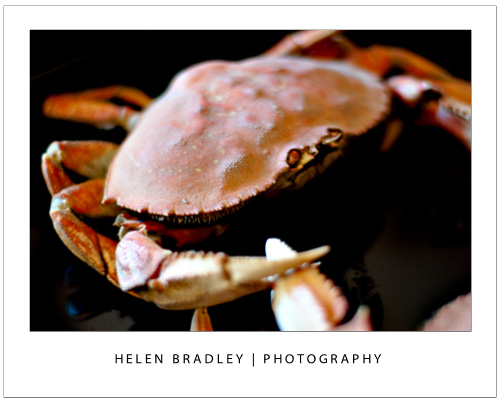
One way that you can control the depth of field in an image is to change the aperture that you are using. For this, you will need to have your camera set to Aperture Priority or Manual mode. Selecting an aperture that is very large, such as f/1.4 to f/2.8 will give you a shallower depth of field around your subject. The aperture used for this image was a huge f1.4 so only a small portion of it is in focus:
If you shoot with a small aperture, such as f/9 to f/11 or more you will find that more of the image will be in focus, which gives you a deeper depth of field. If everything else stays the same, the difference in the aperture setting you use can result in a very different image. The aperture used here was a small f11:
One benefit of shooting with a large aperture, such as f/1.4 to f/2.8, is that a lot of light is getting into the camera so you can use a fast shutter speed. Conversely, a down side of shooting with a small aperture such as f/9 to f/11 or more is that less light gets into the camera so you will need to use a slower shutter speed or a higher ISO value. In some cases you will be shooting with such a slow shutter speed that you will need to use a tripod.
Control depth of field with focal length
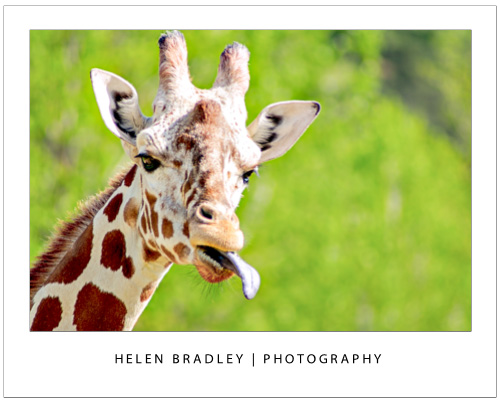
The focal length of your lens can also have an impact on the depth of field when you use this to make a subject bigger. So, if you are shooting with a 50 mm lens, you will get a much deeper apparent depth of field than you would if you were capturing an image with a 200 mm lens at the same aperture and if, in both situations the subject size is the same. The depth of field is actually not significantly different but it looks different because there is more background in an image when you capture it with a 50mm lens than you will get when you capture it with a 200 mm lens. So a rough rule of thumb is that the more zoomed into the subject that you are, the shallower the depth of field will appear to be. This giraffe was shot at f5.6 which isn’t a particularly large aperture but it was shot at 300mm zoom so the giraffe is quite sharp and the background is nicely out of focus:
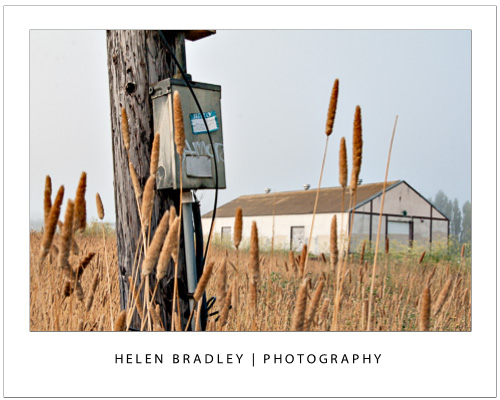
If you are shooting landscapes you will get best results when you use a short lens such as a 28 mm lens as the image will appear to have a much deeper depth of field. On the other hand, a zoom lens can be a good lens to use when shooting portraits because the further you’re zoomed in to the subject the less background will be in the image and the shallower depth of field you will appear to have. This image was shot at f11 with a 28mm lens so everything from the lamp post to the building is in focus:
Control depth of field by varying the distance from your subject
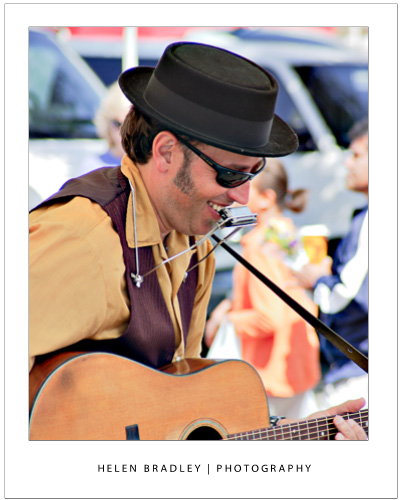
The distance between the subject and the camera is another way that you can impact depth of field. So, for example, if you photograph a subject close up, such as in the region of up to 10 feet away, then the depth of field will be much shallower and more of the image behind the subject and a little in front of the subject will be out of focus. On the other hand, if you move the subject further away from you so that the subject is 20 feet away then the depth of field will be much deeper and there will be a lot more of the image in front and behind the subject in focus. This image was shot with a 200mm lens – the singer was relatively close to the camera and the background was some distance behind him so the musician is in focus and the background nicely out of focus:
Whenever you’re considering depth of field, you should also note that, when the subject is in focus, the amount of the image that is in focus behind the subject will be greater than the amount of the image that is in focus in front of the subject. The ratio is approximately one-third to two-thirds, so the depth of field will extend roughly one-third in front of the subject and two-thirds behind the subject.


