Tuesday, March 12th, 2013

Play time with Photoshop Gradient Map

Playing with color using a Gradient Map Adjustment Layer

I’ve been fiddling around with halftones and grayscale posterized images lately – partly for a magazine project and partly for some things I am designing. Sometimes, however, I just play for the sake of it and today’s post is all about that playtime.

Posterized images have a flattened color look – the entire image is flattened to a few bands of color and I was interested to see what color variations I could get with a Gradient Map over an image. Gradient maps work by mapping a color onto a tone in the image and, with a regular image, the colors sort of blend across the image. However, posterized images are different – they have flat areas of color so the Gradient Map will not be seamless and instead it is going to recolor the posterized image in great big solid blocks of color.

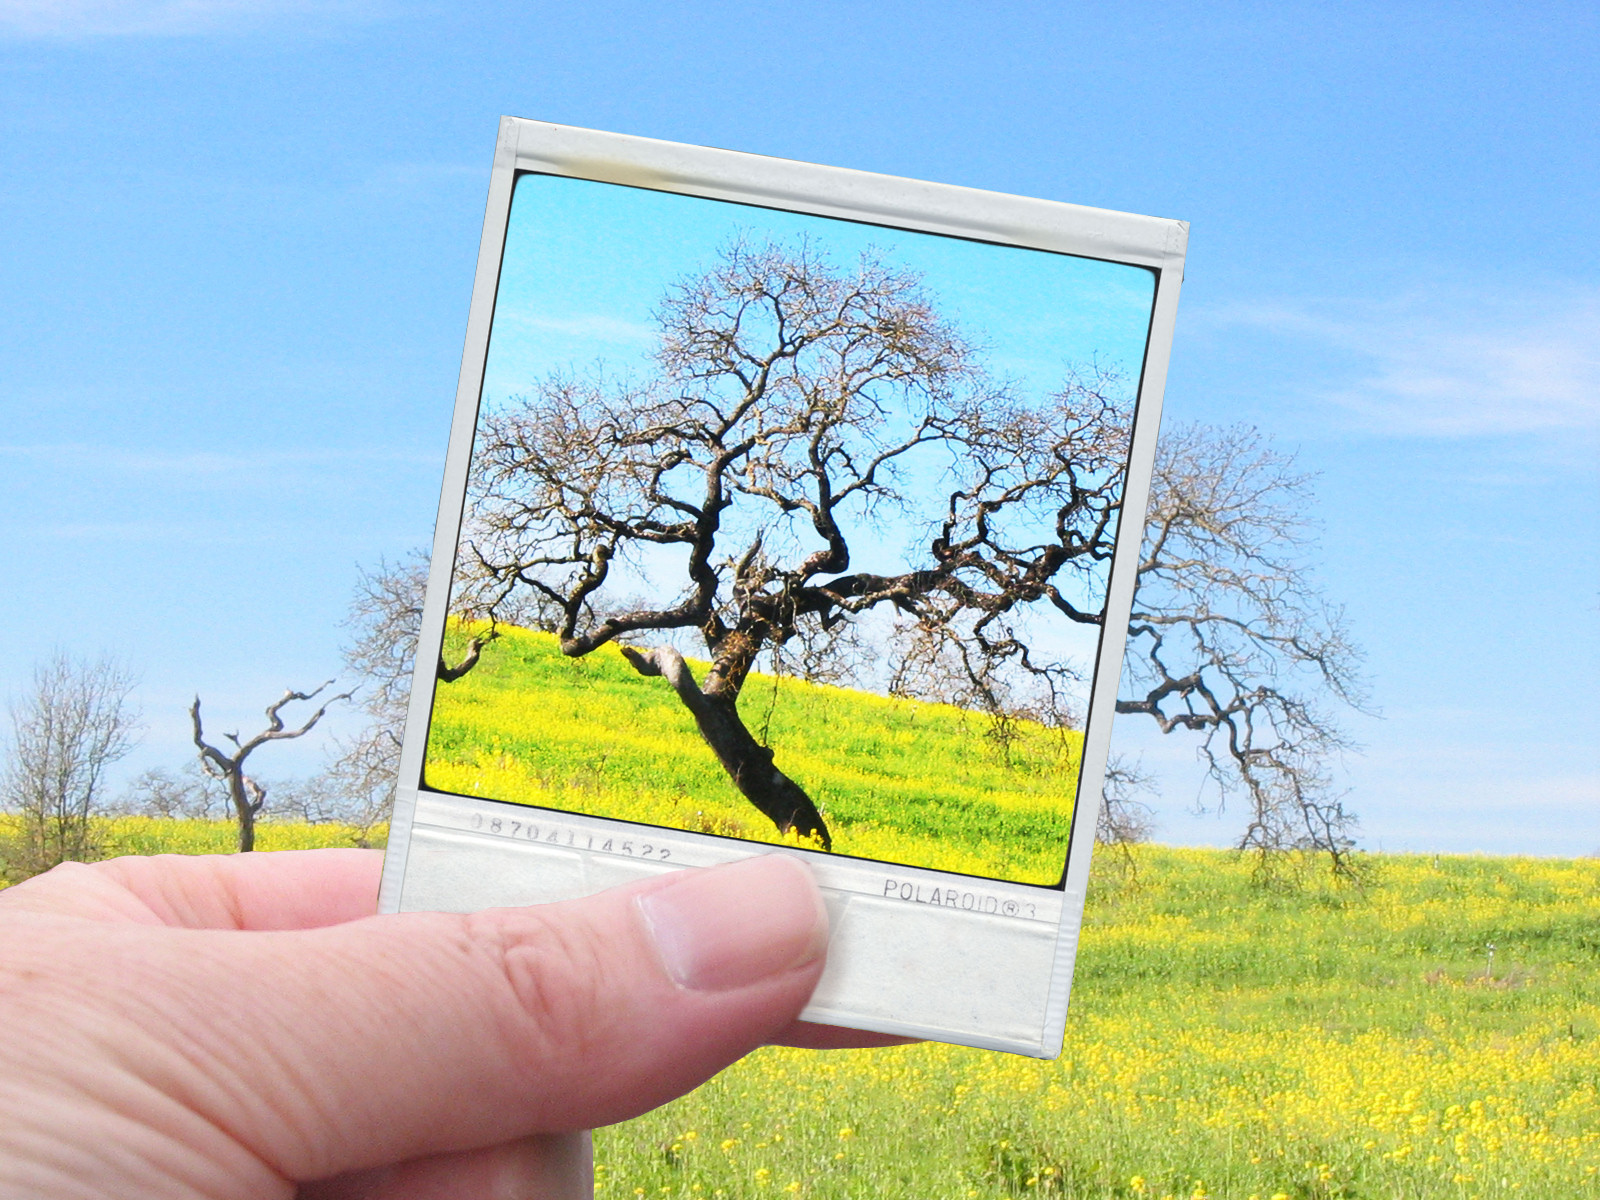
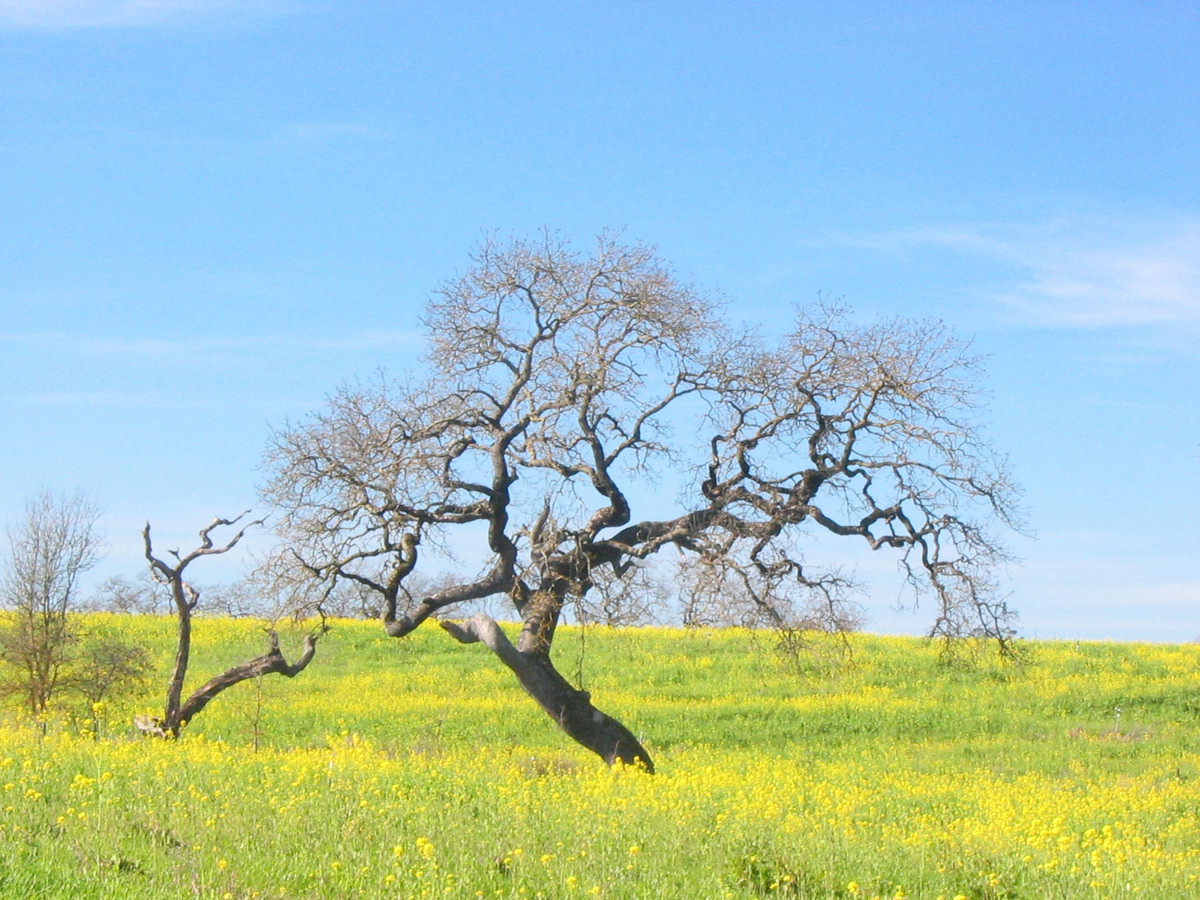
Here is the image I started with:

To see this at work, first convert the image to black and white using Image > Adjustments > Black & White and create a nice contrasty black and white.

Then add the posterized effect by choosing  Image > Adjustments > Posterize and set the Levels to 4 or 5 – this makes the image into one that has 4-5 tones only in it.

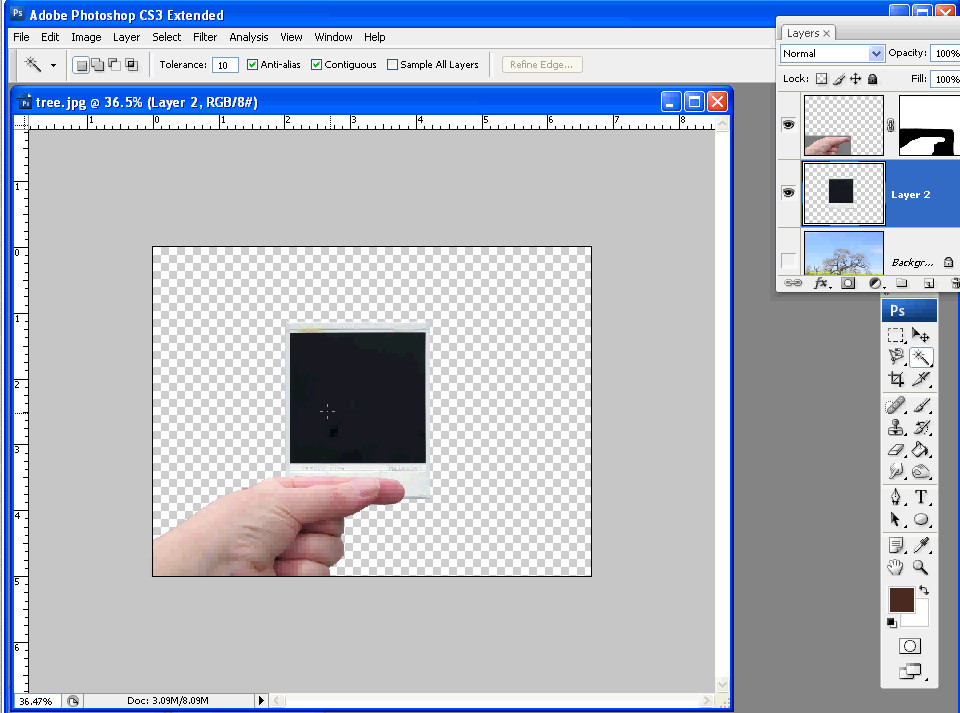
Now to recolor the image with the Gradient Map choose Layer > New Adjustment Layer > Gradient Map and click Ok.

From the dialog select a color scheme to use. The new photo filters which are included in Photoshop CS6 are a great choice but absolutely anything will give a great result. The colors are mapped on to the image according to the light and dark tones in the image. If you click Reverse you’ll get a negative effect. Find the color to use and close the dialog.

Because you’re using an Adjustment Layer you can change the colors anytime by just double clicking the adjustment layer and choose a different color combination.


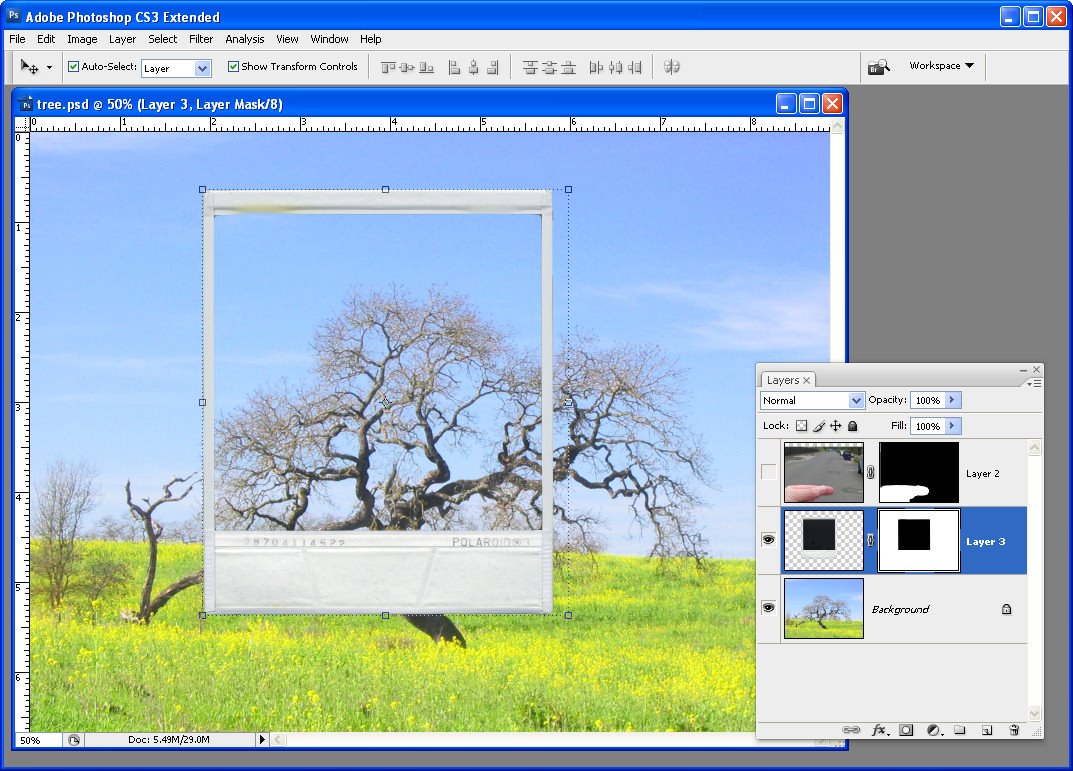
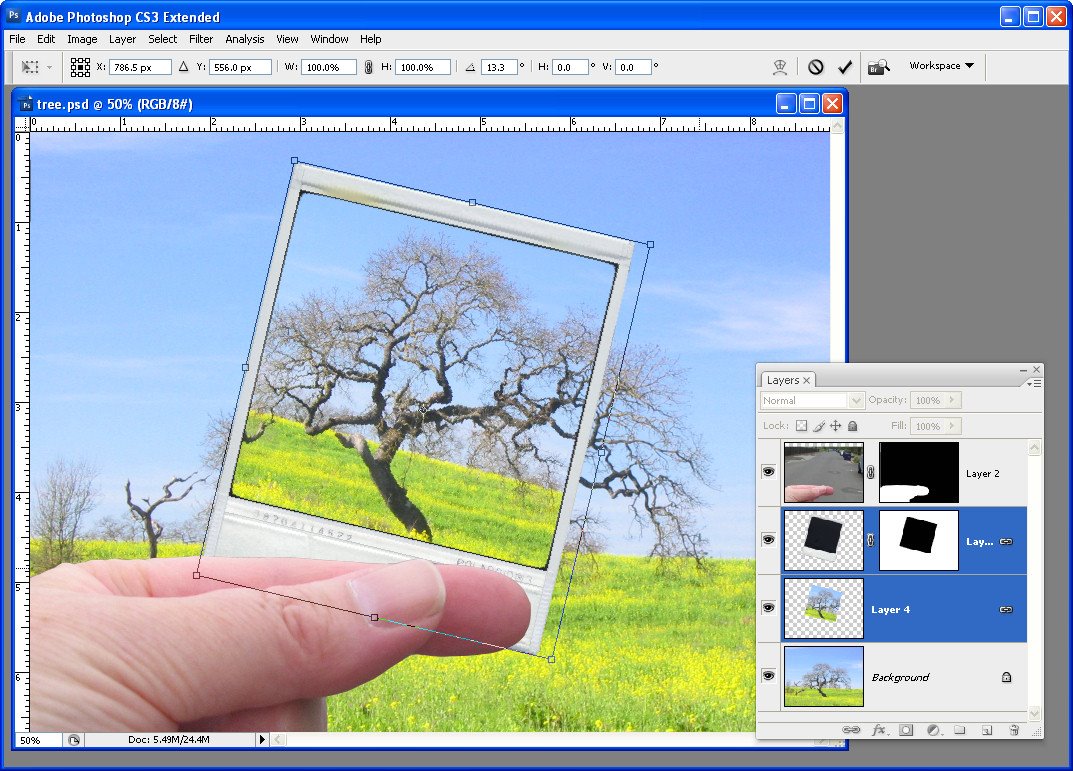
I finished off by finding an image to use with this one. I flattened the camel to a single layer by pressing Control + Alt + Shift + E (Cmnd + Option + Shift +E on the Mac) and then dragged the flattened layer into a second image.

Then I used a mask on the camel layer to select and remove the background. I positioned the camel in an interesting place and cropped the image to square. I added a small vignette around the image too.

Helen Bradley

Sunday, March 15th, 2009

Stupid Photoshop tricks #1 – hold your own photo

There are heaps of creative things you can do with your images in Photoshop and one I think totally rocks is a collage technique that turns your photo into a photo of itself. If you’re totally confused, check out the image – you’ll see a hand holding up what appears to be a Polaroid image in front of a scene – the Polaroid image itself shows part of the background scene and it’s all done in Photoshop – here’s how:


To create this image you will need a photo with an interesting subject. I’ve used a spring landscape.


You will also need a photo of your hand held as if you are holding a photo in it. Take the photo of your hand with your point and shoot camera held in one hand and your other hand stretched out in front of you. You may need to use macro mode to ensure that the hand is in focus and not the scene behind. The ideal setup for photographing your hand is with a road or carpark as the background – the contrast between your skin and the road will make it easy to select around your hand.

While you can create your own faux Polaroid image, there is a good one you can download from http://lured2stock.deviantart.com/art/Polaroid-3262470.

Open the photo of your hand, the landscape and the Polaroid image in Photoshop. Crop the hand to remove excess background.

Select around the edge of the Polaroid image and remove its excess background so you have only the image itself.

Drag the background layer from the Polaroid image and the hand image into the landscape image. Each element will appear on its own layer.


Drag the hand to the top of the layer stack and hide the other two layers. Use your favourite section tool to select around the hand and add a layer mask by clicking the Add Layer Mask icon at the foot of the Layer palette (use Alt + Add Layer Mask if you selected the background rather than the hand). Using a layer mask makes it easier later on to remove parts of the hand so the Polaroid will look like it is held in your hand.


To transform the Polaroid image so it is the correct size, Ctrl + click on its layer thumbnail and select the Move tool. Press Ctrl + T to select the free transform tool and then Ctrl + 0 (zero), to scale the image so that you can see its sizing handles. Drag the Polaroid into the approximate position it should appear in the image and size it to suit. It should appear partially covered by the hand.


Make a selection around the inside of the Polaroid image and delete it or add a mask to hide it. Select the background layer and hide the two top layers. Move the selection over the underlying image – choose Select > Transform Selection and resize it in proportion if desired.


Choose Edit > Copy to copy the selection onto the clipboard, then Edit > Paste to paste it into a new layer, size it to fit the hole in the layer above. Brighten this layer if desired. Select this layer and the Polaroid image by Shift + clicking on each of them and choose Layer > Link Layers. Rotate the Polaroid slightly.


Make the hand layer visible again. Select the brush and black paint, click on the layer mask for the hand layer and paint out portions of the hand that should be behind the Polaroid. Add a new layer below this layer and paint a small drop shadow along the edge of the fingers over the Polaroid.

Helen Bradley

Tuesday, November 20th, 2007

Paste to a layer mask

Ok, here’s the dilemma. You have two images open in Photoshop and you want to add one image as a layer mask into the other.

One solution is to copy the first image, then switch to the second. Click the layer mask and switch to the Channels palette. The layer mask appears as a channel. Select the channel’s visibility icon to make it visible, select the channel to make it active, and click Edit, Paste. Deselect its visibility, reselect the RGB channel to make that one active, switch back to your Layers palette and the pasted selection is in your layer mask. This solution has the advantage that the copied/pasted piece doesn’t have to be the same size as the layer mask.

The alternate solution if the two images are the same size, is to use Apply Image. Select the target layer mask, choose Image, Apply Image and, as the Source, select the image to copy from, the layer to copy and click Ok. Now the selected layer (or the merged source) is pasted into the Layer Mask.

Two alternatives, the second is easier to use but it does require two same size images.

Helen Bradley

Saturday, November 17th, 2007

Paste to a layer mask

Ok, here’s the dilemna. You have two images open in Photoshop and you want to add one image as a layer mask into the other.

One solution is to copy the first image, then switch to the second. Click the layer mask and switch to the Channels palette. The layer mask appears as a channel. Select the channel’s visibility icon to make it visible, select the channel to make it active, and click Edit, Paste. Deselect its visiblity, reselect the RGB channel to make that one active, switch back to your Layers palette and the pasted selection is in your layer mask. This solution has the advantage that the copied/pasted piece doesn’t have to be the same size as the layer mask.

The alternate solution if the two images are the same size, is to use Apply Image. Select the target layer mask, choose Image, Apply Image and, as the Source, select the image to copy from, the layer to copy and click Ok. Now the selected layer (or the merged source) is pasted into the Layer Mask.

Two alternatives, the second is easier to use but it does require two same size images.

Helen Bradley

Friday, November 9th, 2007

Rooftops in the rain – Brighton

When I was in Brighton we had one beautiful summer like Sunday when everyone was walking along the beach and it was all so gorgeous and then, next day, it rained cats and dogs.

Here’s a photo I took from my hotel room window across the roofs of Brighton the day it rained. I don’t think the windows of the Queens Hotel had been washed since good ol’ Queen Vic gave her name to the hotel so they were pretty interesting to shoot through and, of course, they only opened 6in from the bottom so shooting through the gap was impossible.

The original was flat and lifeless as one might expect. A Levels adjustment is a great starting point for a photo like this. Simply choose Layers, New Adjustment Layer and then choose Levels. Drag the little triangle sliders in from the left and the right till they are just under the places where the chart data begins and ends. This darkens the darks and lightens the lights and instantly boosts the tonal range in the image and gives it more contrast and life. The middle slider handles the midtones so you can drag it to the right or left as required for your image.

For the rest of this image I worked hard to get the colour and detail back. The cream buildings in the background were treated independently of everything else as they just kept getting lost in every solution I tried. Masks are great for this, fix one part of the image with adjustment layers, then hide the adjustment layer and work with another one focusing on the other part of the image. Then, use the mask on each adjustment layer to paint in or remove the fix from areas of the image. When I want most of the fix I just paint in black over the areas that I don’t want the fix to be applied to. When I only want little bits affected by the mask, I fill the mask with black (white reveals, black conceals), then paint with a low opacity, soft white brush to bring back the fix in the small areas that it is needed.

I also used the Selected Color adjustment on this image, I’ll talk more about it in a future blog post.

Helen Bradley

Wednesday, November 7th, 2007

Photoshp CS3: Copy a Layer Mask

Often you’ll need to copy a layer mask from one layer to another so you can mask out the same area on two layers. I do this when I mask the hightlights highlights in an image to protect them from being blown out.

Copying a layer mask doesn’t look easy or intuitive – there’s no menu command for it. However it can be done very simply. Hold the Alt and Control keys at the same time and drag the layer mask from one layer and drop it onto another. If there is already a layer mask on that second layer you’ll be prompted to replace it, answer Yes to the prompt.

Helen Bradley

Sunday, February 25th, 2007

GimpSHOP – all about layers, layer palettes and masks

GimpSHOP is Gimp with a great front end that makes it work much like Photoshop which you can find free for downloading here: GimpSHOP.

GimpSHOP, like any good photo editing program supports layers, and layer masks. These features aren’t always simple to get your head around but when you do, you’ll find they’re invaluable tools to use for photo editing tasks. Here, step by step, is how to work with them:

Step 1
To display the Layers palette press Shift F7 or choose Window, Layers. To add a new layer choose Layer, Duplicate Layer. There are no adjustment layers available in Gimp or GimpSHOP so this process keeps your original photo layer safe in case you need to use it later on.

Step 2
To adjust the levels in the image to improve its tonal range, choose Image, Adjustments, Levels and drag the sliders on the Input area of the dialog to adjust the contrast. The sliders under the chart should be moved inwards so they appear under the ends of the chart. The middle slider adjusts the midtones. Click Ok to apply this to the layer.

Step 3
To see how you can apply an effect or adjustment to this layer and blend it with the layer below, first create a duplicate of the top layer by choosing Layer, Duplicate Layer. Apply the edge detect filter by choosing Filter, Edge Detect, Edge and choose the Sobel Algorithm with the default value. This gives a new layer which is predominantly black and which displays the coloured edges in the image.

Step 4
Now, in the Layers palette, select the Divide blend mode from the dropdown list. Blend modes control how the top layer interacts with the layers below. Drag the opacity slider to the left to reduce the opacity of this layer so that some of the layers below show through thus mitigating some of the effect created by blending the layers together.

Step 5
To edit the effect the top layer gives to the image, use a Layer mask. Choose Layer, Mask, Add Layer Mask and choose White (full opacity) and click Ok. You should see no change in the image. Now select black or grey as the paint colour and paint the image to show part of the layers below through the image, thus effectively removing the effect of the blended edge filter. Paint with white to reapply the layer effect.

Step 6
The Layers menu offers tools for viewing a layer mask, applying it permanently to the layer, deleting it and making a selection based on it, etc.. You can also use the menu to configure the size of the thumbnail images by clicking by choosing Preview Size and then choose a view size from the list.

Helen Bradley