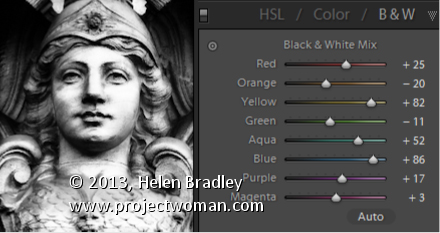
Most of us know we can convert and image to black and white in Lightroom by simply pressing the letter V. However, for the exact same image, your version of Lightroom might give a very different result to my version of Lightroom. The explanation is that there are two settings available for black and white conversions in Lightroom.
I’ll show you what these are, how to configure the one you want to use and how to quickly switch between them.
With a color image on the screen in Lightroom’s Develop module, press the letter V to convert it to black and white.
Open the B&W panel – it’s called Greyscale in Lightroom 2 – and check out the color sliders.
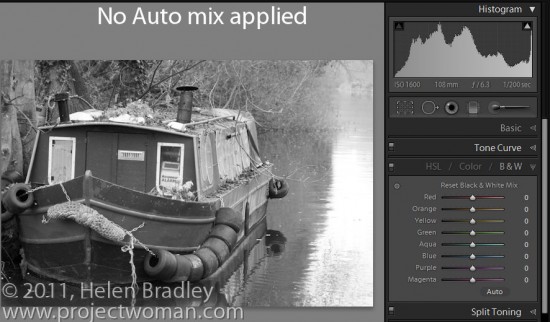
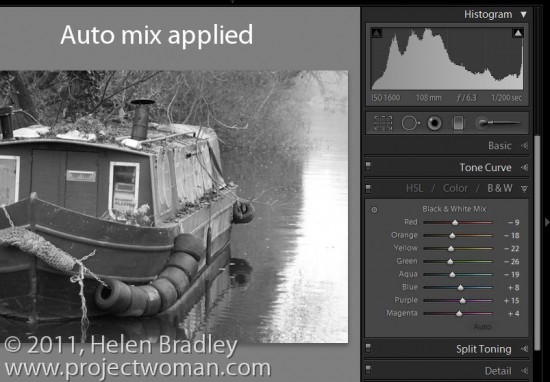
Depending on the preferences that you have set, the sliders might all be set to zero or they might show a black and white adjustment tailored to the image itself which Lightroom calls Auto mix.
The auto mix adjustment applies an auto exposure adjustment to the image as well as a conversion that maximizes the distribution of the grey tones in the image. This is customized for the image so every image will be given a custom adjustment much as you will get if you click the Auto Tone button in the Basic panel. Notice the subtle differences in the histograms in each of the adjustments here.
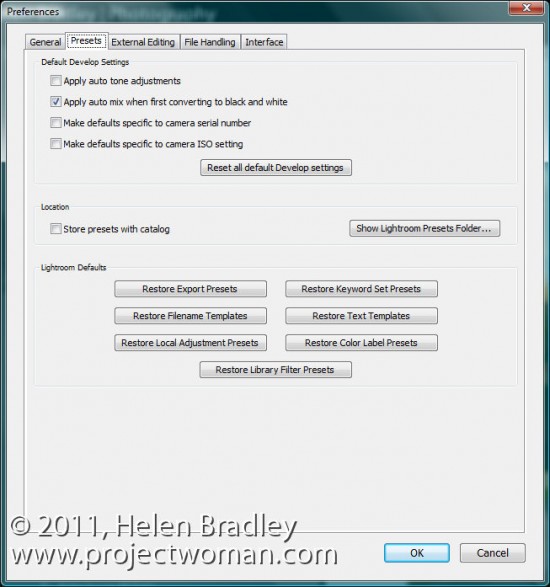
Whether or not you see this Auto mix applied to a black and white image is controlled by your Lightroom preferences. To see these, choose Edit > Preferences (or Lightroom > Preferences on the Mac), select the Presets tab and there’s an option there which reads “Apply auto tone mix when first converting to black and white”.
If this is checked you will get the auto tone mix applied to the image, if not, you will see a black and white adjustment where each color is given the same adjustment value of zero.
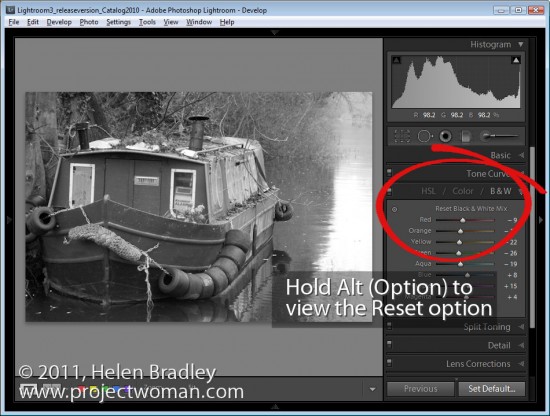
Regardless of which setting is in place you can switch between the two in the B&W panel.
If an Auto mix has been applied, hold the Alt key (Option on the Mac) and you will see an option Reset Black and White Mix. Click this and all the sliders will be set back to zero.
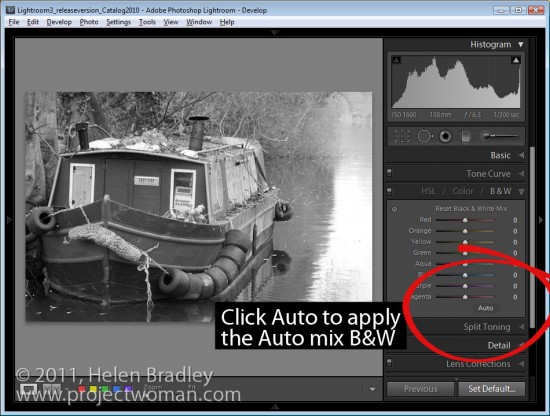
On the other hand, if your sliders are all set at zero, click Auto to apply the auto mix adjustment to the black and white image.
Step 5
You can further adjust the black and white regardless of whether you have an auto mix applied automatically to it or not by adjusting the sliders.
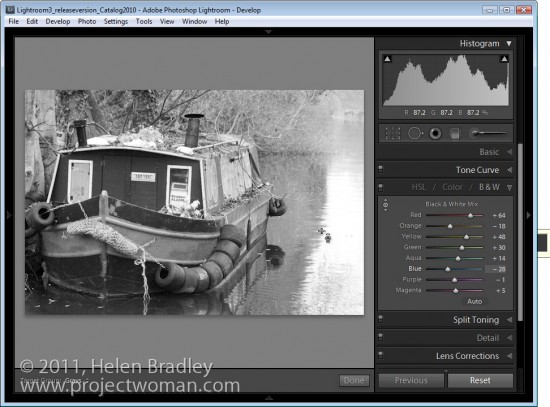
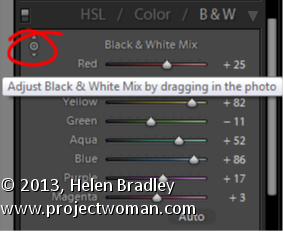
You can also select the Target Adjustment Tool and drag on an area of the image to adjust whether it is light or dark. Dragging downwards will darken it, dragging upwards will lighten it.
Helen Bradley


