Thursday, October 18th, 2007

Brighton Pier

Oh wow. I had all these photos of Brighton Pier. It was raining cats and dogs when I got there so I had to shoot everything with water dripping down my neck and trying desparately to keep water off the camera.

I though I’d probably lost out on good shots. Not so! A little fix here and there and I have some great results. I love this Caution, No Entry one. I had to adjust this image twice, once to bring in the pier and water/buildings detail and a second time to get the reflections in the timber pier flooring. I used a mask to bring in the bits I wanted to use. You wouldn’t believe what I started with and how far it came, so – just in case you’re interested, here’s a preview of the starting image:

Helen Bradley

Thursday, October 18th, 2007

Paris – by the Seine

There are beautiful little boxes all along the Seine where they sell books and manuscripts and old post cards. A sunny Autumn afternoon is just the place to stroll and find some “must have” item.

This photo underwent radical surgery. It is two photos blended together using Photoshop CS3’s new Auto Align layers and Auto blend layers tools. To do this, add one image’s background layer to the other. Select both layers and you’ll find the commands on the Edit menu. I did Auto align first. You might want to experiment with which layer you use as your topmost layer as the results differ. Then I did Auto Blend which makes a mask on each layer to bring in the bits it thinks you want from each layer. Remember you can click a mask to select it and then paint with white or black as required to reveal or hide detail on that layer – I did this as I wanted the guy in the image but needed to remove the other people who were in the originals.

Then I made a composite merged layer with my fave command CONTROL + ALT + SHIFT + E (Command + Option + Shift + E on the Mac). This gave me an image to work on the colors with. I’ll talk more about how to do that in another post.

Finally, to bring the attention to the bottom of the image (rather than the top), I created yet another merged layer, duplicated this and blurred the topmost layer. On the top layer I added a mask and a gradient fill using the Foreground to Background gradient. This resulted in the top of the image being nicely blurred and leaving the bottom in focus. I also picked out the tree and added it to the mask so it would be more in focus as it’s in the front of the image.

Finally, I added the small black border which defines the edge of the photo. To do this, choose Select, All and then Edit, Stroke and add a small 2 pixel black stroke around the Inside of the image. Add the white photo edge, the text and another small black border around the lot.

Sounds like a lot of work but once you’ve done it a few times it all happens pretty quickly. The worst part was the color correction as it is a bit fiddly.

Helen Bradley

Saturday, September 8th, 2007

Photoshop World hits Las Vegas

I’m spending the week in Las Vegas taking in all the best that PSW (Photoshop World to those in the know – now you’re included!) has to offer. It’s a great opportunity to take classes from the likes of Scott Kelby, Matt Kloskowski, Jim DiVitale and photographers Moose Peterson, Joe McNally and Vincent Versace.

My best tip and one I’ve seen quite a few instructors embrace is the crop canvas enlargement. It works like this, you use the crop tool to enlarge the canvas – seriously.

To do it, shrink the image down using the Zoom tool then enlarge the window so you have a little image and a big window. Click the Crop tool and drag it on the image, it won’t go any larger than the image right now – don’t panic.

Let go the mouse now drag the crop marquee handles outwards. Do it on all the sides that you need to add canvas. To do it evenly all around, hold the Alt/Option key as you drag on a corner handle. Check your background color as that’s the one that will be used to fill the new area. Press Return/Enter and you’re done.

Wow… one to show your friends just how good you are – you can now use the Crop tool to make an image bigger!

Helen Bradley

Sunday, May 20th, 2007

Photoshop – Replace a sky

It seems to be one of those things that people are least satisfied with – the sky in their photos. It’s all too easy to shoot a wonderful image on a sunny day, there’s not a cloud in the sky and it’s blue, blue, blue. However, when you return home the sky in the photo you took is dingy blue white – yuck, yuck, yuck. It’s disappointing and it doesn’t have to happen.

If you’re shooting with a digital SLR invest in a polarizing lens and use it! It will make your skies deliciously blue. You can also get these lenses for many point and shoot cameras, I have an adapter and a polarizer on my Canon 3S IS and it all just snaps into place.

If all else fails, take a series if good photos of just sky when it’s not so bright and keep these in a “spare skies” folder. Then, when your sky isn’t all you want it to be, like my old car, you simply search out a spare part – replacement sky for it. To use it, visit my new Photoshop skies tutorial – don’t be fooled by the title, there’s a great 6 step by step solution at the foot of the page.

Helen Bradley

Saturday, March 17th, 2007

Soft Focus Portrait in Photoshop

Portraits typically look much more flattering when they have a soft focus look. This is a fix that will give even a so-so portrait a lift. The colors in the image will be more muted and softer and more flattering to the subject. And, when you’re done, crop the final result very tightly to get that professional look.

Start by duplicating the background layer on the photo – choose Window, Layers to view the Layers palette, right click the background layer and choose Duplicate Layer and then Ok. Click the top layer and choose Filter, Noise, Median to smooth the image on this layer – choose a value of around 5 for the radius. Now apply a slight aging effect to this top layer by choosing Image, Adjustments, Hue/Saturation and reduce the saturation and use the Hue slider to create a slightly aged yellowing of this layer I set Saturation to -50 and Hue to -10 and click OK. Now experiment with the layer opacity of this top layer to vary the result – you want something softer than the original.

To finish, make a elliptical selection around the subject, invert the selection using Select, Inverse and add a feather using Select, Feather and add a large feather to the selection. Blur the result to soften the area around the subject and then crop the photo to size to finish.

Helen Bradley

Wednesday, February 28th, 2007

Making fixed sized selections in Photoshop

When you need a series of same sized images, you can create an image using a fixed size selection in Photoshop. To do this, choose the Rectangular Marquee tool and selecting the Fixed Size option from the Style dropdown list. Set the width and height in pixels and then click on the image. A marquee of this size appears and you can drag it with your mouse to position it in the correct place and then crop the image. If you simply want to select with the same overall aspect ratio but resize the image later on, select the Fixed Aspect Ratio option and set the ratio of height to width for the selection.

If your selection is not a regular one, for example if you want to cut a piece from a series of images in the shape of Australian, make the selection and save it to a channel in the document by choosing Select, Save Selection. With the document still open, open the images to crop the shape from and load the selection using Select, Load Selection and select the image in which you saved the selection from the dropdown list. Now you can move the selection into position and crop the shape from the image.

Helen Bradley

Friday, February 16th, 2007

Shameless Self Promotion

Ok, so it’s not exactly a tip of the day, but I already did today’s so I feel it’s justified.

I have lots of cool Photoshop tutorials around my site, check these out:

Photoshop Brushes tutorial
Learn how to create your own Photoshop Brushes

How to use Adjustment Layers
Make photoediting a simple and undoable process using Adjustment layers

Photoshop Gradients
Fix images and create colorful effects using Photoshop Gradients

Straighten an image in Photoshop, Elements and Paintshop Pro
Straighten your images with this simple to follow tutorial that covers the popular photoediting programs

Photoshop Shapes -New!
Helen Bradley explains how to use Photoshop Shapes to edit your photos and create fun shape overlays.

Create and use Photoshop Masks
Masks aren’t as hard as you think they are and this tutorial makes them simple to use.

Create seamless patterns in Photoshop
Whether you need them for the web or for a background for an Excel worksheet, here’s how to create great seamless patterns and we’ve included a mini tutorial on TV scan lines.

Color match photos in Photoshop
Even if your photos were taken in totally different lighting

Color Swatches in Photoshop
Create your own custom color swatches and use them in your photo editing work.

Ok, so that’s done, now back to the tips..

Helen Bradley

Wednesday, February 14th, 2007

5 Hot ways to make grayscale images in Photoshop

There are lots of differnt ways to convert a photo into a grayscale image and each of them offers different benefits such as speed or the ability to customise the results.

Here are five great ways (and one cool extra tip) for making a grayscale image in Photoshop:

(Hot tip) Before you convert an image to black and white, adjust it to ensure there is a good tonal range in the image. Choose Image, Adjustments, Levels and make sure the markers are under the ends of the chart. Adjust the midtones slider (the middle one), until you have a good result. An image with good contrast and a pleasing tonal range will give better results in the steps that follow.

Grayscale – Version 1
The simplest method of converting to Grayscale is to choose Image, Mode, Grayscale. When you do this, you create a grayscale image and color cannot be added back into it unless you convert it back to a color mode. To do this, choose Image, Mode, RGB Color if you plan to do more work with the image. Convert to CMYK color mode only if you intend to send the image for commercial printing.

Grayscale – Version 2
A RGB color image is made up of three color channels Red, Green and Blue. These channels are grayscale images displaying the relative amount of that color in the image at any point. To see the channels, display the Channels palette and click on the channel to view, hiding the others. If you like the grayscale representation of a particular channel display it, hide the rest, and choose Image, Mode, Grayscale and you’ll be asked if you want to discard the remainder of the channels – this turns the current channel into the grayscale image. Answer Yes to do so. To work on the image again in color, choose Image, Mode, RGB Color.

Grayscale – Version 3
Another method of converting an image into grayscale image but which retains the RGB color mode is to choose Image, Adjustments, Hue/Saturation. If you select the Master channel and then drag the Saturation slider to the far left, you’ll remove the color from the image by desaturating it. However, because it is still RGB Color you can add color back without needing to alter the mode.

Grayscale – Version 4
The Channel mixer gives you the opportunity to tweak the final grayscale representation by using more or less of the colors from the image. Choose Image, Adjustments, Channel Mixer and click the Monochrome checkbox. Now adjust the Red, Green and Blue sliders until you get a result you like. Ideally, you should ensure that your percentages add up to 100% although this isn’t a hard and fast rule.

Grayscale – Version 5
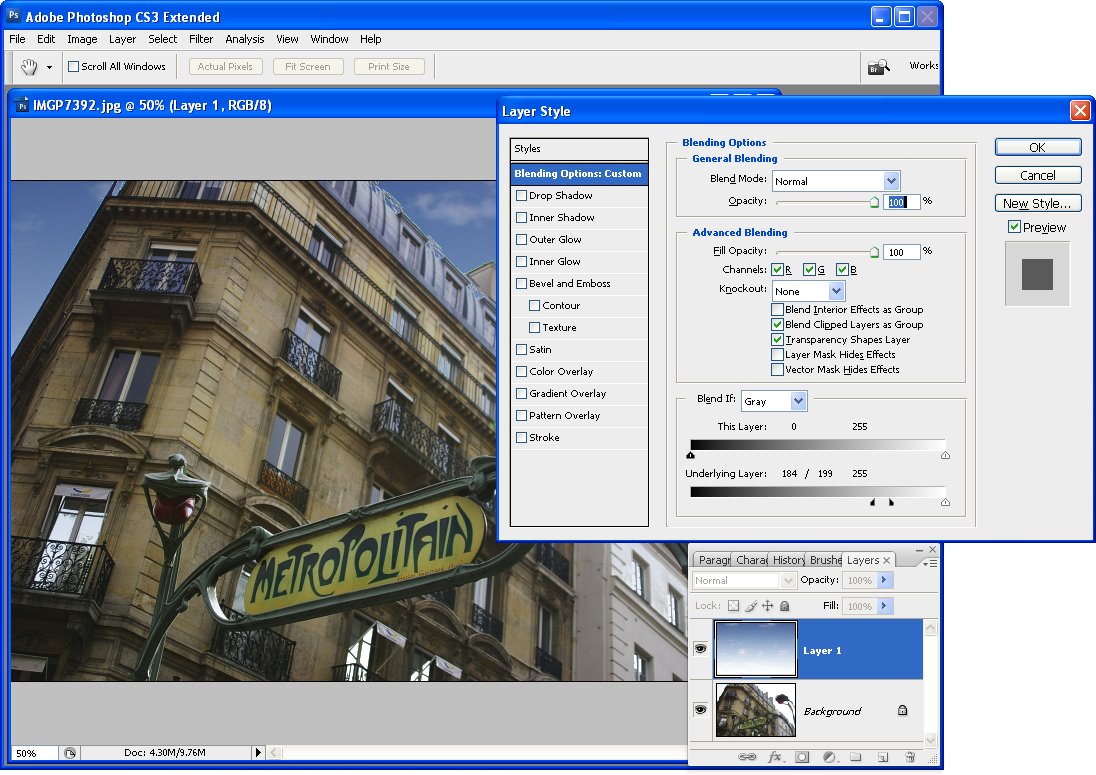
One situation you may encounter is where you want to convert a single layer into grayscale but leave the other layers in the image in color. In this case, choose the layer to convert to black and white and choose Layer, New Adjustment Layer, Hue/Saturation and enable the Use previous layer to create clipping mask checkbox and click Ok. Move the Saturation slider to the far left and click Ok.

So, there you have it – more ways to convert an image to black and white than you ever thought possible?

Helen Bradley

Page 23 of 23« First101920212223