Wednesday, July 10th, 2013

Lightroom Tip – Vibrance vs. Saturation


Understand the differences between Vibrance and Saturation

The difference between Vibrance and Saturation is often misunderstood. If you drag the Vibrance slider to the right, you increase the saturation in under-saturated colors in the image. Fully saturated colors are adjusted less and skin tones are protected.

In contrast, increasing the Saturation boosts the saturation across the entire image which can destroy skin tones and which can oversaturate already saturated colors.

Typically you’ll use Saturation if your image needs an overall boost to all colors and use Vibrance to boost under-saturated colors.

Helen Bradley

Tuesday, June 19th, 2012

Photographing in Black and White Part 3 Portraits


Black and white is particularly attractive for use in portraits photography. You can use it when your subject is dressed in or surrounded by colours that are not complimentary to them or which are distracting to the eye.

By shooting in black and white, you remove the impact of the clashing colours allowing the subject to become the focus of the image and not their clothes or, worse still, the background.

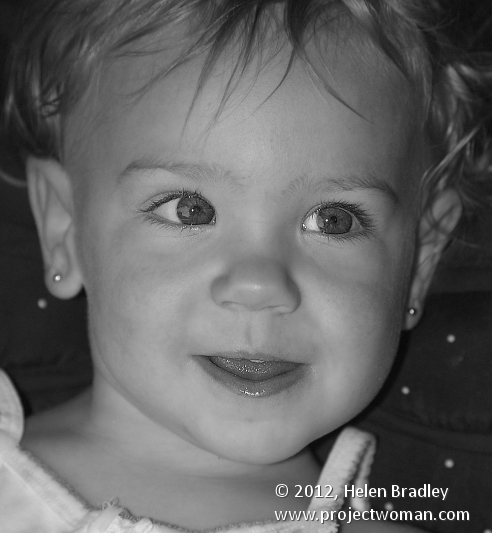
Bathed in soft light, babies captured in black and white look wonderful and the impact of jaundiced skin or blemishes is reduced.

For subjects that have facial details that can handle harsh light, try capturing your portraits with strong side lighting such as sunlight pouring in through a window. The dramatic contrast between light on one side of the face and shadow on the other can bring a portrait to life.

This type of setup is best used for a subject who has very strong facial features such as older subjects with lots of wrinkles or for subjects who live life hard as it reinforces their personalities and lifestyle.

Children’s and baby’s portraits captured in black and white do away with distracting colours and blemishes and allow you to focus on the child.

Helen Bradley

Sunday, March 7th, 2010

Step 8 Photo-editing workflow – Fix skin tones

Often you will encounter difficulties when fixing colour problems in an image where there are significant areas of skin tones. Skin tones are more difficult to fix than general colour casts, in part because we’re all so familiar with what skin tones should look like that we ‘know’ immediately when they look wrong.

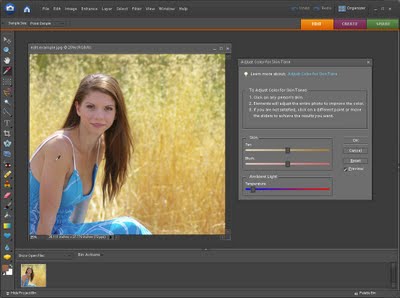
Luckily Photoshop Elements has a good tool for fixing skin tones. To apply this fix to your image choose Enhance > Adjust Color > Adjust color for skin tone. The mouse cursor will change to an eyedropper and you should use this to click on an area of skin tone in the image.

If you don’t get good results sampling from a person’s face, try sampling on their neck or arm – sometimes makeup on the face can give poor results and skin not covered in makeup gives better results.

Once you have selected the skin tone, if the fix isn’t good enough, use the Blush and Tan adjustments until you match what the skin should look like. The Ambient Light temperature slider lets you warm up or cool down the colour fix.

Helen Bradley