One of the cool things about Lightroom is its ability to store develop settings as Presets so you can use them again later to edit other images.
In addition to creating and saving your own presets, you can also download presets from the web and use them in Lightroom.
In this post, I’ll show you how to create a Lightroom preset and in a future post, I’ll show you how to download and install Lightroom presets you find on the web and also explain how you can share your own presets with others.
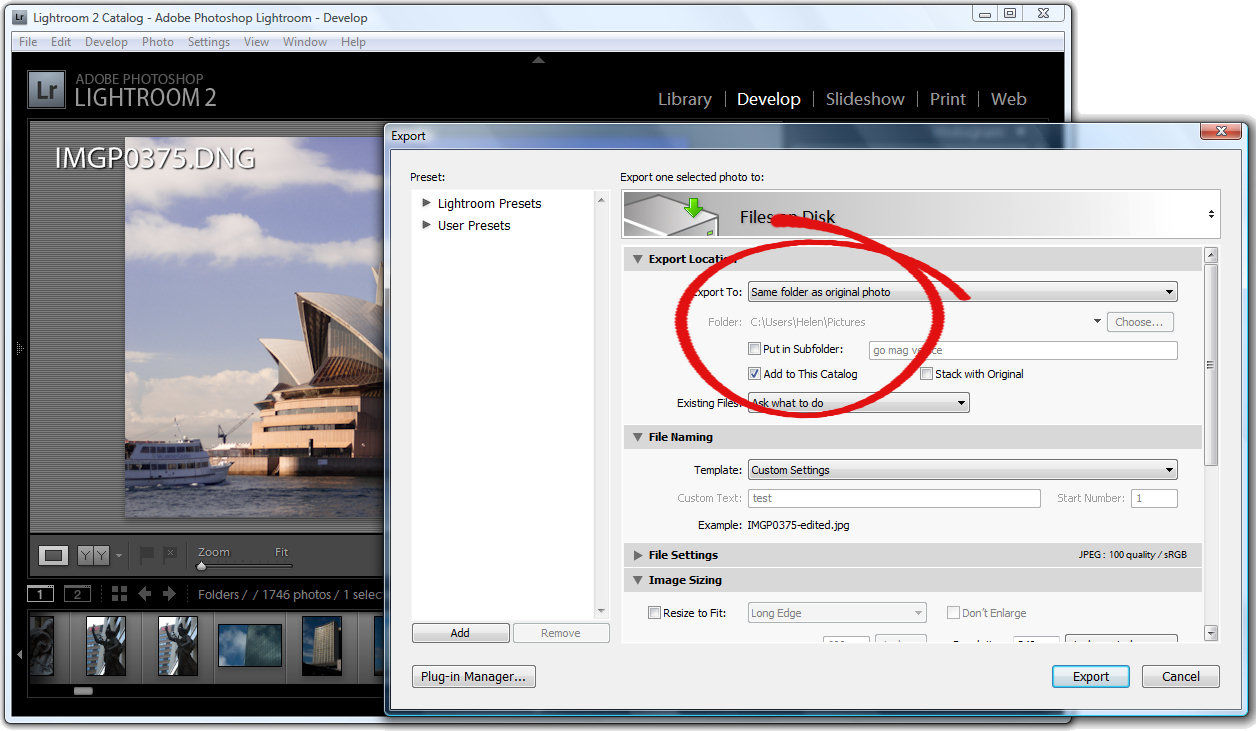
 To get started with presets in Lightroom, select an image in the Develop module which is ready for some creative attention. Just be aware of any settings you have already applied to the image as these will be included in the preset if you don’t specifically exclude them. If you have done a lot of work to get the image to this stage, export a copy and re-import it back into the catalog – there’s an option that does this in one step in the Export dialog. If you now select and work on the edited version, only the upcoming changes will be included in your preset.
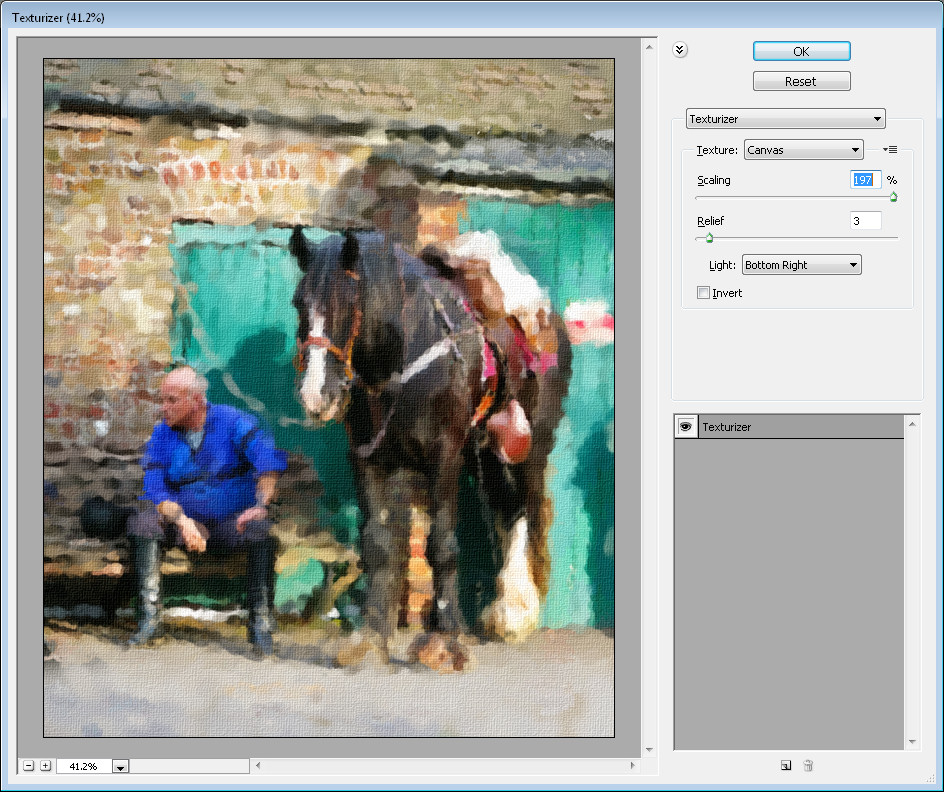
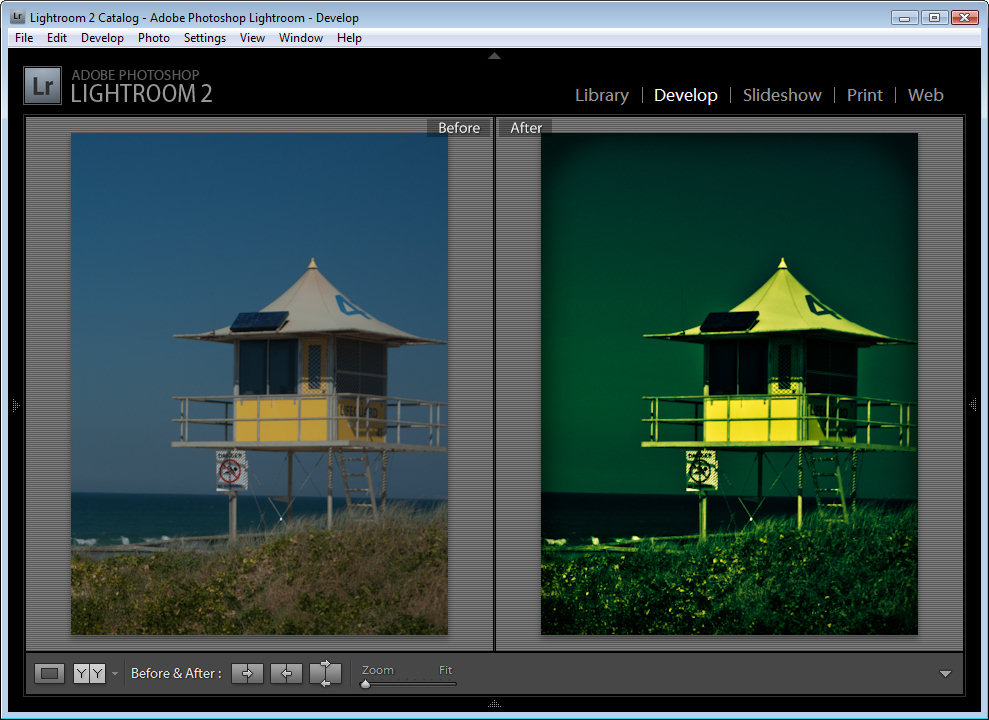
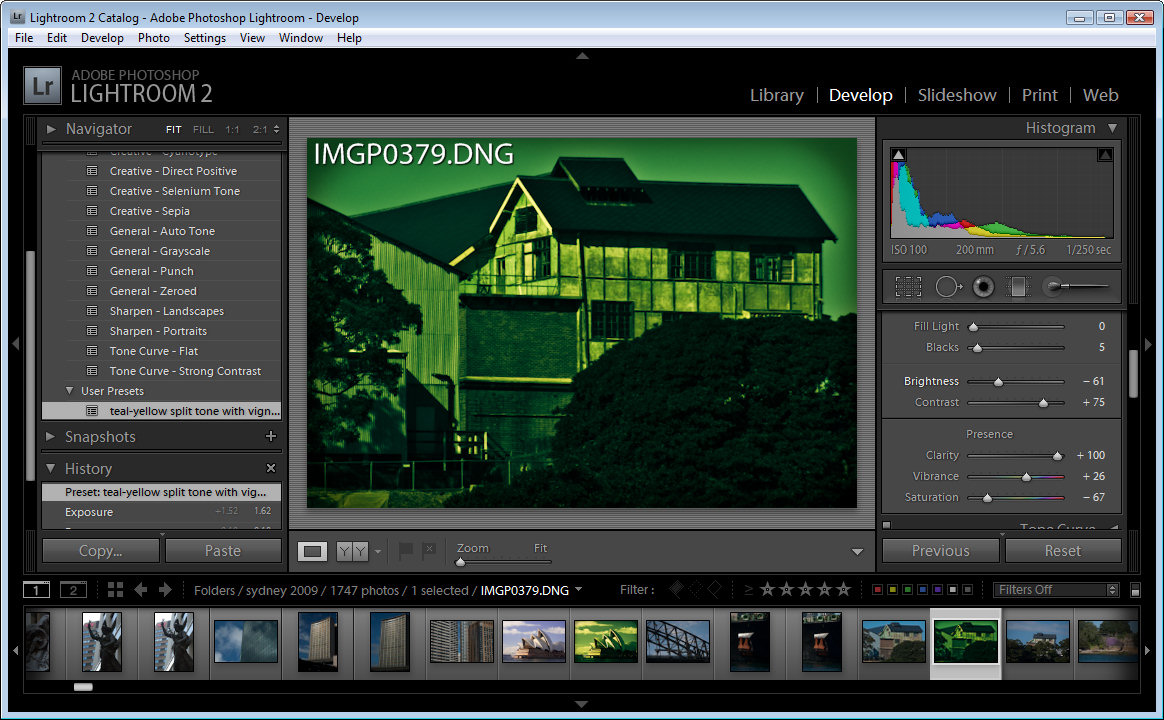
 Now you’re ready to work creatively on the image. For example, to split tone the image, start by increasing the Contrast in the image and reduce the Brightness a little to compensate. Adjust the Clarity to a high value so you get more sharply defined edges.
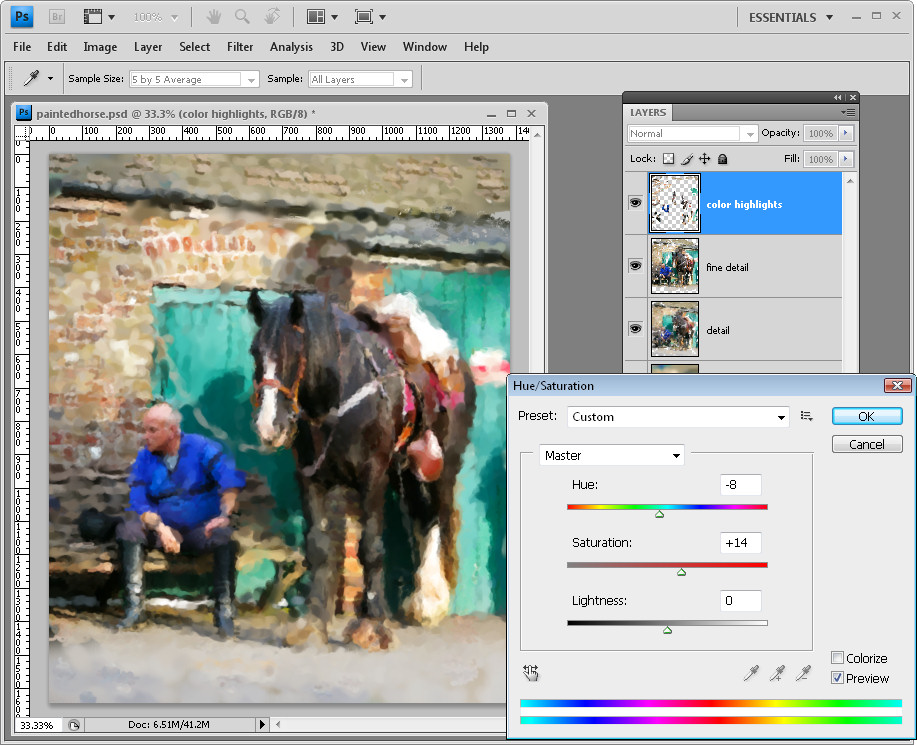
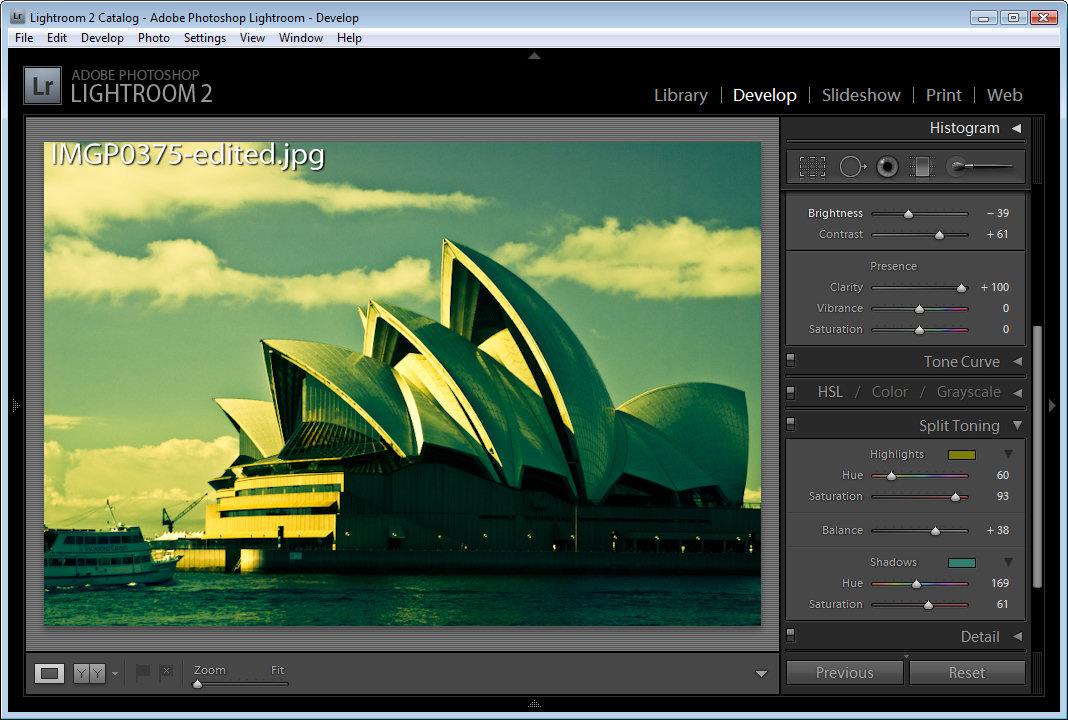
In the Split Toning options, for the Shadows click to select a dark blue/teal color and adjust its Saturation to suit. For the Highlights, select a mustard yellow and adjust its saturation to suit.
Adjust the Balance slider to favor the shadows or highlights as desired.
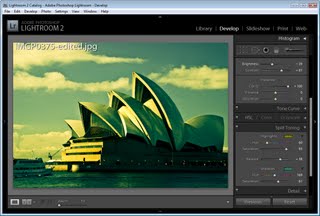 You may want to decrease Saturation and Vibrance or tweak other color settings to get the result you want. Here I added a Vignette too.
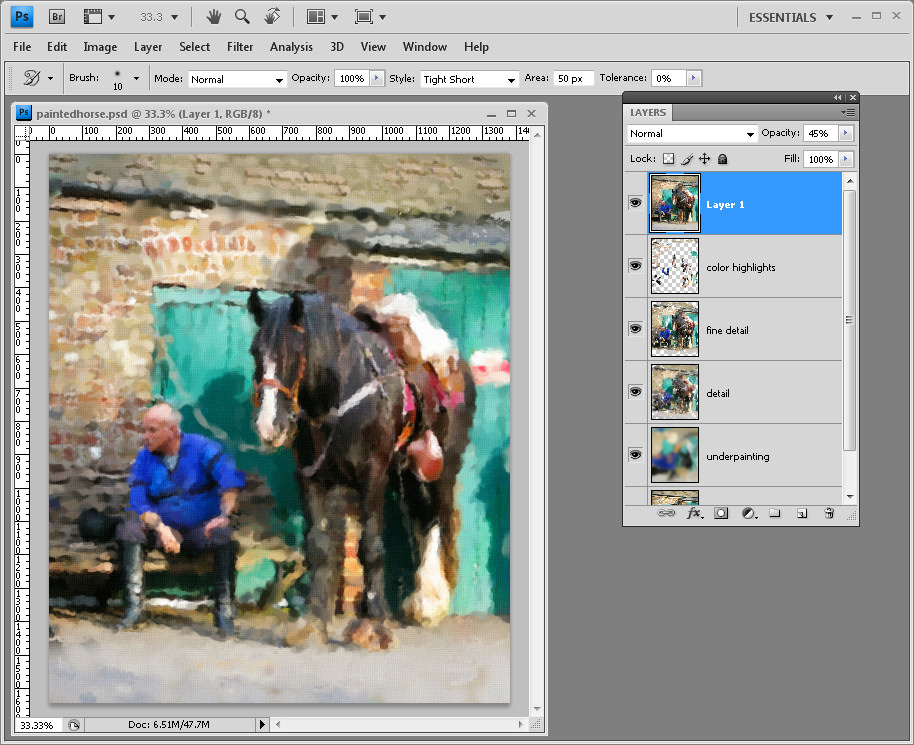
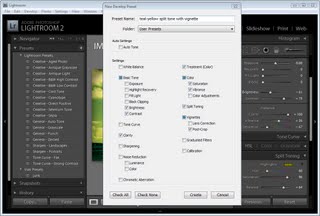 To save the settings as a preset, locate the Presets panel on the left of the Develop panel. Click the plus sign to the right of the word Presets to open the dialog.
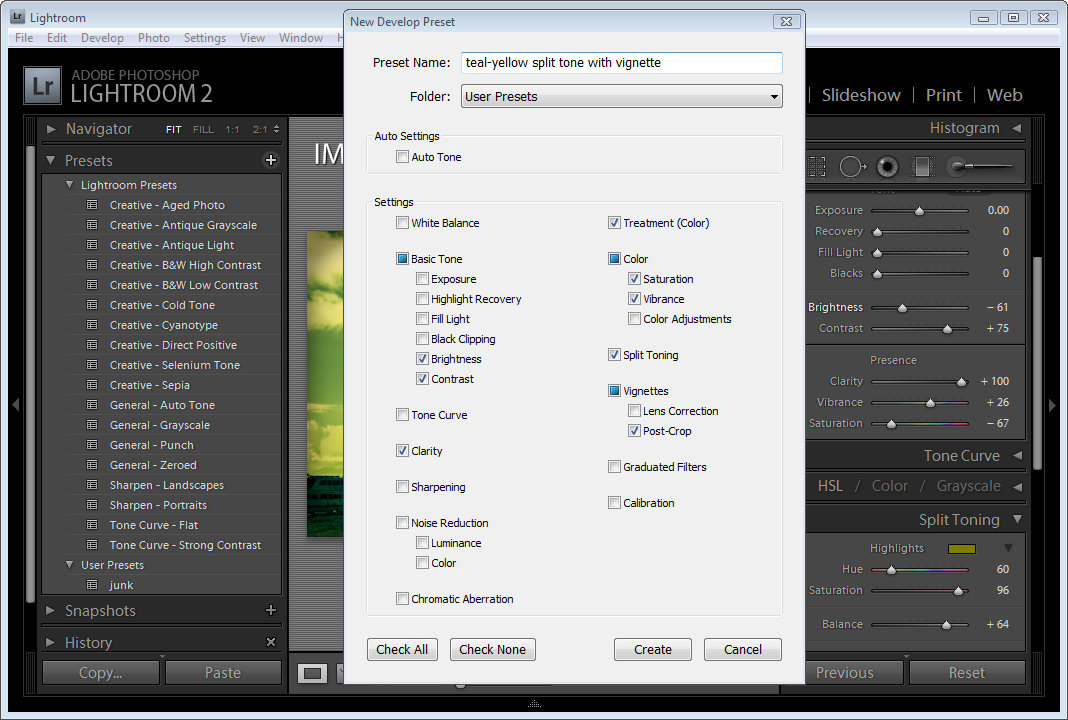
Give the preset a name that describes what it does, in this case I called mine, ‘teal-blue split tone with vignette’. Disable any options that you don’t want stored with the preset – leaving selected only the options you have configured and want to use on every image.
For example, I set a Split Toning, added a Vignette and adjusted Brightness, Contrast, Clarity, Vibrance and Saturation.
When you’re done, click Create.
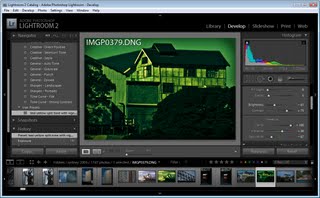 You’ll now find your preset in the User Presets collection and you can click it to apply it instantly to any image in future.
In some instances you may need to edit the image after applying the preset to it to fine-tune the effect for that image.
 If you find that your Preset isn’t working quite as well as you imagined it would and if, for example, you always seem to make a particular change to the image after using it such as brightening it a little you can save an edited version of the preset without having to create it from scratch.
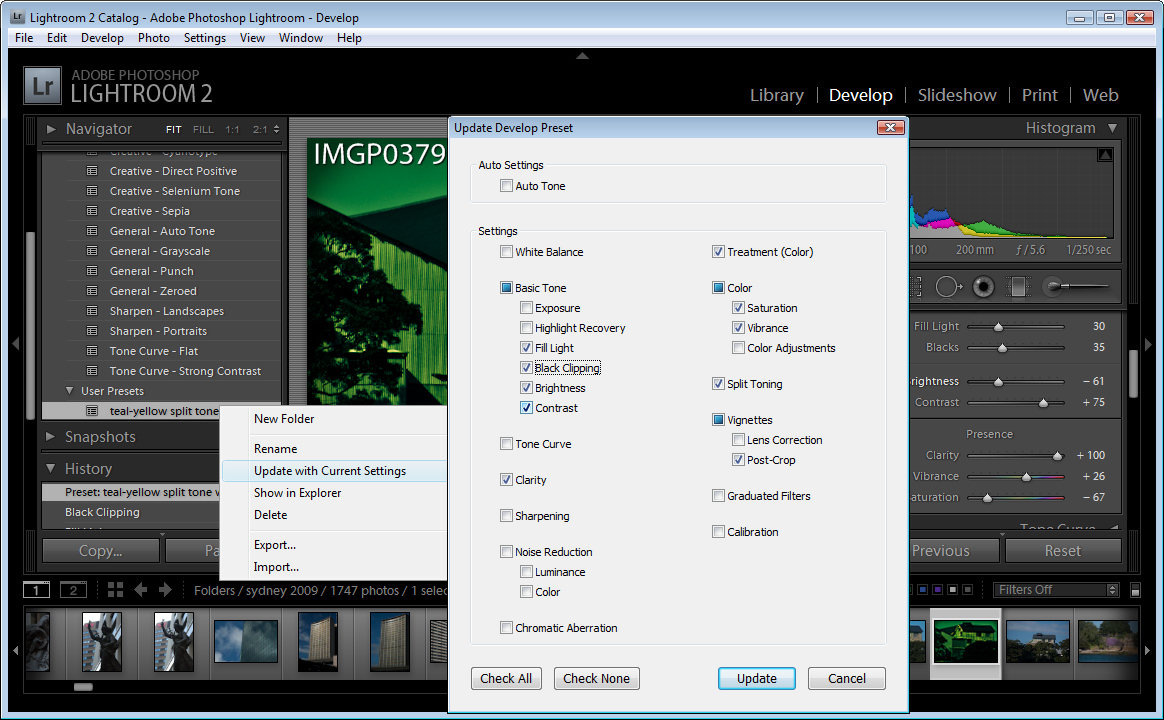
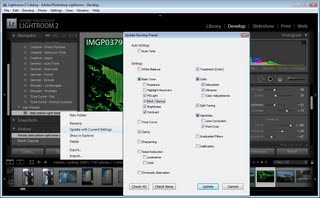
To do this, apply the preset and make your change. Then right click the preset and choose Update with Current Settings.
Select the settings to save in the preset and click Update. In future when you apply this to your images it will be applied using these new settings.
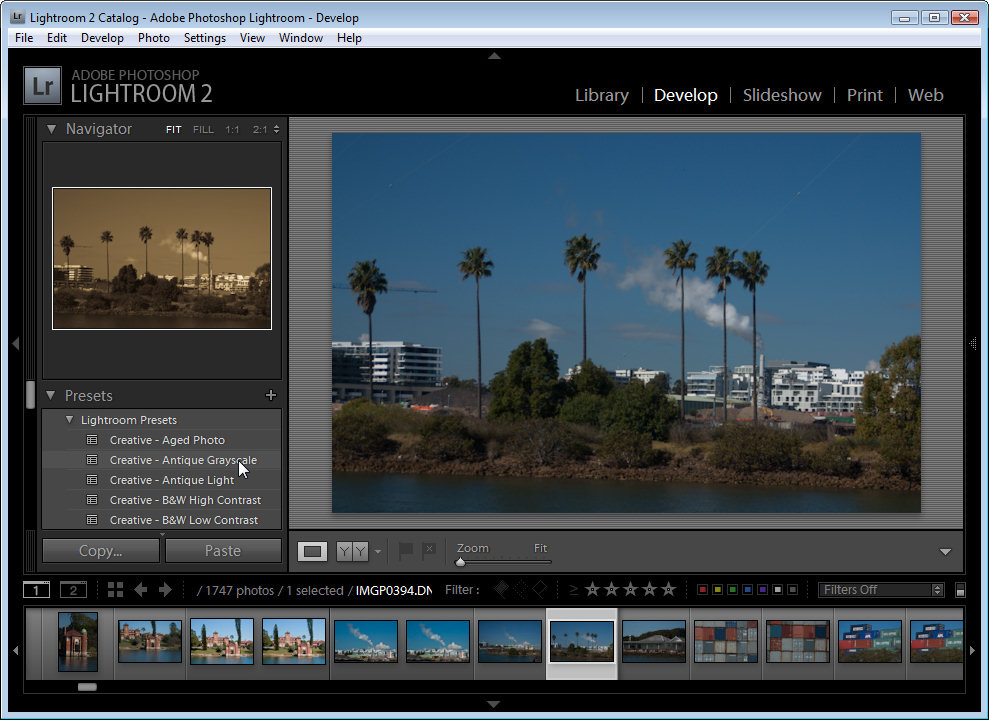
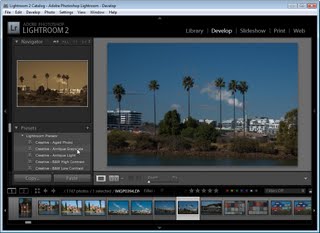 You’ll also find that a number of Presets ship with Lightroom. These are in the Lightroom Presets list. Click on any of them to apply it to your image. To see how the image might look with a preset applied, make sure that the Navigator is visible so you can preview the effect without actually applying it to the image.
In later posts, I’ll look at downloading, installing, exporting and sharing Lightroom presets.
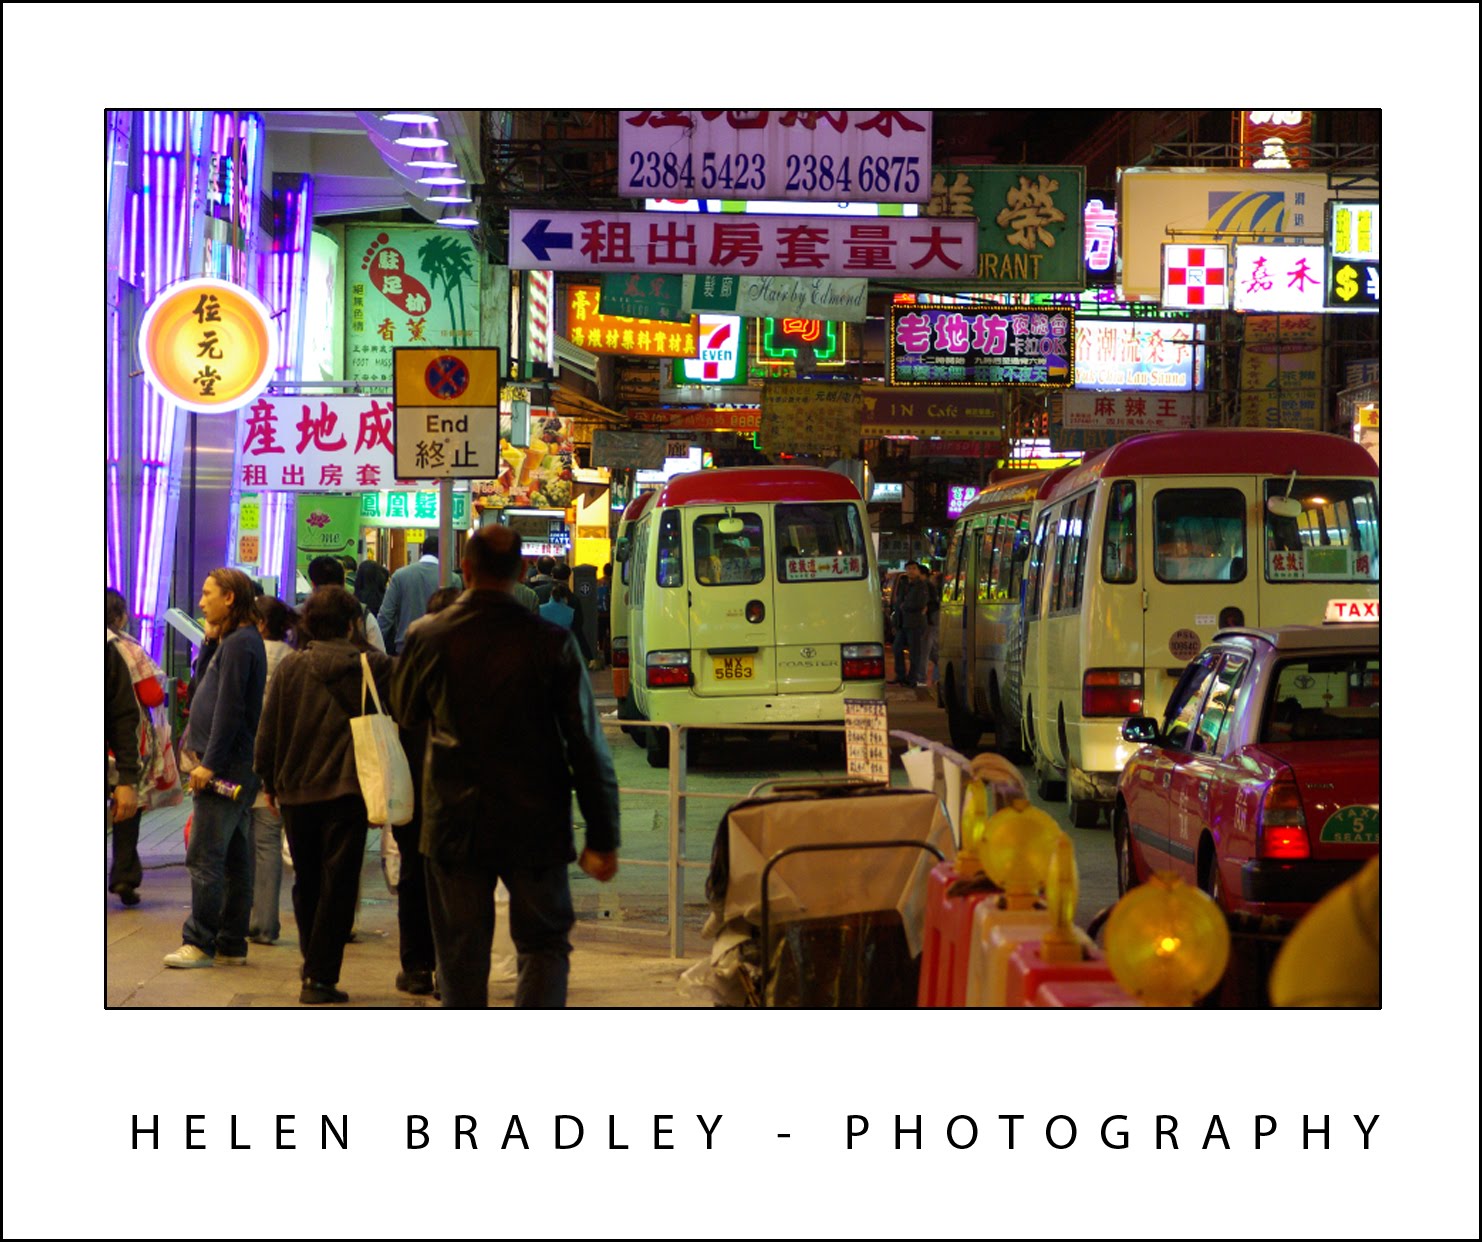
Helen Bradley


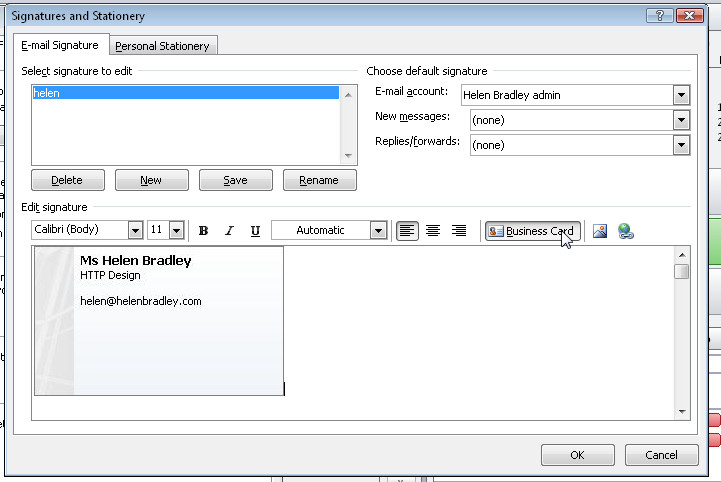 Add yourself to your Contacts list in Outlook 2007 so you can create a Business Card to send as an attachment to all your outgoing emails.