Thursday, June 6th, 2013

Find Lost Details Hidden in Shadows and Darker Parts of an Image
When you have an image that has details lost in the shadows or darker areas of the image, the Fill Light slider in Lightroom 3 or the Shadows slider in Lightroom 4 can be used to recover this detail.
Don’t use either of these as a tool for lightening an image or to lighten shadows if there is nothing interesting in the shadows. Use them instead when you want to get some interesting detail out of the shadows.
The result of using the Fill Light and sometimes using the Shadow tool is that some contrast in the image will be lost – so you nay need to increase Contrast as a result of using the Fill Light slider in Lightroom 3 or apply a tone curve adjustment in Lightroom 4.
Helen Bradley
Labels: area, contrast, dark, detail, Develop, Develop Module, Fill Light, image, light, Lightroom, Lightroom 4, lost, Photoshop, recover, shadow, shadows., slider, tip, Tone Curve, tool, trick
Categories:Lightroom, photoshop
posted by Helen Bradley @ 6:04 amNo Comments links to this post
Sunday, April 14th, 2013

Area Picker – Viewing a Preview Image when sharpening
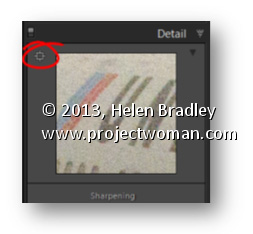
The Detail panel of the Develop module in Lightroom contains the features you need to sharpen an image. In this panel is a small square icon with lines radiating from it. Click this once and now hover over an area in the larger image. As you do this you will see that area of the image appears in the preview panel at 100% magnification. Use this tool to click on an area of interest in the image that you can view in the preview area so you can see how the sharpening is being applied.
If minor adjustment is required, drag the preview image in the preview area with your mouse to fine tune its placement.
Helen Bradley
Labels: 1:1, 100%, area, area picker, detail, Detail Panel, Develop Module, Lightroom, picker, preview, preview image, Sharpening, tip
Categories:Lightroom, photoshop
posted by Helen Bradley @ 10:34 amNo Comments links to this post


