Learn how to craft a custom black and white image in Photoshop using the Black and White adjustment layer and a curves adjustment. The process also includes adding a simple vignette effect.
Transcript:
Hello, I’m Helen Bradley.
Welcome to this video tutorial. In this tutorial I’m going to show you how you can create a custom black and white conversion for your images in Photoshop.
Before we get started with this process let’s have a look and see what it is that we’re aiming at. Here is just a standard conversion to black and white of an image and I just used the desaturated command to get this image. And here is a more crafted version.
Here I’ve been able to make choices about exactly how my black and white image looks. And I like this one a whole lot better and I’m going to show you how you can create this affect yourself. And what we do is use a black and white adjustment layer to do it. So first of all I’m going to take all these layers and just trash them.
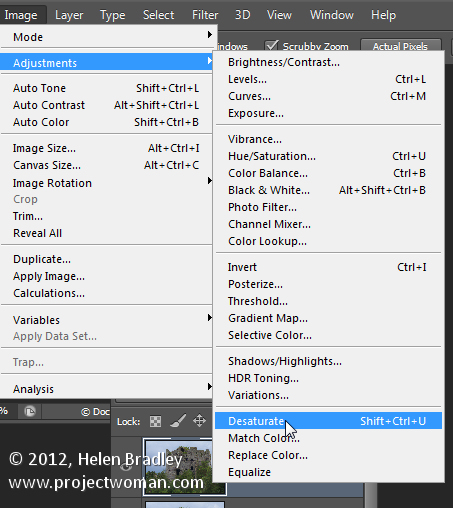
And let’s get started with this image which of course was originally a color image. Now one thing I did do to this image is I cropped the beam across the top of the image out of the way because I didn’t think that helped it at all. And now instead of doing a desaturation which you might do by choosing Image > Adjustments > Desaturate, which gives you this sort of flat conversion into black and white, we’re just going to undo that and we’re going to choose Layer > New Adjustment Layer > Black and White.
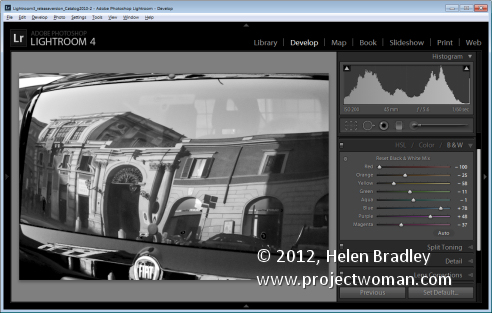
Now this allows us to craft a black and white and what you get is a series of sliders. And you get a sort of standard black and white adjustment. But with these sliders you can determine how individual colors in the image are converted. Now right now I want you to look at this Konica Minolta sign here and it was originally blue.
Now you can see that if I take the blue slider towards the left it becomes very dark. If I take it towards the right we actually lose that sign completely. And this is the way that we craft our black and white image. All we need to do is to bring the sliders to where we want them to be to get the effect that we want on the image.
Now for me I wanted my greens to be a big lighter. So I’m going to take my greens to the lighter side of the slider and I’m testing each slider individually to see which gives me the effect that I’m looking for. And I’m looking for a bit of a moody image here.
So everything is going to be towards the darks for this image. But I might kick the occasional color up to light to that I get a little bit of variety in the image. And I’m just going to craft that until I get what I want and close the dialog.
Now the beauty of using an adjustment layer by choosing Layer > New Adjustment Layer is that this is now editable so I can double click on this adjustment layer at any time and I can redo the adjustment. I can tailor it again to my specific needs.
Having done this I wanted to really give this image a kick so I also added a couple of adjustments to it and these were curves adjustments. I chose Layer > New Adjustment Layer > Curves and I did this twice because I wanted to use standard curves adjustment. So from the presets the first thing I did was I chose a strong contrast because I really, really wanted a contrast here.
But then I realized that that was over darkening it so I added another adjustment layer and this time I went for a lightening curves adjustment layer. So I just went straight back into Curves and this time chose Lighter because that gave me a lighter but still very strong contrast image. And I finished off with a vignette.
Now with the vignette I added a new layer so Layer > New Layer. And then I chose the Rectangular Marquee tool here on this brand new layer and I just selected inside the image, sort of around I guess about half an inch inside the image. Then with that selection in place I chose Select > Inverse so that now I have this very edge of the image selected.
And you can see that I made a really poor job of this so let’s go back and I missed the top of the image. Let’s try that again, select Inverse. Now it looks pretty even all the way around. I have a sort of brown selected here but it could be black. It could be anything. I’m going to press Alt Backspace or Option Delete on the Mac just to fill the selection with that color and then I’m going to deselect the selection with Select > Deselect.
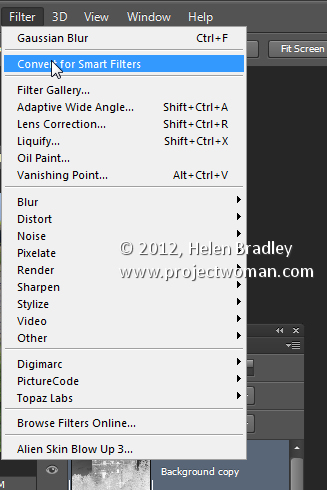
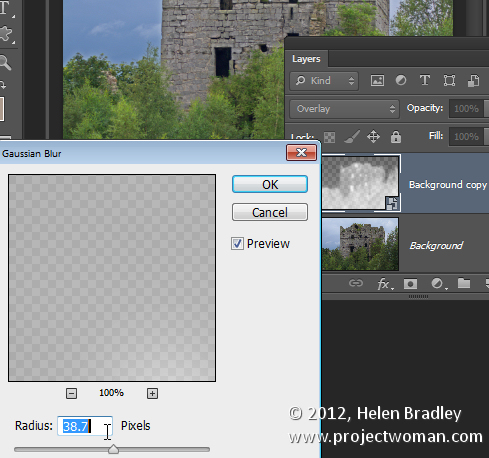
I’m going to blend it in using a multiply blend mode because the multiply blend mode darkens everything. And you can see the darkening effect around the edge of the image when I turn it on and off. Of course it’s not only way too much but it’s also a really hard edge. So with this layer selected I’m going to choose Filter > Blur > Gaussian Blur.
Gaussian Blur is my sort of go to blur because what it allows you to do is to really heavily blur the edges. Now I’m down at the very bottom of the image so that we can see the edge that we’ve got. This is it with a zero radius blur but as soon as I start increasing the blur you can see that it softens out nicely. So I’m just going to make it nice and soft and then bring down the opacity of it until I get what I want. So this is the original image and this is our new crafted black and white version.
And I think that for me is a lot more interesting than this particular version that I got by just choosing to desaturate the image. If you like this sort of dark, grungy sort of version or if you want to be able to craft your black and white images with a bit more control than just a one-step click select option then this is the tool you need to do it. Use the black and white adjustment layer and craft your own images.
I’m Helen Bradley.
Thank you for joining me for this video tutorial. Look out on this YouTube channel for more of my video tutorials.
And subscribe so that you’ll be advised when new tutorials are launched and also visit my website at projectwoman.com where you’ll find more tips, trick and tutorials on Photoshop, Photoshop Elements, Lightroom, Illustrator and a whole lot more.


