Friday, December 14th, 2012

Summer (down under) Travel Photography Checklist

Travel to the beach and cooler climates with a camera requires planning and forethought.

It used to be that travelling with a camera was as simple as tossing it into your bag and driving via the camera store for a few rolls of film on your way to the airport. Not any more. While you won’t need film when travelling with a digital camera the entire process is more complex than it used to be and good preparation is the key to having everything available when you need it.

Charge up

The first thing you’ll need is plenty of batteries and a charger. Digital cameras consume batteries at an alarming rate and buying disposable batteries is false economy. Instead, invest in a charger and rechargeable batteries. Depending on how much photography you plan to do, I recommend three sets of batteries – one in the camera, a spare in your bag and one set back at the hotel charging.

If your camera takes regular size AAA batteries by all means use disposable batteries in an emergency but they’re not a long term solution. Make sure your charger has the right plug and voltage rating for where you’re headed – for example, while the USA uses two or three prong 110 volt plugs, the plugs and voltages in Europe and the rest of the world all differ.

Read the Manual

While I don’t recommend a camera manual for light reading, it’s worth taking if you have room. On holidays you often have free time you don’t have at home and it’s a good time to read up on what your camera can do and to experiment with camera settings to take some interesting and varied shots.

Filters and Lenses

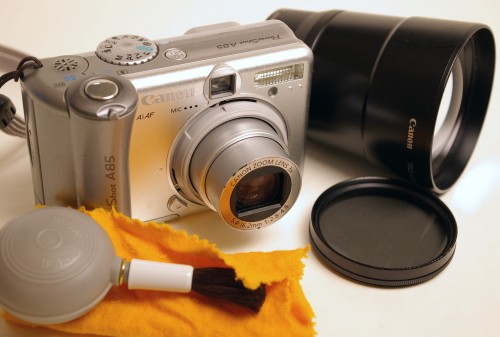
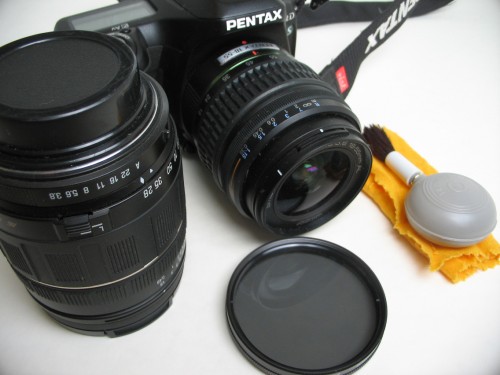
If you have specialist filters like a polarizing filter, take that with you – the filter reduces glare and will give you vivid blue skies and is a must for summer shooting.

Pack a special lens cleaning cloth to clean your camera’s lens if it gets dust or sand on it. Never use your beach towel or tee shirt – these can scratch the lens and keep your lens cloth in a sealed bag to keep it clean. A small brush also works to dust off the lens.

Storage Cards

Depending on how many photos you think you will shoot and how long you are travelling for you may need a two or more storage cards on which to store your photos. I generally pack 5-8 cards of various sizes which will see me through a couple of days photographing. Your camera will show you how many photos will fit on your card – when you turn it on this number will be displayed.

Use this as a guide to determine if you’ll need more space. If you carry multiple cards, make sure you have the containers for them – they are easily damaged if you don’t take care of them.

Lug the Laptop

I find that for a long weekend, multiple cards are easier to carry than a laptop computer to download photos onto but as soon as I travel for more than a week, a computer is a necessity. In addition, with a computer, I can burn photos to a DVD or onto a second drive so I have a backup.

Remember that your computer will require a charger as well and you’ll need the cable to connect your camera to your computer. If you find yourself short on space on your camera card, check the photos you’ve taken and delete any that aren’t worth keeping.

Carry cases

Take a carry case or camera bag for your camera and store it in the bag when it’s not in use. Always make sure your camera has its wrist strap attached and hold it carefully so you don’t lose or drop it.

If you’ll spend time on the beach a zip lock plastic bag will keep the sand out of the camera and a small ice chest or cooler will keep the camera cool while you play – put the ice in your drinks and the camera in the cooler!

Protect against loss

It’s also a good idea to put your name and address on your camera – if it does go missing it has a chance of being returned if you do this. I use the StuffBak service to label all my electronics.

Test before you leave home

Before you leave home, test everything to make sure it works. On holiday is not the time to discover you don’t know how to download photos from your camera or that the cable you bought doesn’t work!

Also check that the DVDs and external drives you’re planning to use to burn a copy of your photos work with your computer. Make sure you have empty space on your computer for storing your images too.

Before you leave, download and delete all the photos from your camera’s card and start with an empty card and freshly charged batteries. Pack everything carefully, remember the sunscreen and a hat, cancel the paper delivery and have a great holiday!


This handy checklist from http://projectwoman.com/2009/12/10-things-for-your-camera-bag.html will help you pack:

10 things you should always have with you

3 sets of batteries – one in the camera, one in the charger and one in your pocket

Batterycharger and a power cable suitable for use wherever you’re travelling

Spare memory stick or smart card for extra storage on the road

Cooler in which to place the camera to keep it cool in the sun (leave the ice behind)

Polarising filter to suppress reflected light for more colour in your images

Tripod for capturing macro images and for longer exposure shots

Camera manual to refer to if you have questions that you can’t resolve

Lens cleaning cloths, cleaning fluid and a brush to blow dust from the lens

A variety of lenses including a macro lens if your camera takes interchangeable lenses

Underwater camera housing for your digital so you can take it swimming with you

Helen Bradley

Sunday, December 9th, 2012

5 Light taming Tips for Capturing better photos


These handy tips will help you tame any light condition to capture great photos:

Tip 1 – Time of day

In the early morning and late evening the light can be quite spectacular and you can capture not only sunrises and sunsets but also interesting coloured lighting effects on trees, buildings and your subject’s face.

Tip 2 – Silhouettes

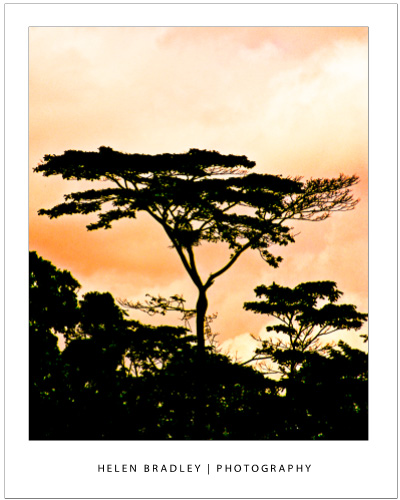
When the sun is down low look for opportunities to photograph into the sun and capture objects between you and the sun in silhouette. Look for subjects that have interesting shapes and where the skies behind them are well lit and colourful.

Tip 3 – Use available light

Look for light sources that are more interesting and varied than your flash. Place the subject close to a window to capture natural light or use reflected light, a skylight or even a lamp. Lighting a subject from the side is often more interesting than using the flash straight on.

Tip 4 – Capture Shadows

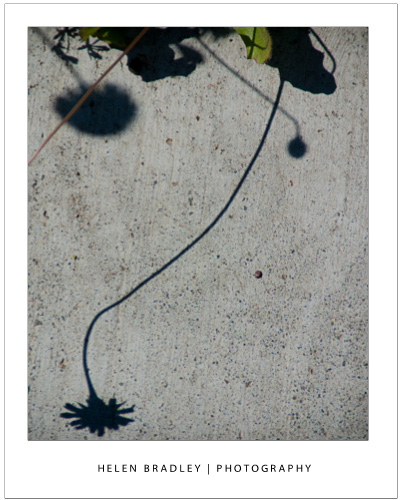
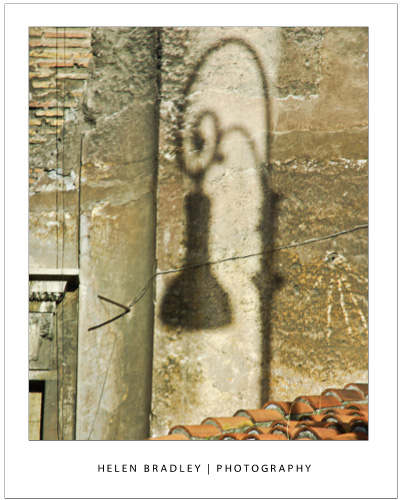
In the intense sun of midday look for interesting shadows and plays of light and dark on buildings and other surfaces. Although the harsh sun of midday is the worst time to photograph it doesn’t mean you can’t get great shots.

Tip 5 – Perfect skies with a Polarizer

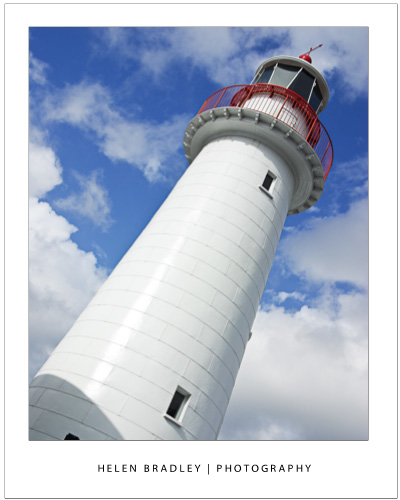
Invest in a quality Polarizing filter for your camera. This filter cuts the glare and reflections when shooting in bright sun and at the beach or in the snow. It gives you bright blue skies and crisper more saturated colours.

Helen Bradley

Monday, December 3rd, 2012

Holiday Photography – Capture the little things

Seasonal photography – What to shoot and how to do it successfully

From now to early January is a time for celebration and whether you celebrate Christmas, Kwaanza or Hanukkah, chances are that your house will be filled with fun and laughter and a decoration or two at least.

This fun time of the year is ripe for photographing opportunities and Christmas itself is one of the most popular topics for photography. I love to photograph this time of the year and there is lots to photograph – everything from the cards you receive to the tree, decorations, gifts and even carolers who serenade you with seasonal songs.

When photographing  indoors, for best results, make sure you have plenty of light. I like to use light from not only the Christmas tree itself but also from lamp shades as they cast a very soft and yellow light that warms the image.

Where possible, use a tripod and the night setting on your camera. If you don’t have moving objects or kids to think about, then switch to night mode, turn the flash off and take a long exposure. The light will be softer and the image will have a quality you simply can’t capture with the flash.

If you’re using a flash, remember its effective distance is around 3 yards so make sure anything you want to light is in this range.

Helen Bradley

Wednesday, November 28th, 2012

5 Techniques for taking better photos

These 5 techniques can help you improve your photography today

Here are 5 techniques you can put to work today to help take better photos:

Tip 1 – Capture Moving objects

When shooting a moving object, capture it as it comes towards because as your camera can focus more easily this way.

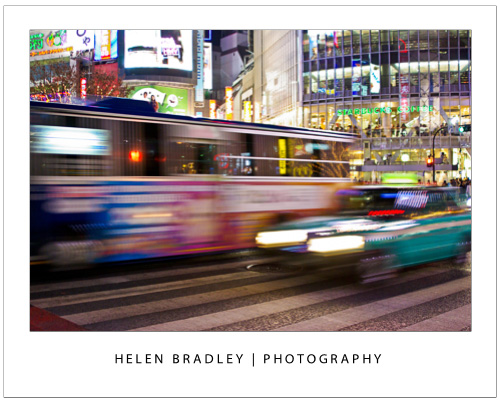
If an object is travelling across your field of vision, follow the movement with the camera as you capture the shot. The object will be in focus and the remainder of the background will be pleasantly blurry. Or do it in reverse and focus on the background and let the subject move across the image.

In this photo I opted to keep the background in focus and the vehicles in motion:

 Tip 2 – Create a frame

When shooting an object in the distance, frame it using an object in the foreground such as an overhanging tree or an arched window. The frame will invite the viewer to look into the image.

Tip 3 – Focus and shift

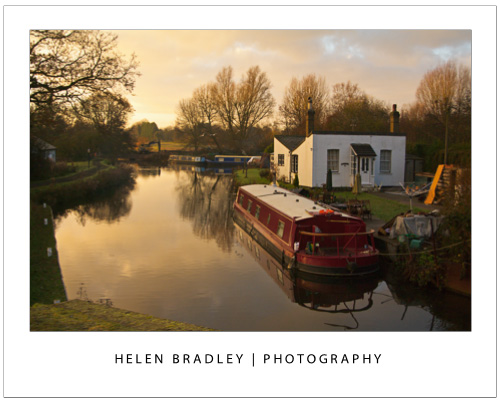
To focus on an object off centre in your photo, point to the object and press the shutter release halfway down to focus on the object. Move the camera to reframe the scene and continue to depress the shutter and take the photograph.

In this image I focused on the boat on the right then reframed the image before capturing the shot.

Tip 4 – Reflections

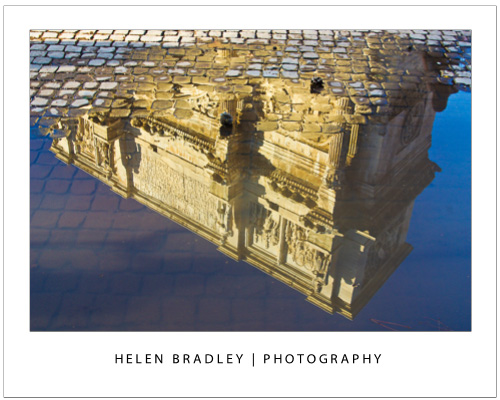
Look for interesting items to reflect your subject in. Faces can be reflected in a car’s rear vision mirror and buildings can be reflected in a puddle on the footpath. Images of objects reflected in shiny surfaces often result in more compelling images than would be the case if you simply photographed the original object.

 Tip 5 – Get down low

When photographing pets and children get down to their level so you capture the child or animal face on rather than photographing the top of their head. If shooting from above, get a lot higher and get your subject to look up as you take the shot.


Helen Bradley

Monday, November 12th, 2012

Photography Self Assignments

Improve your photography by undertaking self assignments. In this video I’ll describe how to undertake a self assignment, some topics for it, and how to assess your progress.

Transcript:

Hello, I’m Helen Bradley. Welcome to this video tutorial. Today I’m going to talk about photographic self-assignments. What is a self-assignment. Self-assignments are short self-assigned photo projects that you shoot just for the sake of shooting. And typically they shouldn’t require you to go out and buy anything special or to go anywhere special to do them. They are the sort of thing you could go and do immediately after you’ve finished watching this video — grab your camera and you’re ready to start.

It’s a good idea to do self-assignments regularly and when you are not under pressure to capture anything at all worthwhile so you’d never undertake one when you are the main photographer at a wedding for example. Self-assignments are generally quite short so you can spend as little as a few minutes at a time on them — but of course they can consume a lot more time if you have it available.

Self-assignments technically have a topic — you’re not just out to shoot, you’re out to shoot a something or to practice something — you’re not aiming to shoot ‘keepers’ so much as you are aiming to learn something. Self-assignment should take you out of your comfort zone and help you see things or experiment with techniques and your kit.

Preparing for a self-assignment

When you’re preparing for a self- assignment, firstly you need to allocate the time to work on your self-assignment. Often you can find it by repurposing time you already spend doing something such as walking to the bus station — make this the time that you work on your self-assignment. Or you could park a few blocks from your office and walk there, walk at lunchtime or walk when you get home at night and, as you walk, you can photograph for your self-assignment. If you don’t get out a lot then photograph inside your house or your backyard or spend the time waiting at an airport or train station catching shots for your current self-assignment.

You will also need to take a camera with you — everywhere. It doesn’t have to be your good camera but it’s good if it is. It might seem strange to carry your camera with you all the time but the more you do so, the less uncomfortable you will feel and you’ll really notice it when you don’t have your camera handy.

Topics and subject matter

Plan your self-assignment — You’ll need a topic or a focus for your shooting. It should be something that challenges you and forces you to learn something new or to look at the world a little differently. Some topics which you might want to pursue are: saturated colors, circles, paint marks, streetlights, the color blue, doors, shadows, repetition, food, street art, reflections, or alphabet which is a great one for the airport. Don’t expect to always nail the project on day 1 — so if you’re shooting something like circles — it’s worth going over the same territory a couple of days in a row — notice how many more circles you see on day 2 than you did on day 1. Your assignment might also be related to a piece of your kit — perhaps you have an unused or little used lens in your case — unused because you really don’t know how to use it — and because you can’t trust yourself to use it for important situations the cycle becomes self-repeating so you never use it.
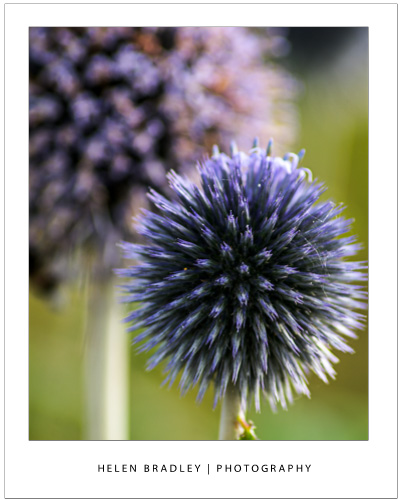
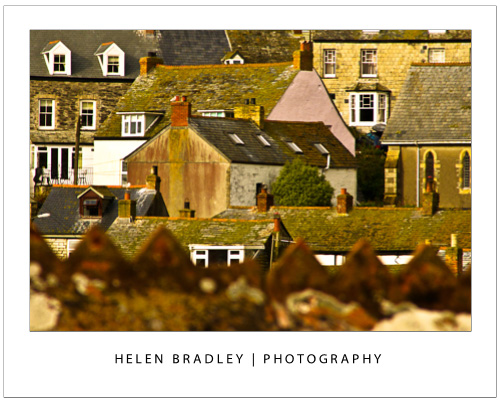
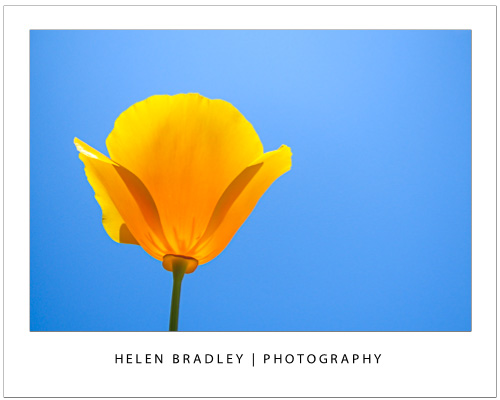
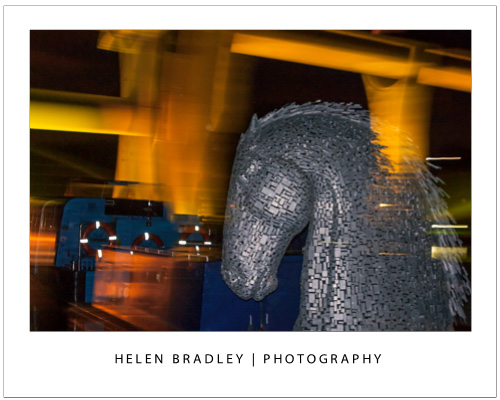
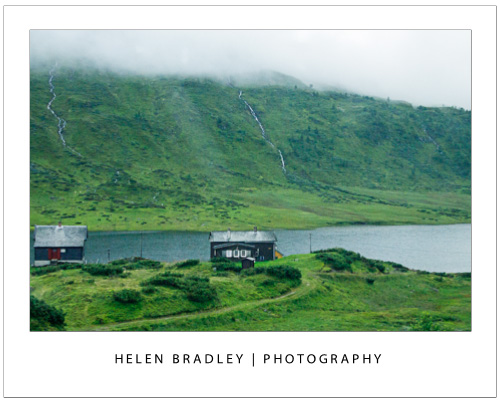
Set yourself a self-assignment to shoot with the lens for a couple of weeks. By the end of the two weeks you’ll know a lot more about the lens and how to use it. If you’re someone who always uses the Auto mode on your camera now is a good time to start using Aperture Priority or Shutter Priority mode and start learning what creative possibilities they might offer. Determine the topic or focus of your self-assignment and a timeframe to work in. Once you’re done with the first assignment you’ll ready to start on the next but don’t be surprised if you continue to shoot these self-assignment themes in other situations.

Assess the results

When you are working on a self- assignment, download the images as often as you can and view the results. Assess how you’ve gone in your project. How easy was it for you to ‘see’ things that matched your topic. Assess the technical aspect of your shots — are they in focus, is the depth of field used appropriate for the subject matter — how would you improve the shot next time and what will you do differently tomorrow? If you’re working on a self-assignment to learn how to use a piece of kit, ask yourself what have you learned about it. What worked and what did not work. Analyse the results in front of you to determine what you’ll try that will be different tomorrow or the next day. What you’ll gain Self-assignments are creative learning projects so approach them with a sense of wonder and enthusiasm for your topic — reward yourself when you see something you wouldn’t have noticed if you hadn’t been doing your self-assignment.

Self-assignments can help you see the world different and they’re guaranteed to make you a better photographer. If you are a creative person who wishes they could photograph more but have to juggle photography with other commitments then self-assignments provide a creative outlet that can be fit into even a few minutes of your spare time.

I’m Helen Bradley. Thank you for joining me for this video tutorial. I encourage you to subscribe to my YouTube channel and visit projectwoman.com for more photography tips and tricks.

Helen Bradley

Wednesday, November 7th, 2012

Holiday Photography – Capture photos for your own cards

Capture great photos for your holiday cards

From now to December is a time for celebration and whether you celebrate Christmas, Kwaanza or Hanukkah, chances are that your house will be filled with fun and laughter and a decoration or two at least.

This fun time of the year is ripe for photographing opportunities and Christmas itself is one of the most popular topics for photography. To ensure you have plenty of photos of family and friends to keep for posterity, over the next few weeks I’ll be posting my best tips for capturing seasonal images.

My shopping list for seasonal photos starts with the months leading up to Christmas and includes taking photos for the Christmas cards.

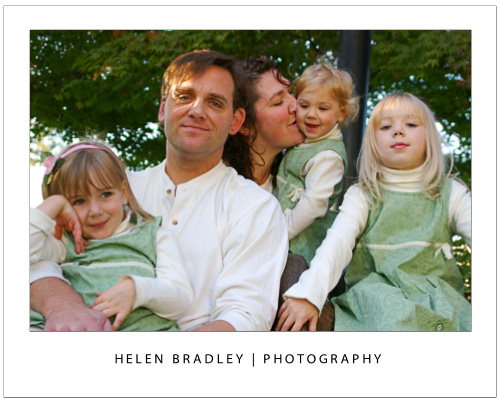
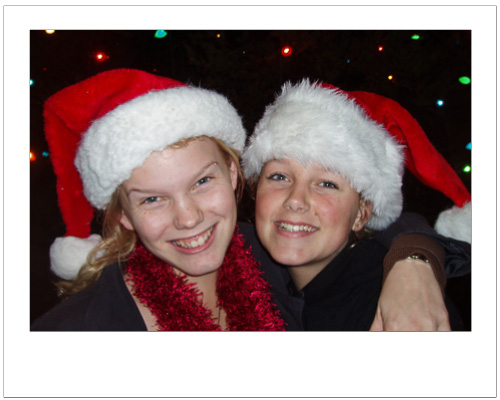
This is a great time to get started, gather everyone together, find a great place to shoot and get to work. It helps if everyone is coordinated clothing-wise – it doesn’t have to be white shirts and dark trousers (and is probably best not to be), but it is best to avoid shirts with advertising and obvious graphics. So go plain rather than fancy and make sure everyone’s colors if they aren’t the same at least work together as a group. If you want to do so, grab some Christmas hats to illustrate the season.

These photos should be fun so approach the task with plenty of time to enjoy the process. Have toys to entertain small kids and water and snacks for everyone.

A good place to photograph is where you have an uncluttered or at least a pleasing background and somewhere to sit that is out of full sun. Photographing early morning or early evening is good if you can do so because the light is better.

Think about the aspect ratio of your cards – do you need portrait or landscape orientation images – and then shoot to this ratio because it is  cumbersome to have to change the image dimensions later on.

If you’re shooting young children then increase the ISO a bit so you can shoot faster, this will give you a good chance of capturing an image without blur and in focus. Keep shooting and take more images than you think you need, if you have young children, chances are that their eyes will be closed, they will be looking away or you won’t get them all looking good at once without some perseverance.

Shoot some single shots too – it is fun to be able to include some loose images of the kids in cards going overseas or to relatives interstate.


Finish the shoot and the final edits in plenty of time to have your cards printed and ready to write and send well before Christmas.

Helen Bradley

Tuesday, October 30th, 2012

7 Camera Settings for Capturing Better Photos

Whether you are using a Point and Shoot or a DSLR camera here are seven camera settings that will help you capture better photos:

Tip 1 – Adjust for light

Most digital cameras, in particular SLRs, let you select ISO film equivalencies. Choose 100 – 200 sensitivity for photographing in bright light conditions and use 400 – 800 when there is less light.  In very poor light you can capture at 3200 – 6400 or higher but you will find that, as a result, there will be more film grain visible in the final image a a result.

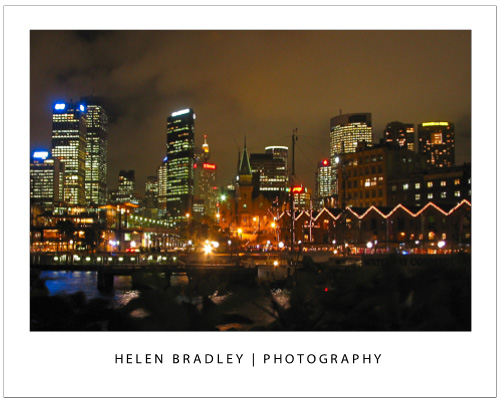
To capture an image like this at night you should have an ISO setting of at least 800 -1600 or higher and a tripod to steady the camera.

Tip 2 – Choose your mode

Most cameras, in particular point and shoot cameras have settings for portrait, landscape, night shooting, sports, etc. Choose the correct mode for the type of conditions and the camera will automatically configure the ideal settings to ensure the best shots in the available light conditions.

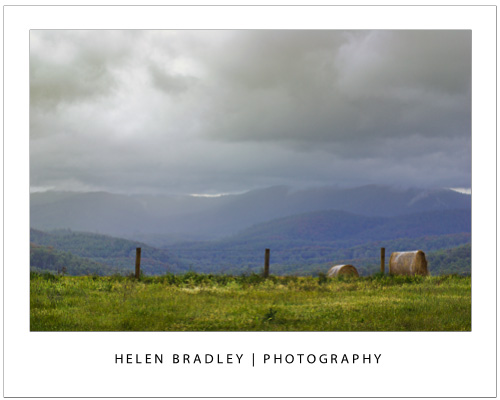
For an image like this choose Landscape mode so it is all in focus.

Tip 3 – Depth of field

Use your camera’s Aperture Priority setting and set the aperture to a small f stop such as 2.8 to capture photographs with an interesting depth of field. Focus the camera on the object to appear in focus and, when you do, objects in front and behind this object will appear pleasingly out of focus.

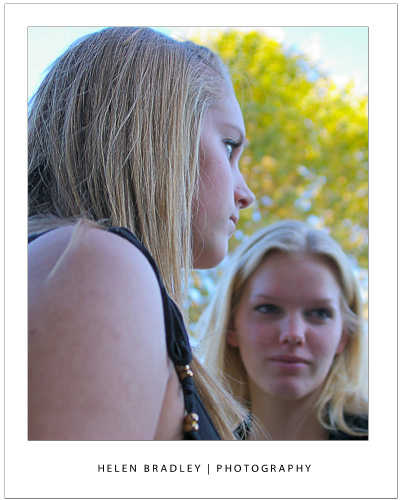
Here I focused on the girl in front with a very small f stop and she is in focus – the girl facing us is not.

Tip 4 – Axe the digital zoom

Of the two types of digital camera zoom, which you will find in both point and shoot cameras and camera phones only Optical Zoom is a true zoom . If your camera offers digital zoom it is best to disable it or avoid using it. Digital zoom merely increases the size of the image captured and crops away the area not required. Optical zoom actually zooms into the scene to capture it at full size.


Tip 5 – Adjust exposure

Avoid over or under exposed photos using your camera’s exposure compensation settings. These can usually be adjusted to somewhere between -2 to +2EV. To lighten a shot use + values and to darken one, use – values.

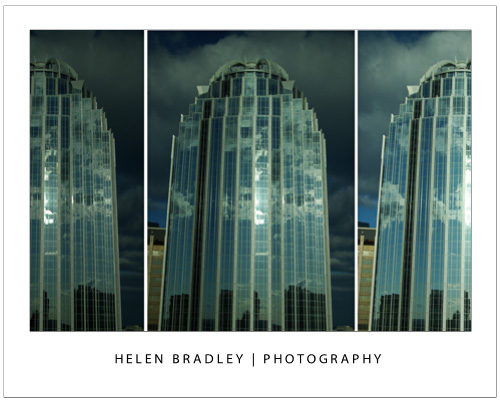
Here is the same Boston building captured at -2, 0 and +2 exposure – the one on the right is the better exposed shot.

Tip 6 – Set the correct White balance

Different light sources throw different color casts onto your photos. For instance, inside lighting such as florescent and tungsten globes will throw blue/green or orange tints onto your image. When shooting indoors without a flash, set the white balance mode to match the light source, to remove any undesirable color cast.

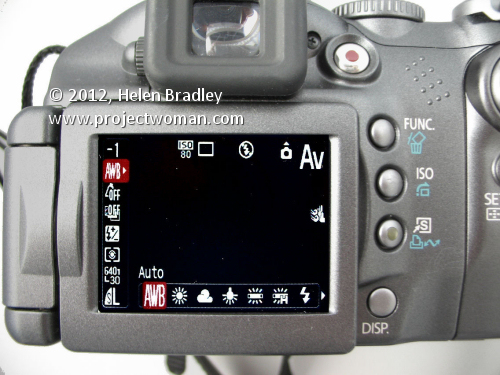
This camera is set to an ISO of 80 (suitable for a very bright day) and AWB – Auto White Balance – this  means the camera will adjust the white balance – not good for indoor shooting but should be fine out of doors in full sun.


The image on the left was shot in tungsten light with no white balance adjustment. The one on the right was shot in the same position but with white balance set to tungsten light – the color is much improved.


Tip 7 – Set the Flash

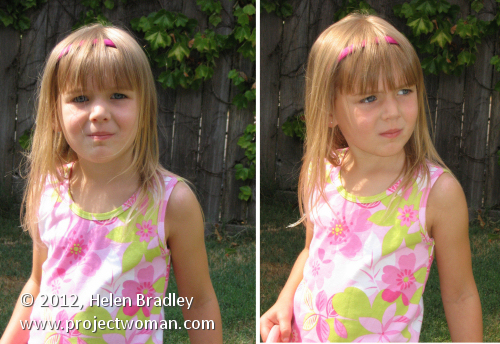
Use your flash when capturing portraits on a very bright day. While it may seem counter productive, the flash will light your subject’s face and avoid the deep shadows that the overhead sun will cast on their face.

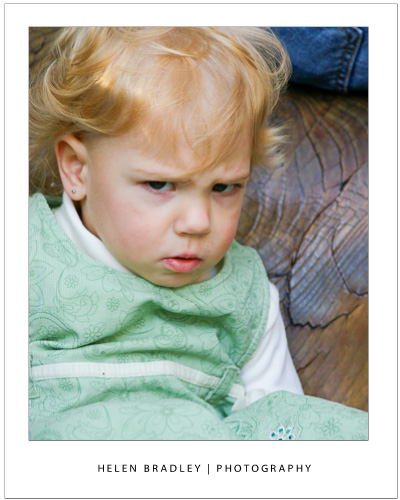
On the left the little girl is captured with no flash and over head sun. On the right I fired the flash and her face and clothes are more evenly lit.


Helen Bradley

Wednesday, October 24th, 2012

5 Quick Tips to Improve your Photography Today!

If you want to add a quick boost to your photos, follow these five tips to take better photos today… and everyday!

Tip 1 – Get close to your subject

The single simplest way to improve your photographs is to move physically closer to what you are photographing. If you can’t get physically closer then zoom in close using your camera’s zoom.

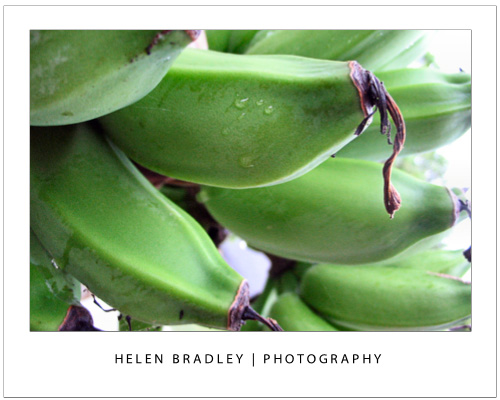
This image was captured from the verandah of a house in the tropics so it was possible to walk up very close to the clump of bananas on the palm.


Tip 2 – Capture Close ups with Macro

When shooting an object close up, set your camera to its Macro setting which is indicated by a small flower – you can set it using either a setting on the camera itself or from inside its menus. Zoom all the way back out (macro and zoom don’t mix) and check that the camera is able to focus on what you’re shooting – if not, move further back a little and try again. Most cameras can capture shots using macro mode as close as a few inches from the object.

This flower was captured with a macro setting – one side benefit of this is that the background is thrown out of focus showing an attractive shallow depth of field.

Tip 3 – Follow the Rule of thirds

The rule of thirds is a tool for creating a dynamic composition for your image. To apply it, draw an imaginary tic-tack-toe board over the scene you see in the  camera’s LCD screen or the viewfinder before you take the shot. Position the subject of the image along a horizontal a vertical line or at the  intersection of the lines. This ensures, for example, that the  horizon appears across the top or bottom third of an image and never right in the middle.

In this image the out of focus wall in the foreground is along the bottom line of the imaginary tic-tac-toe board.

Tip 4 – Capture from an Unusual Angle

Look for different angles to shoot from. Take a portrait  from a vantage point high above the person and look for different angles when photographing classic buildings so you  capture photographs that aren’t the same as everyone else’s.

In this image the camera was positioned under the flower and facing the sky and the translucency of the flower shows beautifully.

Tip 5 – Respect the “no flash” zone

The effective radius of your camera’s flash is around 9-12 feet so it won’t work in a sporting stadium at night. Instead use a long exposure time and mount the camera to a tripod.

In the image below the short radius of the flash has lit the statue which is close to the camera. A long exposure has captured the light on the structure behind. Read this post to discover how setting a curtain flash lets you combine both flash and long exposures.


Helen Bradley

Saturday, October 20th, 2012

How to shoot from a (fast) train


Ok, I’ve struggled with taking good shots on trains for a while now. The biggest problem is that by the time I know I have bad results it’s just impossible to go back and try to fix the problem.

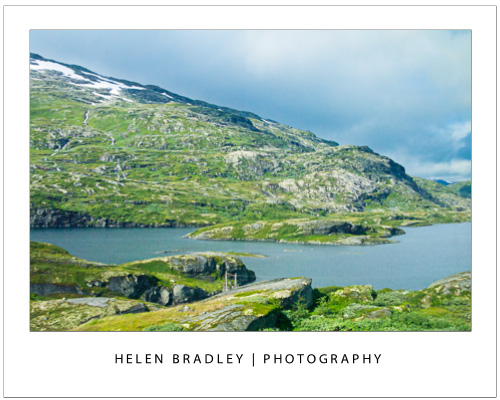
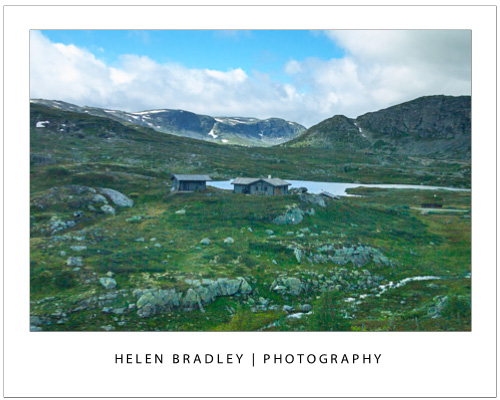
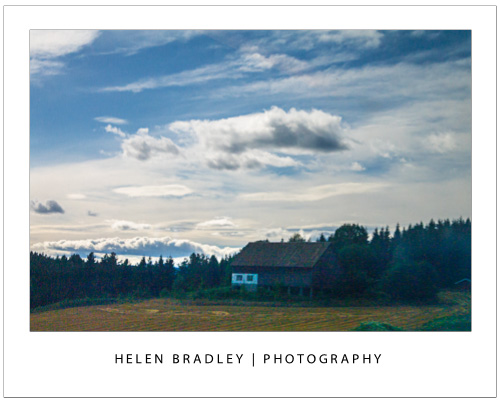
Recently,  on a trip between Bergen and Oslo in Norway I nailed the shoot and ended up deleting only one third of my shots. There’s no way you won’t mess up a lot of your shots when shooting from a train or fast moving car, but with these tips you can make the percentage that are keepers so much higher.

First of all you have a choice between noise and blur. You need to bite the bullet on this – you can get sharp images but you might have a bit of noise. Personally, I actually like some noise and I think it’s fine. But, if you can’t live with some noise it might be as well to pack your camera away and just enjoy the trip.

Second you need a small aperture so you get a lot of the image in focus. I shoot at 7.1 or 8 which is pretty small so it  requires a corresponding high ISO to compensate. So, I dial up the ISO to 1600 and sometimes 3200. That is very sensitive but it means I can capture at speeds like 1/2000 of a second or even much faster than that – and that freezes the motion.

Third, you need to use manual focus. Unless you have a stupid fast focus on your camera it will get caught trying to focus and refocus and you won’t ever get a shot as the train moves. The autofocus will  be confused by things going fast close like trees, tall grass and power poles. If you manually focus you can work faster and ignore distractions. I have to say, I practically NEVER shoot manual so in shooting manual in this situation I’m doing this because there really isn’t any alternative to doing so.

Fourthly, the grass is always greener on the other side of the train. You will always think your side of the train has nothing interesting and it is all on the other side. This probably isn’t the case so don’t keep running back and forth  across the train. Instead, focus on what is on your side of the vehicle, learn to anticipate what you might see so you can react to it instantly when you see it.

Fifthly, I like to sit facing backwards so things move away from me and in a window seat of course. YMMV on this.

Once you are set up, find a direction to shoot that minimizes the reflections from the train window and inside lighting and start shooting. Accept the fact that trees and poles will mess up a lot of shots but if you take more than the usual number of pictures you will get a good number of good shots. Also accept that you will miss more than you capture depending on the situation. On my trip across Norway trees, power poles, tall grass and numerous tunnels played havoc with my shooting but the skies were wonderful and I did nail some really great shots and i felt way more in control of the shooting than ever before.

So, next time you are. on a fast train traversing a continent, set your camera up and enjoy the shooting experience.

Helen Bradley

Monday, October 1st, 2012

Photography – limit your color palette

One way you can strengthen your images is to use a limited color palette. This involves actually choosing areas/things to include in your images and what to leave out.

When you aren’t seletive about color you run the risk of including a lot of color which can be visually confusing especially when it doesn’t add to the photo.

So, a shot of colored flags or colored shapes is great because the shot is all about color but lots of color in an image about something else can just add up to clutter and is distracting. Here the color works because the scene is supposed to be busy:

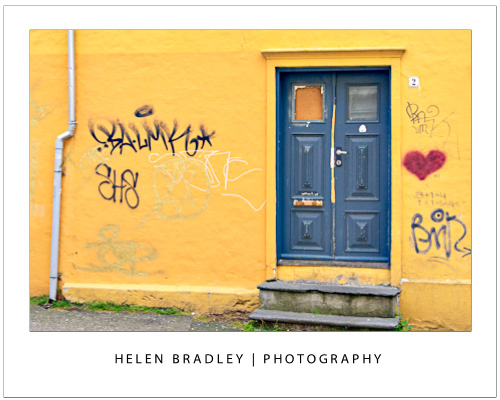
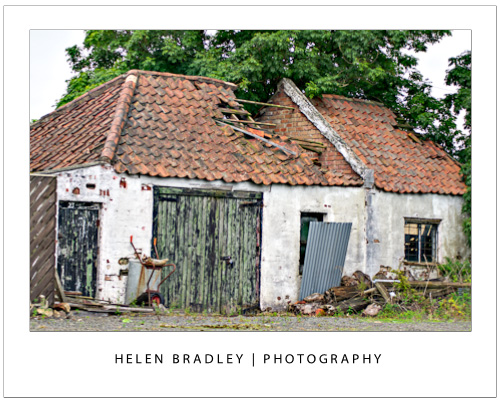
When I am shooting I will often try to limit the color palette by selectively leaving out areas of a scene that have colors that aren’t in the palette I am using. I may also look out for specific color such as in doors and buildings that are interesting simply because of the colors used. I might also look for a scene like this where the colors suit the subject matter and reinforce the desolation:

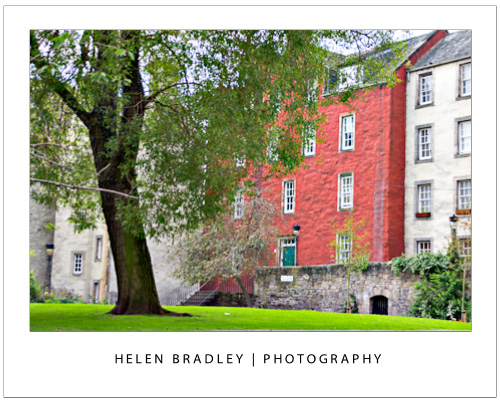
Here the bright colors and the contrast in the red and green make for a great image – it wouldn’t be the same if the building were white or pale green for example:

Like everything you shoot, it helps to be aware of color and how you can use it to make better photos.


Helen Bradley

Page 5 of 7« First34567