Wednesday, June 19th, 2013

Create the Orton Effect in Lightroom with the Clarity Slider
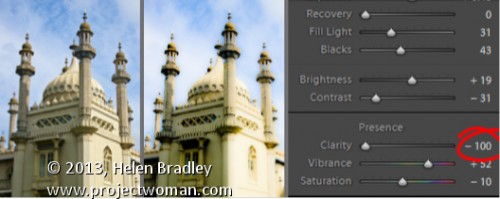
The Orton Effect is named after photographer Michael Orton. This process results in a somewhat surreal image which has a slightly out-of-focus look while retaining lots of edge detail.
You can quickly give an image a faux Orton look using the Clarity slider in Lightroom. All you need to do is drag the Clarity slider to the left close to -100 and then, increase the Blacks in the image to an higher than usual value.
Of course there is a lot more to the Orton effect than this but this gives you a good start and, for many images, may be all you really need.
Helen Bradley
Labels: -, 100%, Blacks, blur, clarity, detail, Develop, Develop Module, edge, effect, faux, focus, image, Lightroom, negative, orton, out, out of focus, Photoshop, slider, surreal
Categories:Lightroom, photoshop
posted by Helen Bradley @ 6:15 amNo Comments links to this post
Thursday, June 13th, 2013

Add that Softened Look to Your Portraits with the Clarity Slider
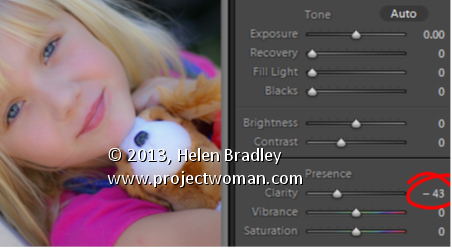
One time when you’ll want to use a negative value for Clarity in Lightroom is when you have a portrait that you want to give a softened look to.
Negative clarity softens an image so it’s a good choice to use. Just adjust the slider to the left to around -20 or more depending on the results.
Use this on portraits of women and children or to give an image an ‘Early Hollywood/Casablanca’ feel.
Helen Bradley
Labels: clarity, Develop, Develop Module, Lightroom, negative, Photoshop, Portrait, slider, soft, soften
Categories:Lightroom, photoshop
posted by Helen Bradley @ 6:09 amNo Comments links to this post


